Airbox Setup for Deep Water Crossings
The airbox is the lifeline to your engine and needs to deliver clean air to the carburettor, not water. For bikes that also have engine breathers mounted to the airbox it is doubly important to ensure the airbox is watertight as an airbox full of water is a sure-fire way to feed water into your engine and contaminate your oil.
There are two things to focus on when ensuring your airbox is watertight. Firstly any airbox connections (such as the carburettor boot or breather hoses), secondly the air filter entry/exit point.
Airbox Connections
It is important to ensure the airbox itself and all airbox connections are in good nick. It only takes one small crack in the airbox or a perished/loose hose to allow water into your airbox and its game over.
Breather hoses connected to the airbox should be regularly checked to ensure they are damage free and snugly fitted. Hoses without clamps or with low pressure stock hose clips can be upgraded with more robust hose clamps as recommended for the engine breather hoses.
The connection/boot between the airbox and the carburettor should also be regularly checked to ensure it is in good nick and remains watertight.
Air Filter Entry and Exit Point
Airboxes vary considerably across bike makes and models with each falling into one of the two main categories:
High mounted top entry airboxes
High mounted top entry airboxes are well designed and do a great job of preventing water entry when crossing deep water. If you have a high mounted top entry airbox then there is nothing you need to do other than ensuring all connections to the airbox are in good nick and watertight.
Low mounted airboxes
If you have an airbox with a low or side mounted air filter entry/exit point, there are two main types:
#1 Fully sealed
If your air filter entry/exit point is designed to be fully sealed and 100% waterproof from factory then this is good. The goal is simply to regularly check the sealing and ensure the airbox remains watertight. Periodic changing of any seals or gaskets may be required to ensure it remains watertight.
#2 Partially sealed
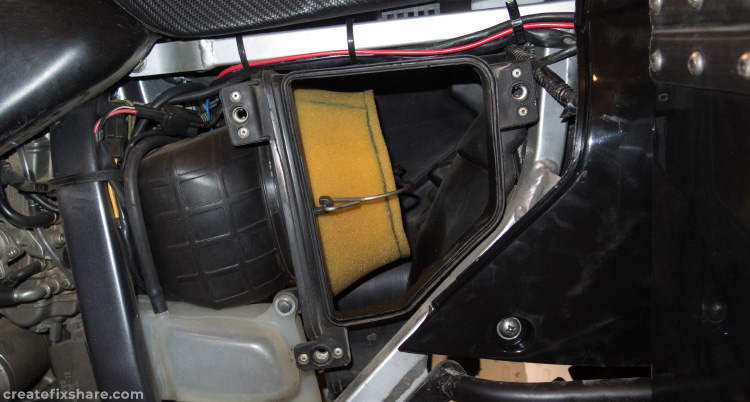
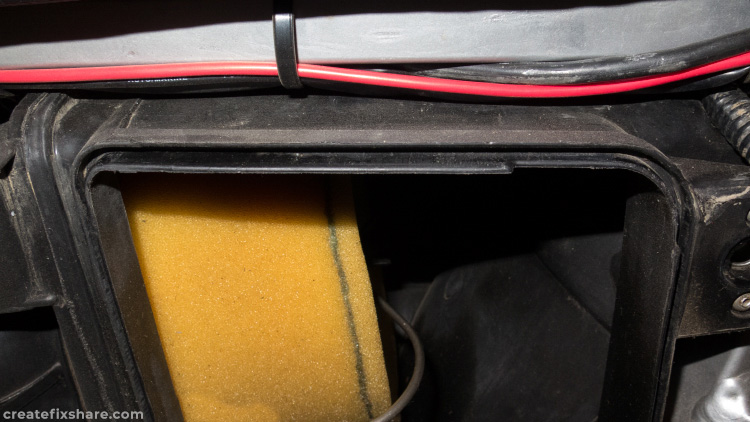
Many airbox air filter entry/exit points (panels) are not fully sealed, and therfore, not 100% watertight. This is often referred to as a partially sealed airbox. The DRZ400 is a good example, this bike has a quick release side panel to access the air filter and although it has a groove and recess with a foam gasket to limit water entering the airbox, it is not 100% watertight, and will allow water to slowly enter the airbox when prolonged periods are spent in deep water.

For this bike and bikes with similar panels/systems there are two options:
#1 Sealing the airbox
Using a sealant will allow you to get a 100% watertight airbox. Running a seam of RTV around the perimeter of the airbox panel is a common and effective method for some bikes that are going to see a lot of deep water crossings. It does however mean that each time you clean the air filter you have the additional task of cleaning up the old RTV seam and replacing it with a new one. This really is a messy option, not my preference, and only mentioned as some riders prefer this.
Pretty much the go-to for sealing airbox panels is clear duct tape. While it won't suit all types of airbox panels, it will do most. This method is referred to in KTM manuals for the EXC/EXCF range, is an easy solution, and if you apply the tape nicely it will look fairly tidy.
#2 Knowing your breach rate
Although the airbox side panel of the DRZ400 does allow water into the airbox, the breach rate is very slow offering ample time to get across most water crossings without having to seal the airbox side panel. Most bikes have a rubber release boot on the bottom of the airbox, and with a quick squeeze, any water in the airbox will be evacuated.
If you become familiar with your breach rate you can successfully cross deep or long water crossings without having to seal the airbox.
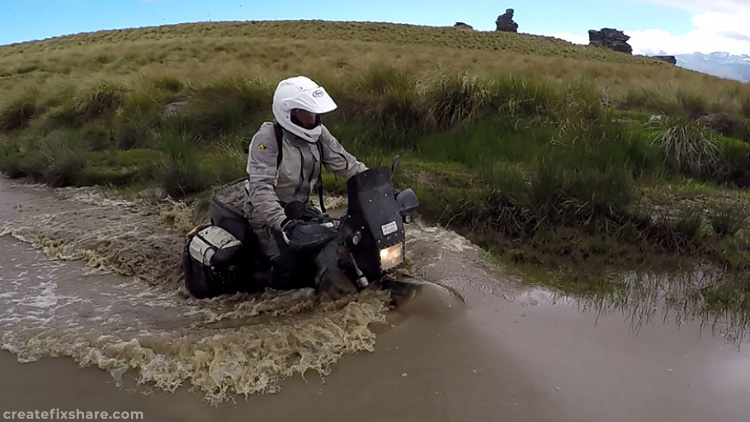
Testing your breach rate can be done by riding your bike into a deep section of water, then inspecting your airbox on the other side. Keep in mind that fast momentum when crossing will create a bow wave that oftentimes causes a depression near the airbox that will lessen the breach rate while slow momentum or periodically stopping in deep water will oftentimes increase the breach rate.
This article is part of a series providing information on setting up adventure bikes for crossing water sections. Click here to go back to the main menu for motorbike water crossing setup.