Building a Suspension Freight Box
To make life easy when sending away my suspension for servicing and upgrades, I built a reusable and robust box for freighting. While there are many ways to build boxes to hold suspension, this is how I built mine.
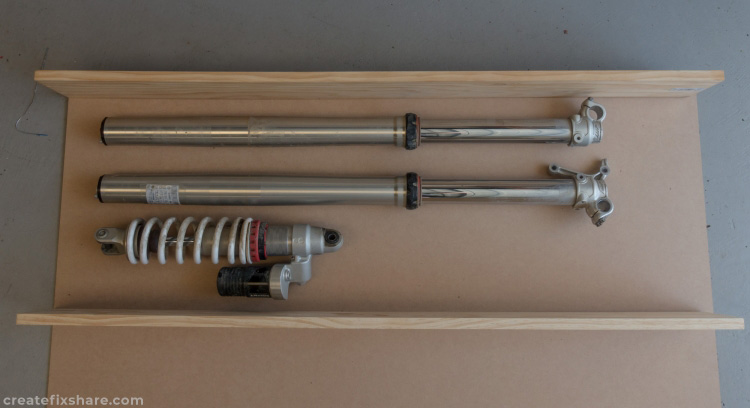
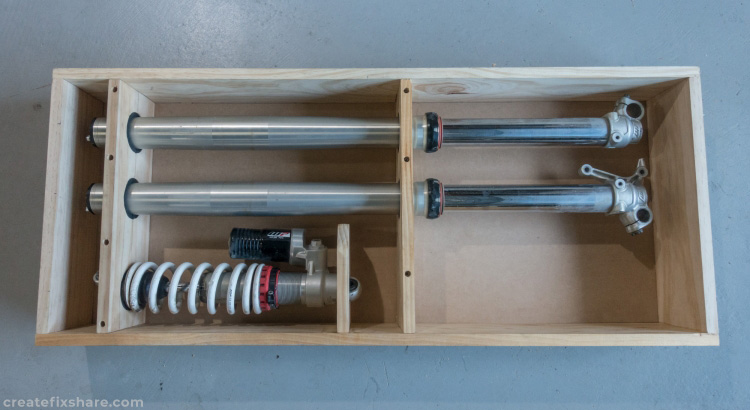
The first step was to lay my suspension down and measure up the dimensions of the box. I am laying the suspension down on the materials I will be using to build the box, which is 140 mm X 20 mm timber framing and 3 mm MDF board for the front and back.
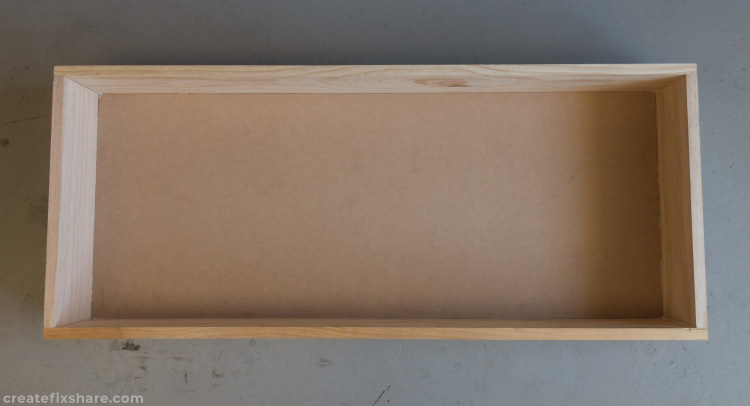
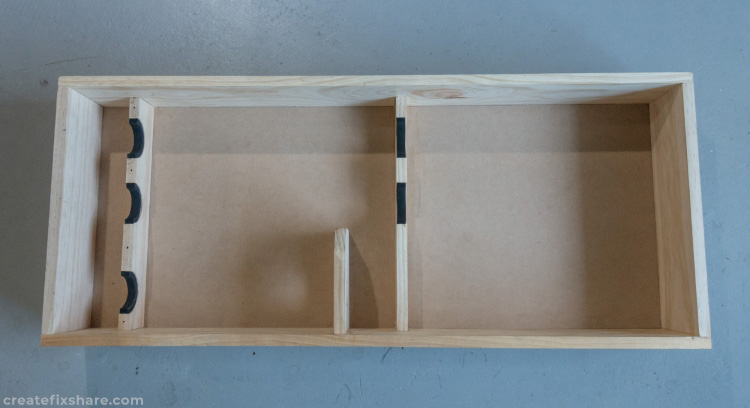
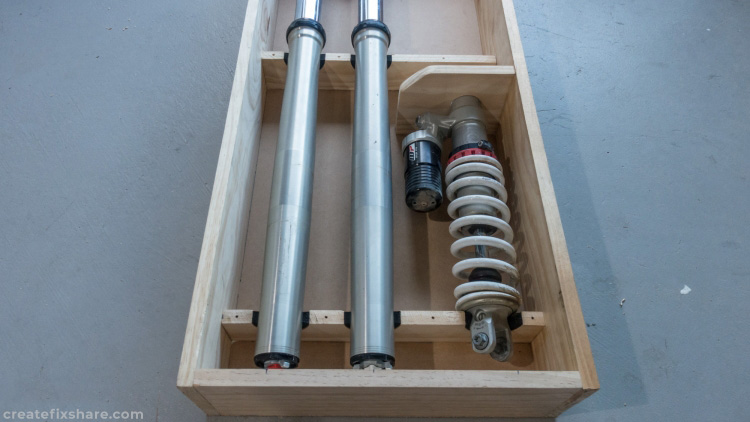
The suspension freight box with the sides in place.
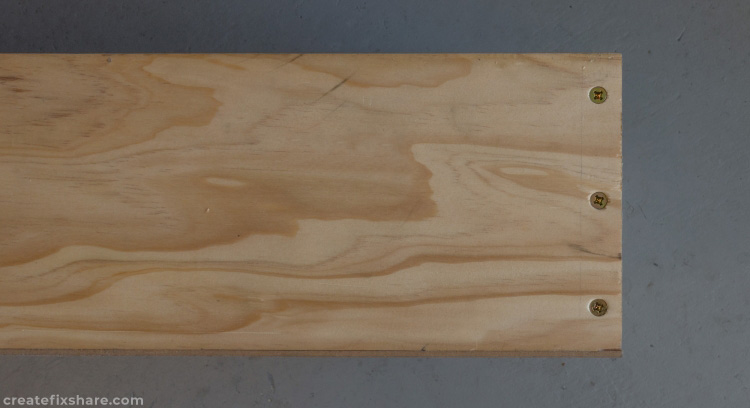
The 140 X 20 mm framing is both glued and screwed together.
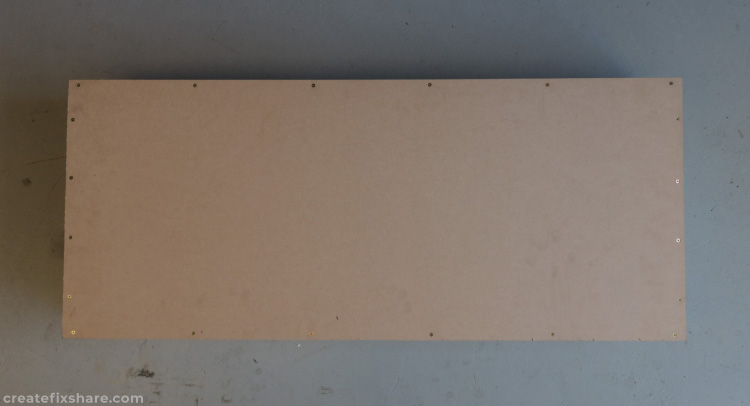
The 3 mm MDF board back is also glued and screwed on.

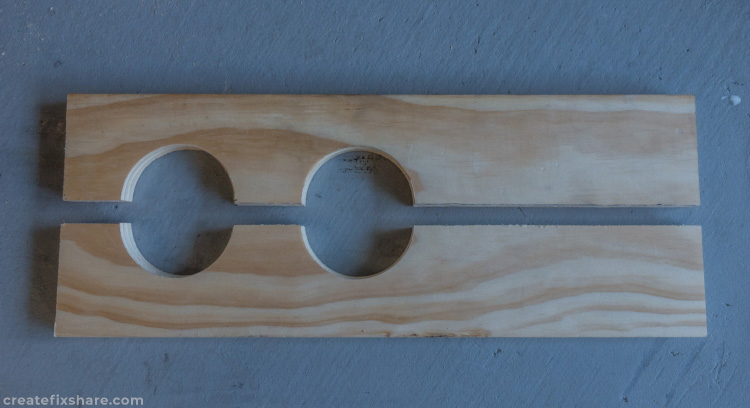
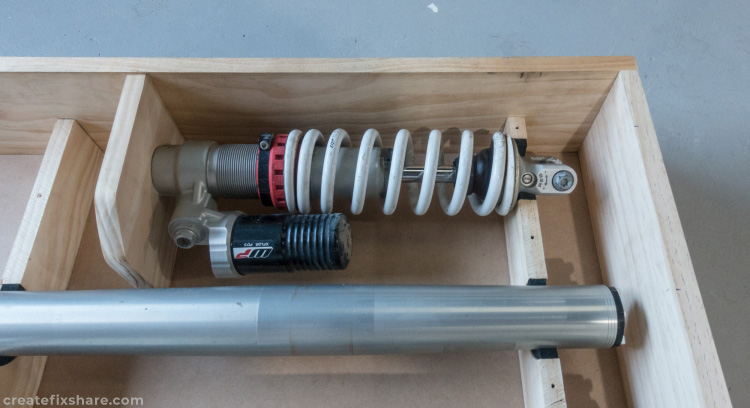
To hold the suspension in place within the box, it will be secured by 140 X 20 mm lengths. Using a hole saw, holes are drilled to the OD of the shocks. The timber is then sawn down the centre.
Adhesive sponge padding lines the inside of the holes drilled by the hole saw to securely hold the suspension and protect against damaging the surfaces.
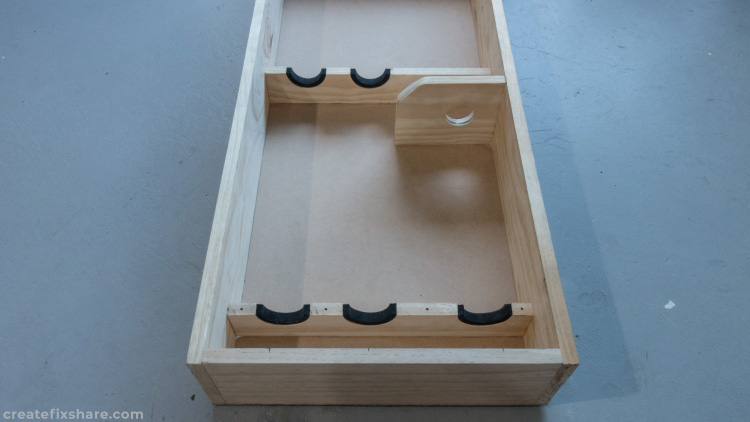
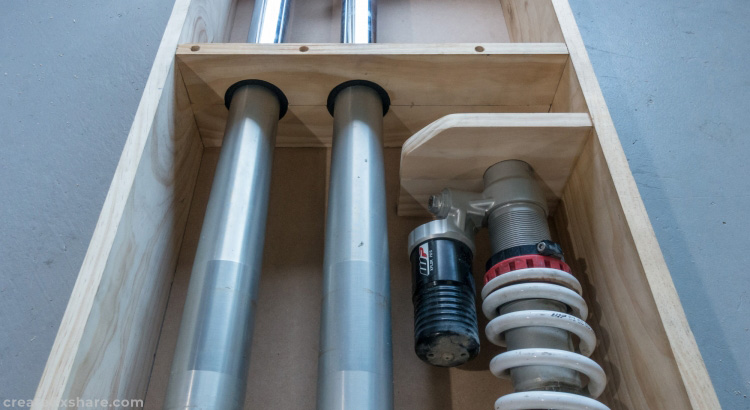
To secure the suspension in place, the top sections are screwed in with 90 mm screws countersunk 30 mm. I used a drill press to get these holes drilled perfectly straight.
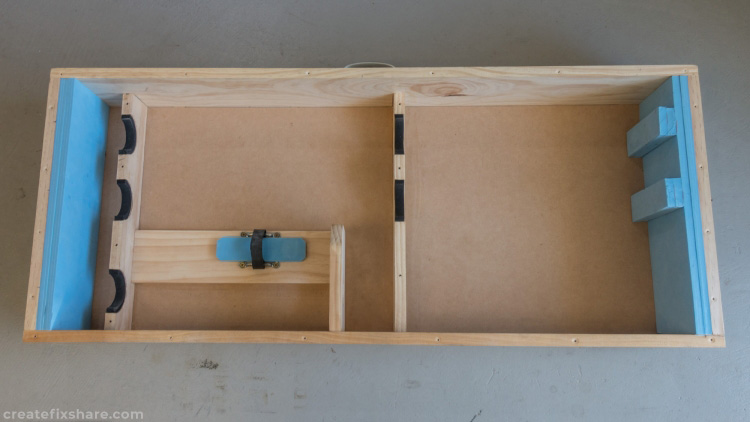
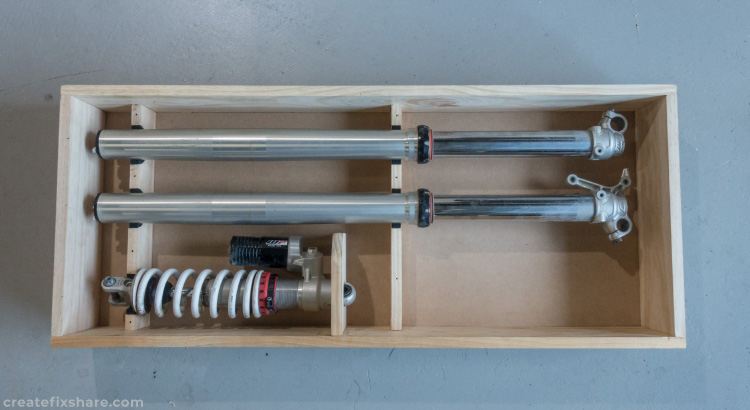
Foam is one of the last additions to the box to ensure the suspension is fully secured no matter what orientation the box ends up while in transit.

This is a foam pad and a 20 mm heavy duty rubber band to strap over the rear suspension and hold it snugly in place so it doesn't rotate.
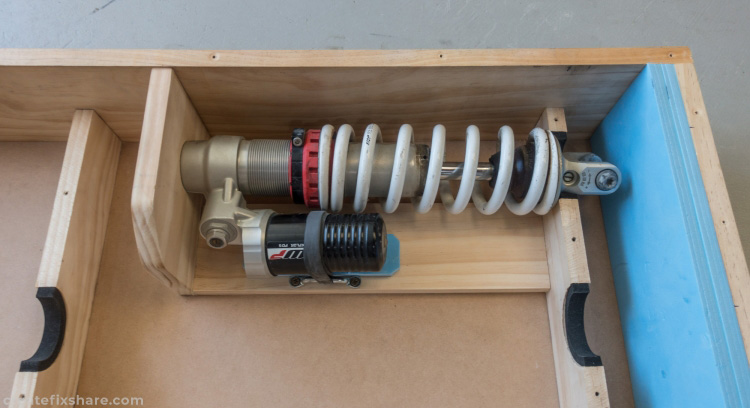
The 20 mm rubber band strapped over the rear suspension.
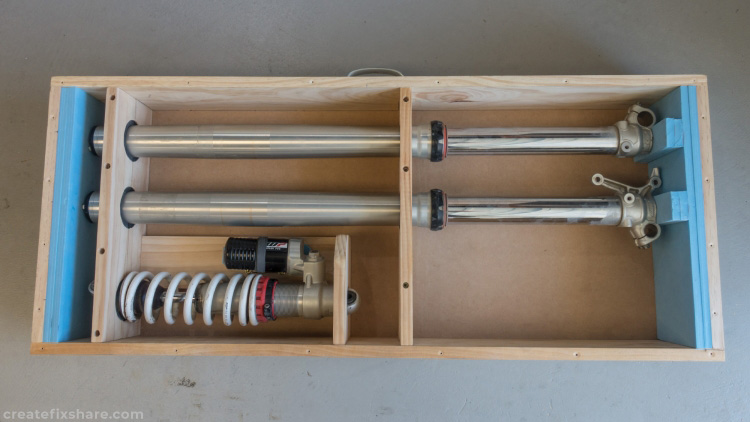
All bolted up and ready to screw on the lid.
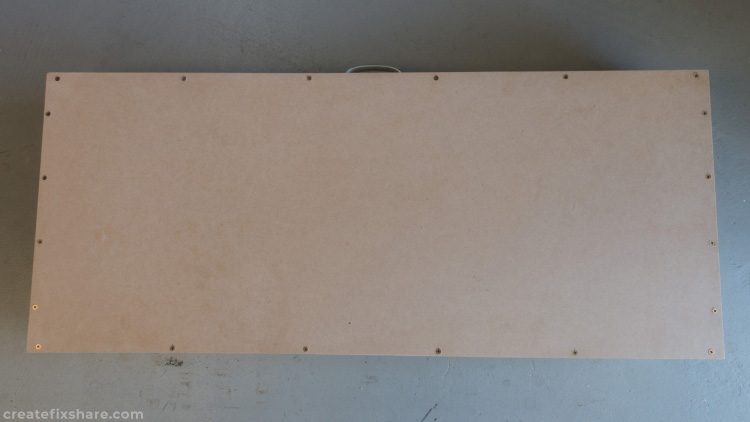
The lid is a sheet of 3 mm MDF and is screwed in place. The lid is not glued as this is the panel that will be removed when accessing the suspension.
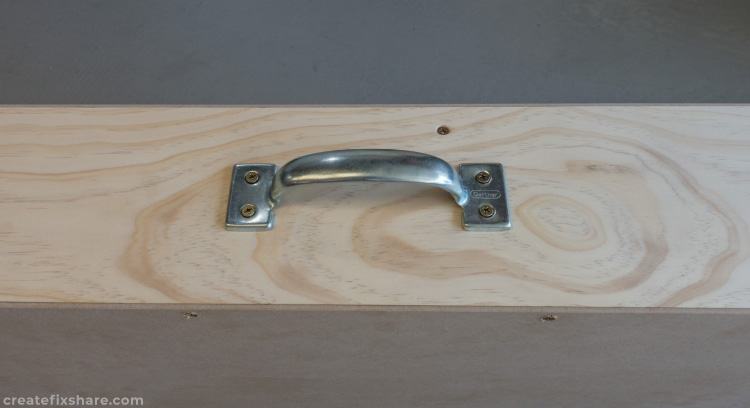
Lastly a handle was screwed on to make life easy when carting the box around. Lastly a handle was screwed on to make life easy when carting the box around.
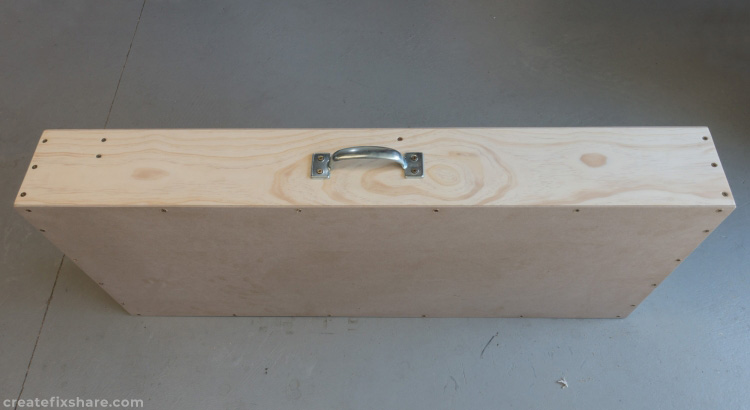
The final suspension freight box ready for the freighting company.