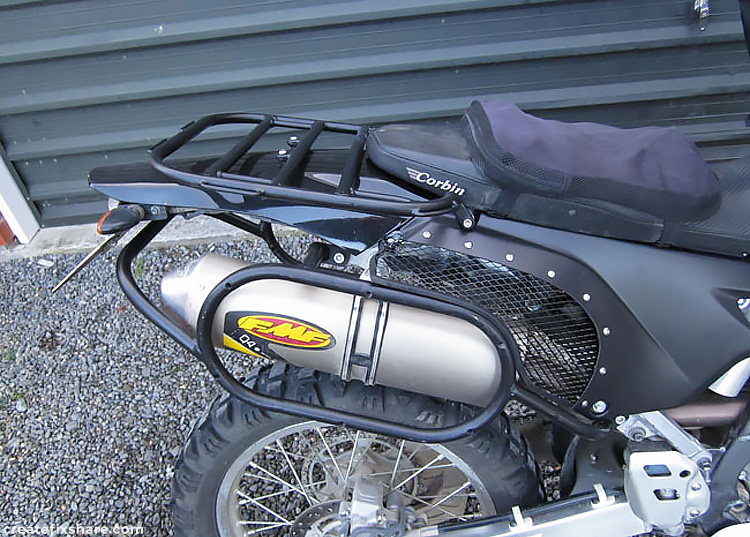
There are a number of DRZ400 side pannier racks and top luggage racks on the market, but my preference is to custom build my own. The main reason is, like most bikes with a single exhaust, many companies produce side pannier racks that stick out far wider on the exhaust side.
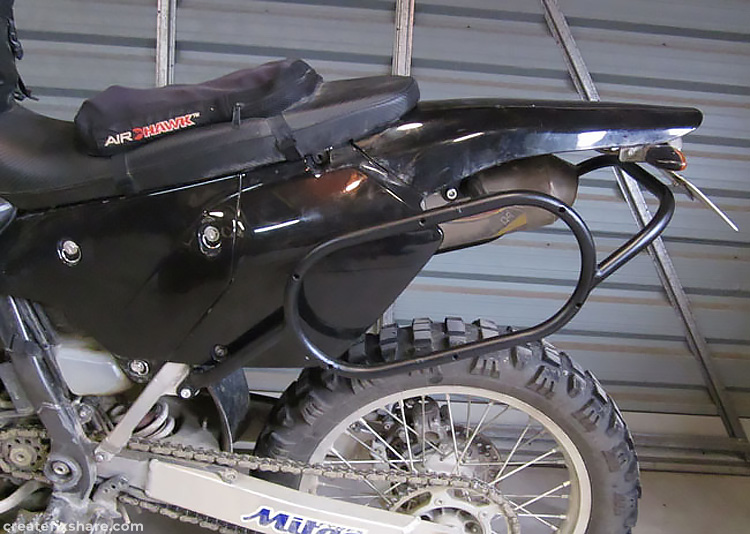
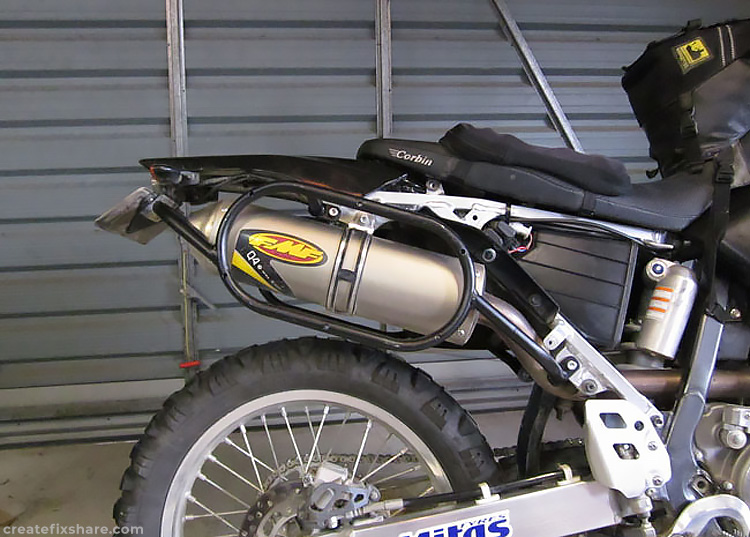
I am not really a fan of one pannier box sticking way out and one pannier box tight into the bike, it just looks odd to me. With the custom built side pannier racks I was able to overcome this by modifying the exhaust side cover which allowed the pannier frames to fit more snuggly to the bike while still allowing plenty of distance for ventilation and minimising heat transfer between the exhaust and the pannier boxes.
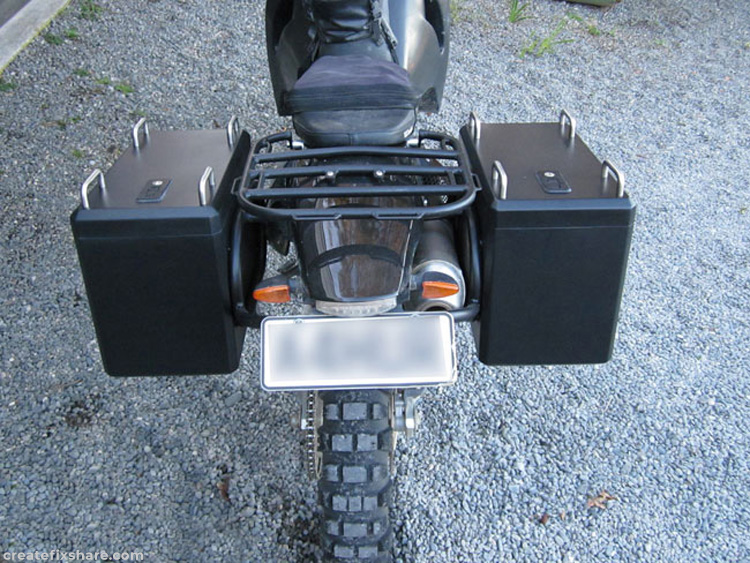
Not only do these side pannier racks bring the boxes in closer, I was able to set both the left and right pannier box at equal distances bringing symmetry to the bike and rack system.
As for the top luggage rack, again there are many DRZ400 top rack options available on the market, but the one below was also custom built to match the side pannier racks and also accommodates for two fly rod tubes and a custom top luggage bag.
The final result, pannier racks and a top rack ready for fitting boxes and a top bag.
DRZ400 Side Pannier Racks
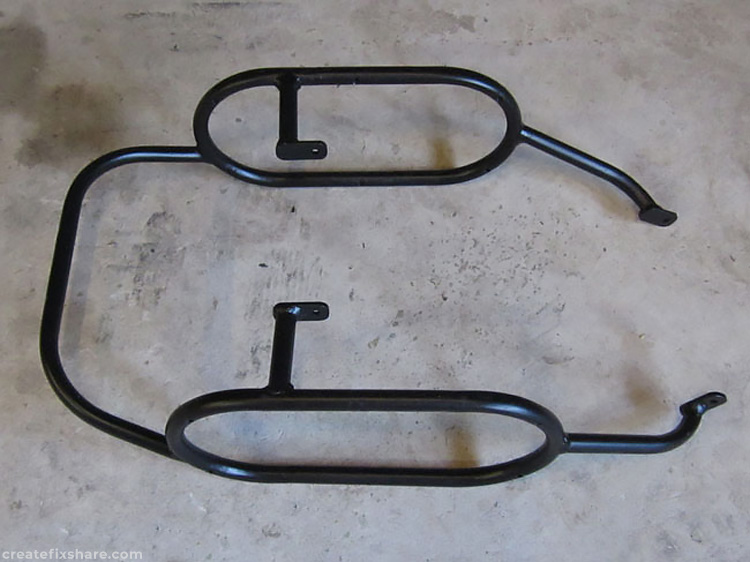
The one piece DRZ400 pannier rack. Made from 19 mm 1.2 mm tubing and 25 mm X 5 mm flat bar for the four tabs that mount the rack to the subframe.
This is a DRZ400E subframe. From factory the DRZ400E subframes don't actually have the lower lug to mount side pannier racks seen here, these lugs (one on the left one on the right) were welded on. If you have a DRZ400S or DRZ400SM subframe then these subframe lugs will already be present as they are used for the passenger foot pegs, this makes life easy.
You can see here the extra lower lug that has been welded on to the right side of the subframe and joined to the exhaust mount lug. As for the top mounting point (above the exhaust), this is present on all DRZ400 models.
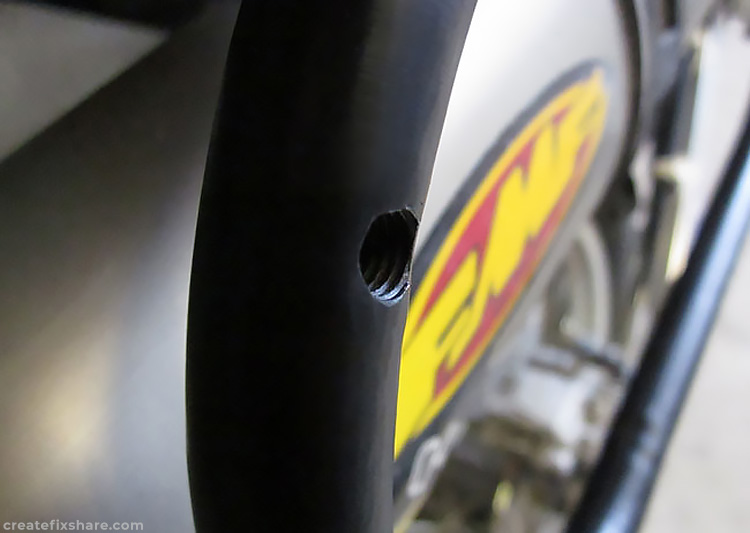
On both of the pannier rack hoops there are 6 threaded sleeves used to secure the pannier box. These threaded sleeves were made from mild steel tube with a 10 mm OD and a 6.7 mm ID. Six holes 10 mm in diameter were drilled into the 19 mm pannier frames. The 10 mm sleeves were then inserted in place and welded. The sleeves were then drilled to 6.9 mm ID and tapped at 8 X 1.25 for M8 bolts to secure the pannier boxes.
DRZ400 Top Luggage Rack
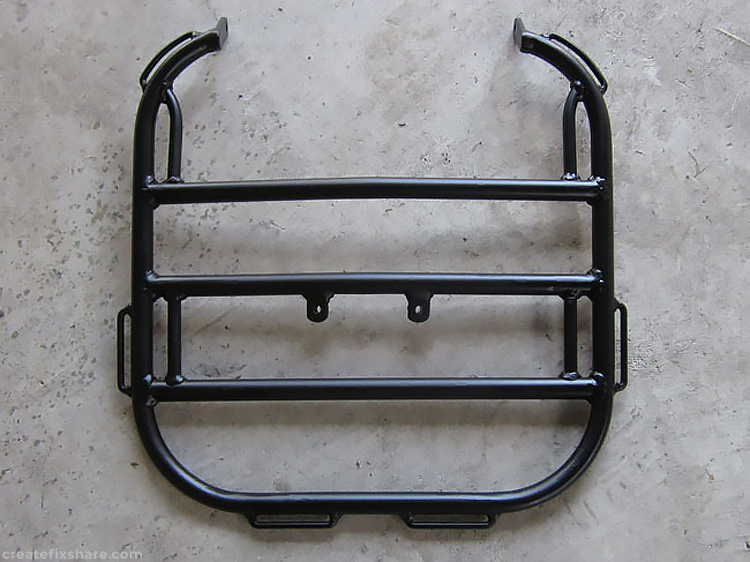
The top luggage rack has been designed to be slightly narrower than the side pannier racks so the lids of the pannier boxes can swing up and open without any problems.
On the inside of the top luggage rack, 4 sections are welded in place to be used to secure and centre the fly rod tubes (images of this further down). On the outside there are 6 loops for 50mm Velcro to hold the top bag down onto the top rack. Notice the two lugs in the middle that match up with the two holes in the top of the rear guard and the top brace on the subframe. This style of mounting is suitable for the DRZ400E (road registered version), DRZ400S and DRZ400SM. The DRZ400K and some DRZ400E dirt/short subframe models do not have this top subframe brace.
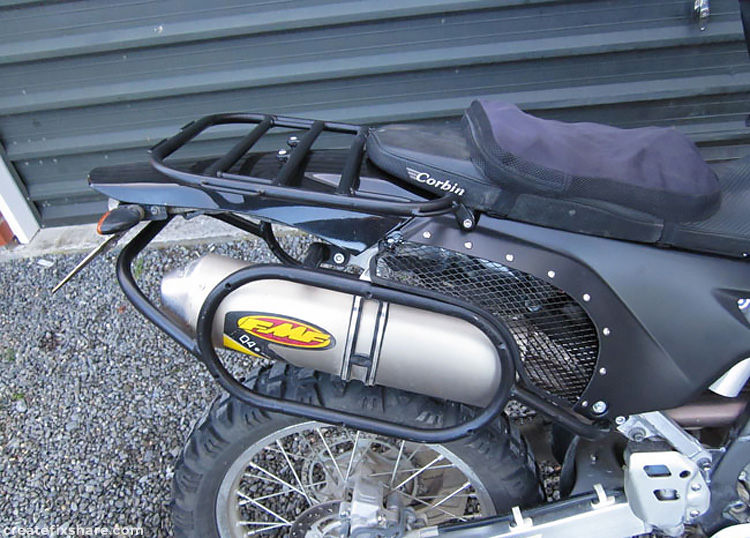
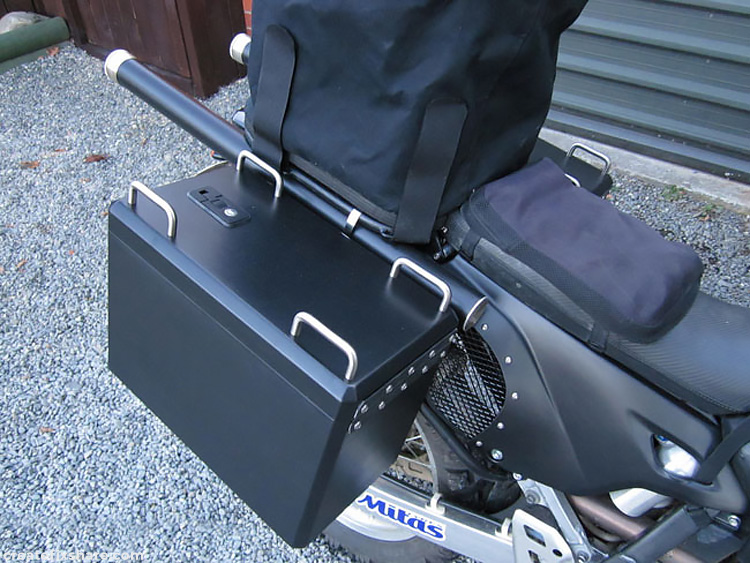
With the top luggage rack mounted in place you can see the two bolts in the top of the rack going into the subframe securing it from the top. From the side, two lugs with bolt holes that align with the seat bolts secure it from the side/front. Spacers are used for easier mounting (better image below). Also note the right side cover has been modified with an alloy mesh to increase ventilation around the side pannier racks and pannier boxes.
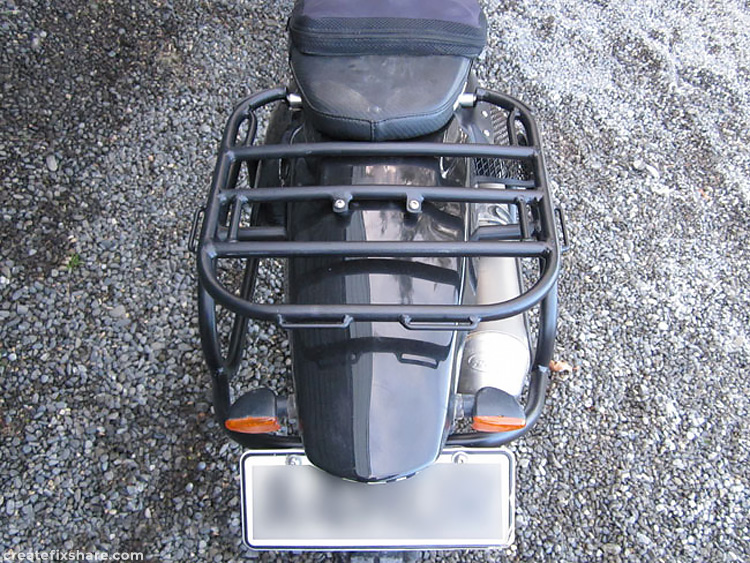
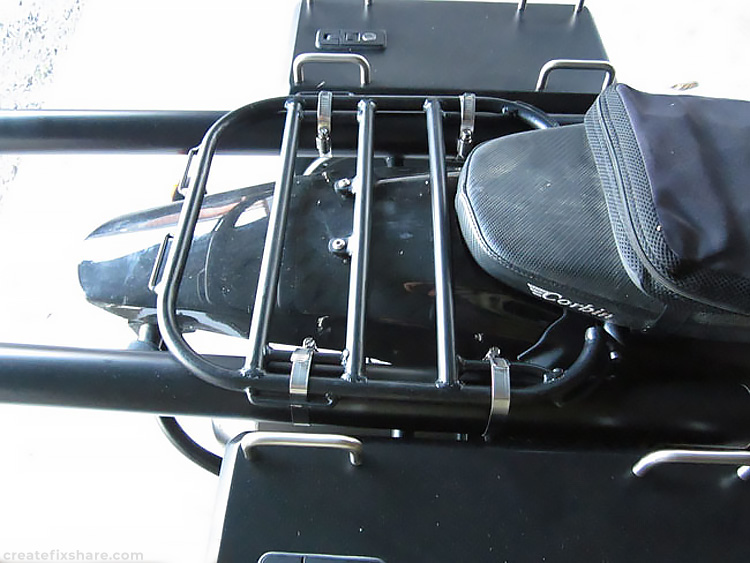
In this image you can see the two spacers used (at the seat bolts) to make mounting/removing the top luggage rack much easier. Also, you can see the symmetry of the entire luggage rack setup.
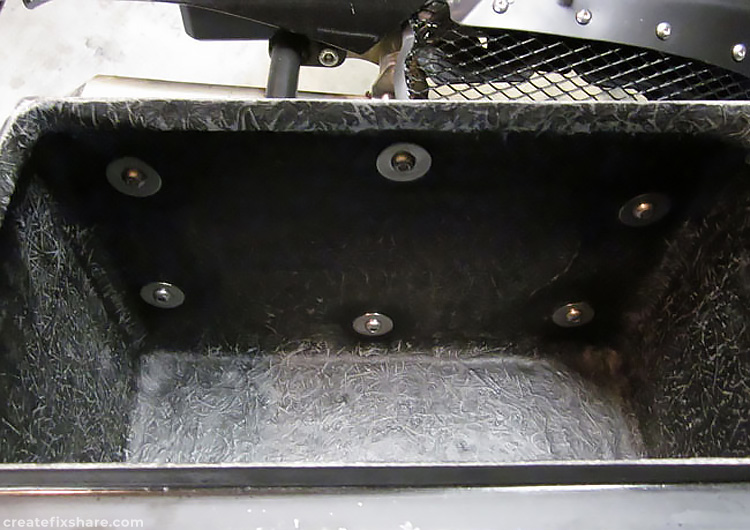
An inside view of the fiberglass pannier boxes being mounted to the pannier frames with M8 bolts and penny washers.
This image shows the symmetry of the rear view with the two boxes mounted.
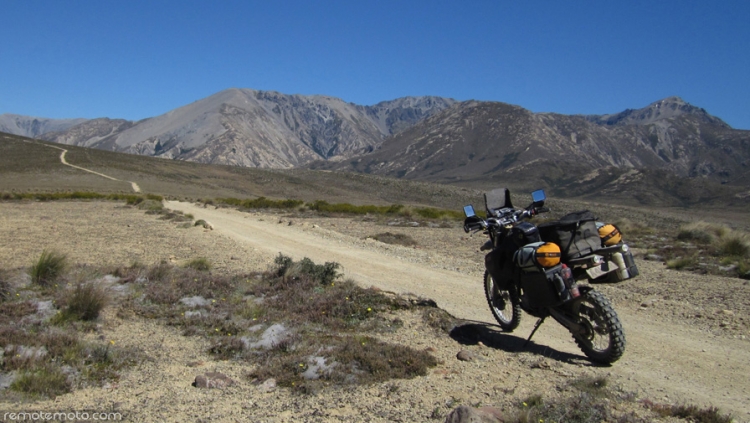
The final result, out on a riding and fly fishing trip :)
