DRZ400 Decompressor Install
This article shows the process of fitting a decompressor kit to a DRZ400E. Both the OE and aftermarket kick start kits have the decompressor kit and it is a simple 20 minute process to install.
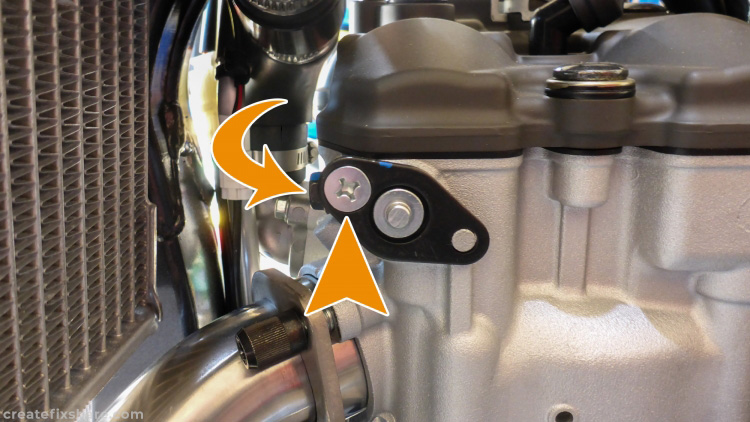
The Phillips head bolt should be removed (with an impact driver) to release the decompressor shaft retainer plate. The 6mm bolt at the front of the head needs to be removed so the decompressor plug shaft can be removed.
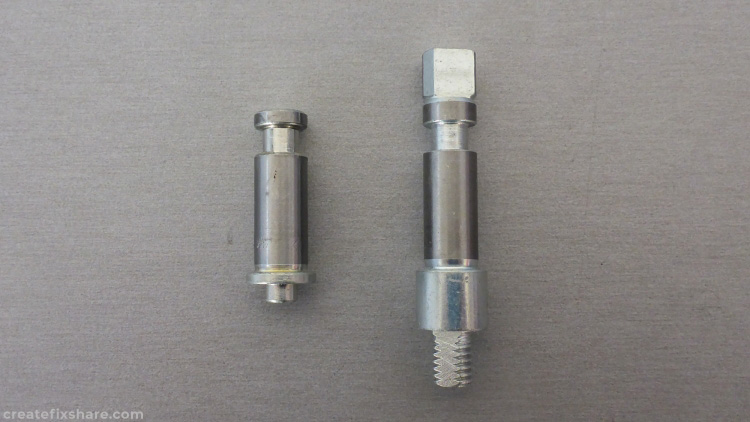
On the left is the standard decompressor plug shaft removed from the head, on the right is the new decompressor shaft about to be installed. The flat section on the top of the shaft is what depresses the exhaust valve when the decompression lever is pulled.

The decompressor shaft installed with the cable carrier bracket.
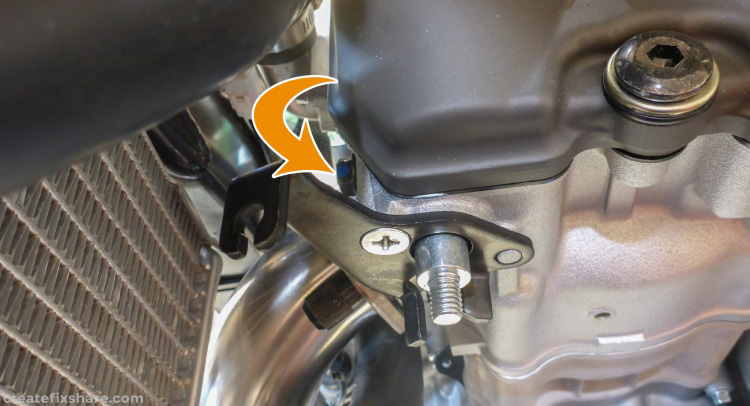
The 6mm bolt reinstalled to hold the decompressor shaft in place.
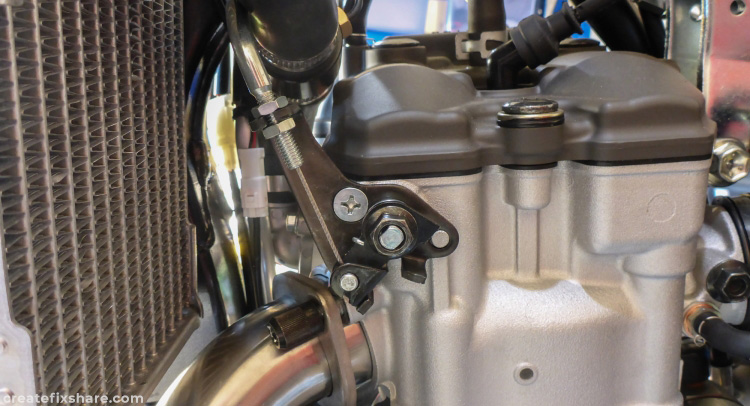
The cable hooked up to the cable carrier and actuator arm.
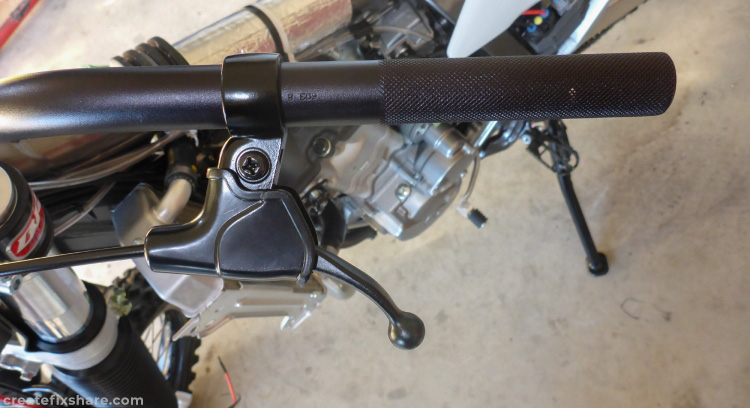
The decompressor lever fitted to the bars. Handy note, you need to fit the decompressor lever BEFORE you fit the grips as the decompressor lever is not a split bracket, it is one piece and must be slid up the bar with no grips in place.