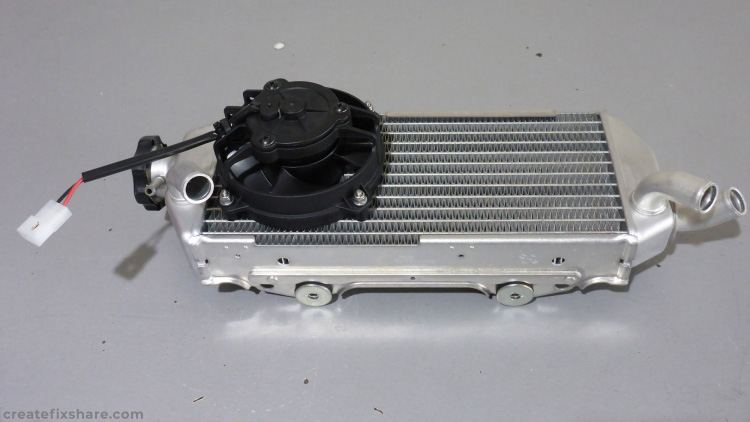
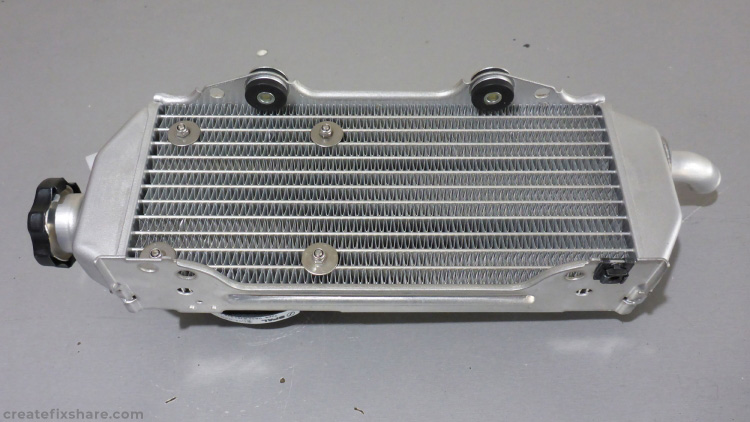
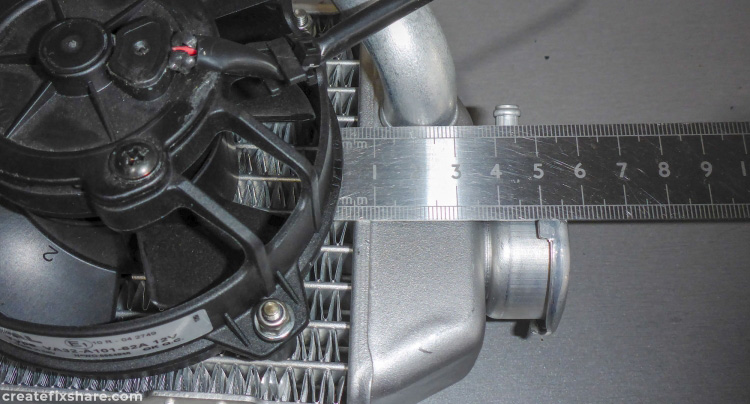
DRZ400 Radiator Fan Install
I've never found the DRZ400 to overheat when there is plenty of air movement past the radiators, however when riding tight, steep, slow going tracks when air movement past the radiators is reduced and either/both the engine is working hard or ambient temperatures are high, the DRZ400 can overheat and boil the radiators.
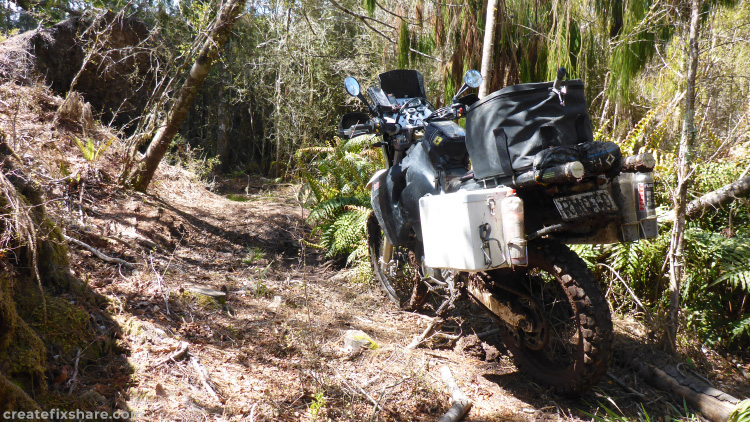
On the trip from the photo above I wasted a lot of time sitting and letting the bike cool on four occasions. Aside from the fact waiting around is no fun, it's just no good for any engine to repeatedly overheat. The solution was to install a radiator fan. Although the DRZ400S and DRZ400SM both have fan kits that I could have installed on the DRZ400E, I opted to go for the Trail Tech fan kit as I liked the extra functionality of the programmable relay that allows you to set the temperature that the fan will kick in.
Important Note When Fitting the DRZ400 Fan Temperature Sensor
Trail Tech doesn’t make a radiator fan kit specifically for the DRZ400 so the only option is the Trail Tech universal fan kit. The radiator fin sensor that comes with the universal fan kit is too wide for the DRZ400 radiator columns and will require filing down to fit.
Alternatively, the fan temperature gauge/relay uses the standard Trail Tech plug sockets which allows you to plug in any Trail Tech temperature sensor. This gives you three options:
1 - the 19 mm radiator hose sensor
2 - the top of the radiator bleeder screw sensor
3 - flush mounting the provided fan kit temp sensor to the top of the radiator with high temp epoxy (in the above image).
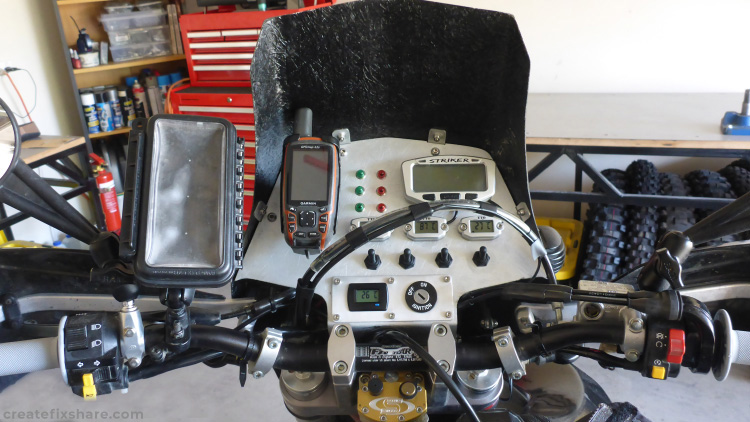
Testing the Fan on the DRZ400
Stationary idling will see the DRZ400 coolant temperatures eventually rise over 100 degrees Celsius to the point of boiling. Three initial tests were of the bike stationary and idling with fan set to kick in at temperatures of 70, 80 and 90 degrees Celsius.
In all three tests the fan kicked in when it should have and immediately stopped the temperature from rising. Ambient temperatures of 17 to 22 degrees Celsius saw the repeat cycle of the fan turning on when it hit the target temp, the temperature dropping, the fan turning off, then kicking back in again when the temperature rose and hit the target temp.
Summary: the fan operates perfectly in these stationary idling test scenarios.
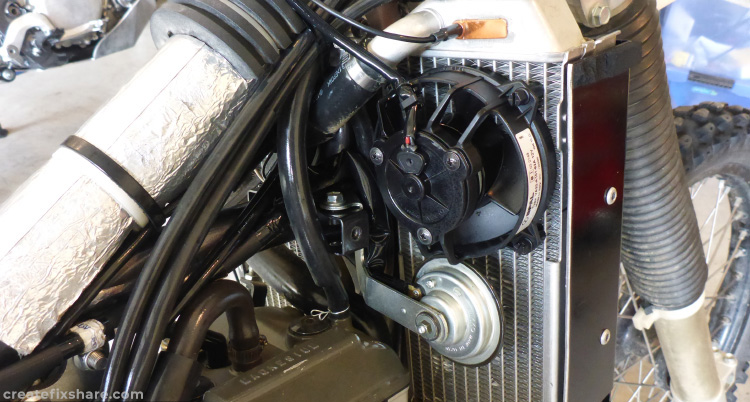
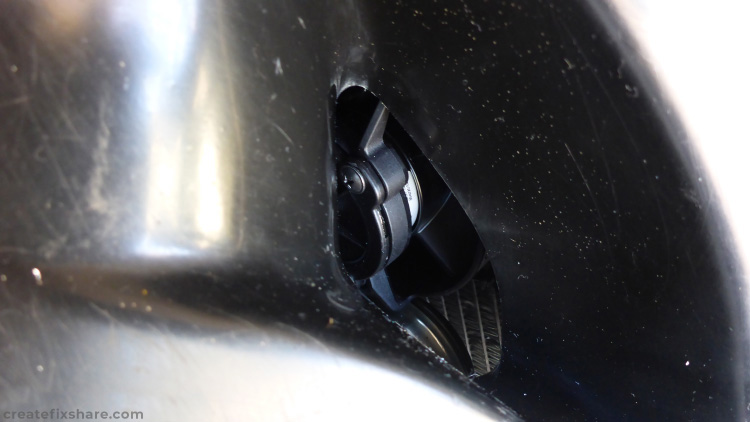
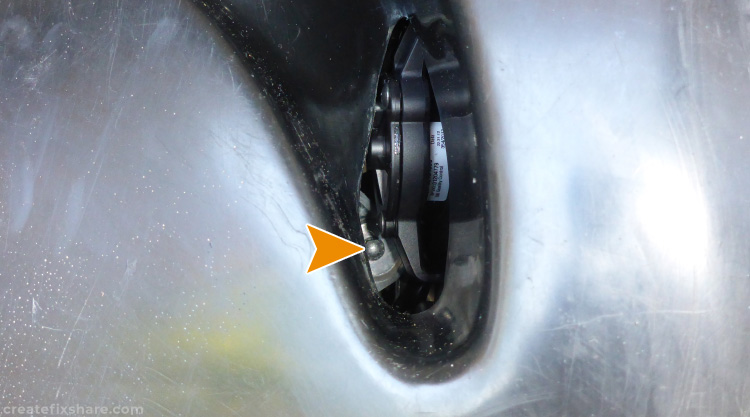
The three photos below are from an install on a DRZ400, using 4mm threaded rod to secure the fan, with a 28 litre Safari tank. The placement of the fan is detailed to allow the tank to be fitted without interference, and still allow access to the tank mounting bolts.
