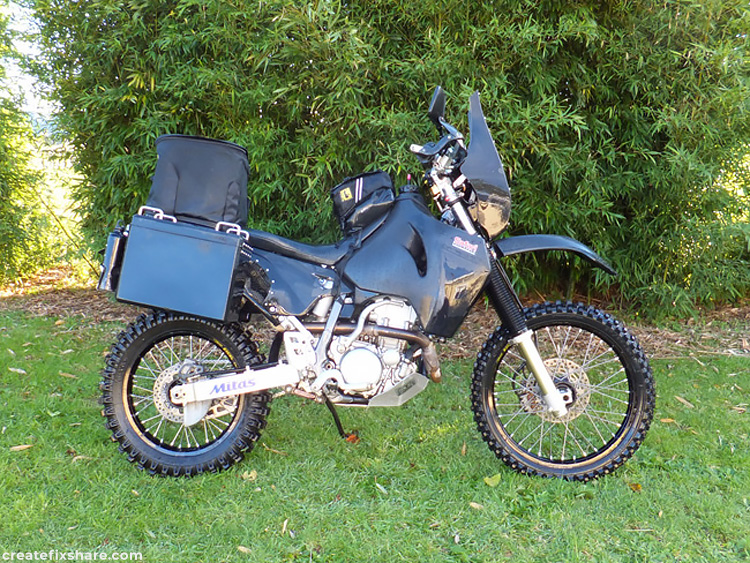
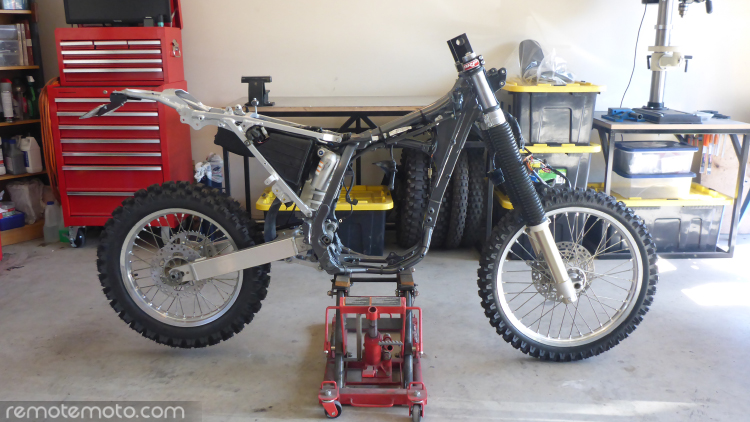
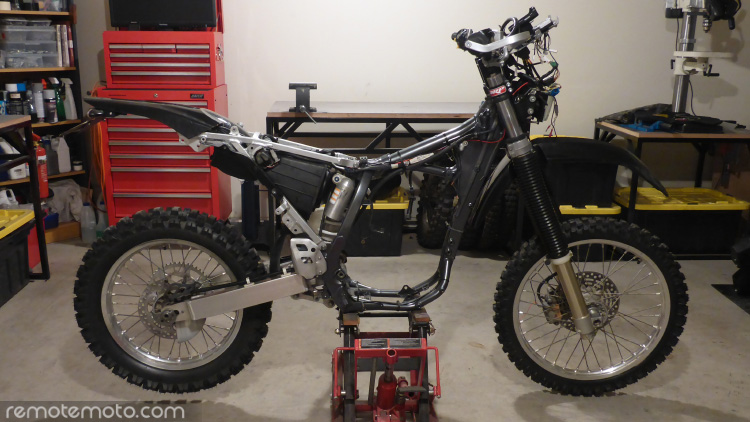
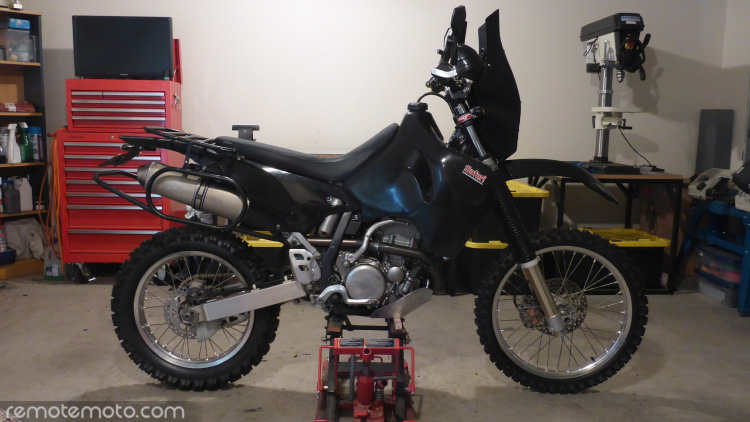
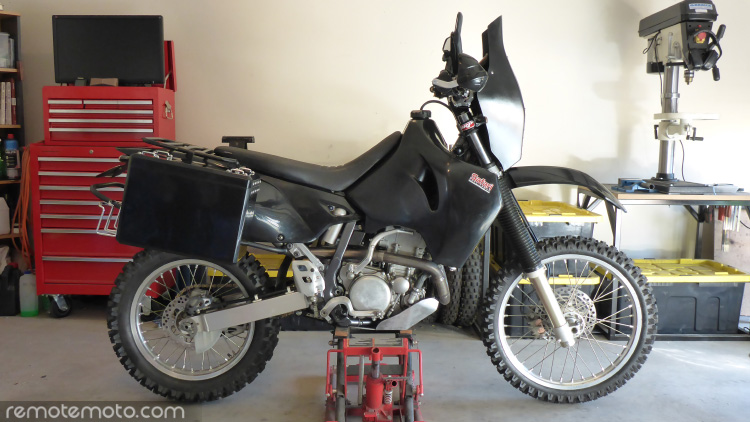
With the goal to eliminate riding downtime, a second identical backup bike is being built up ready to turn key and go should any issues arise with the main bike. This article will follow the progress of the rebuild from the very beginning as a naked frame...
This is how the bike looked when it was my primary adventure bike.
DRZ400 Rebuild - Stage 1
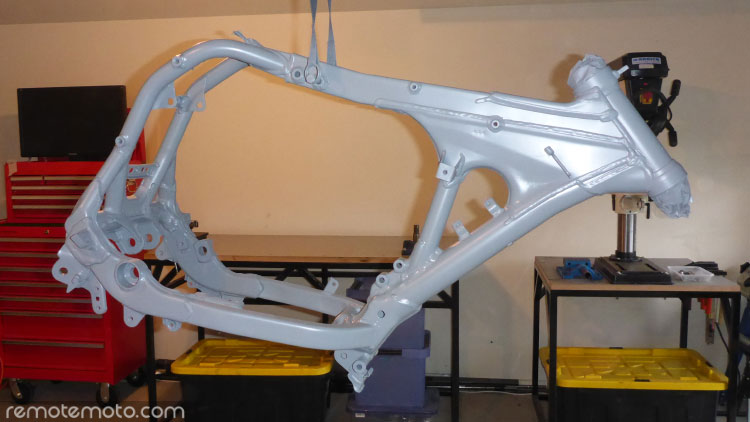
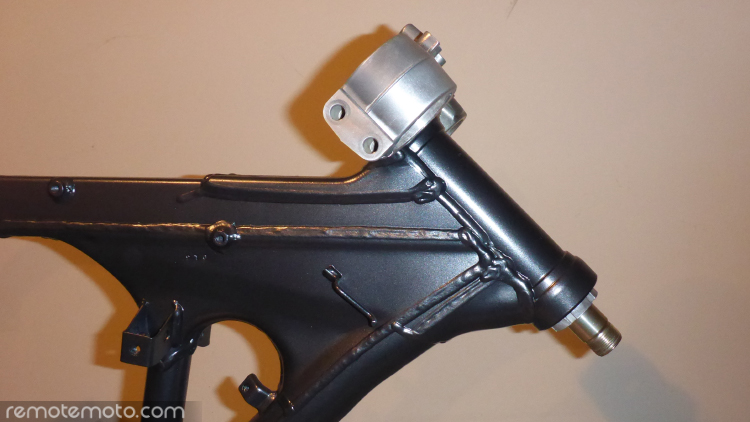
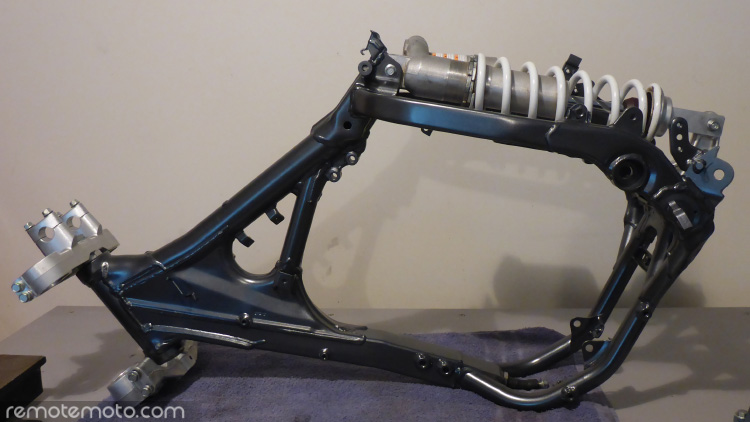
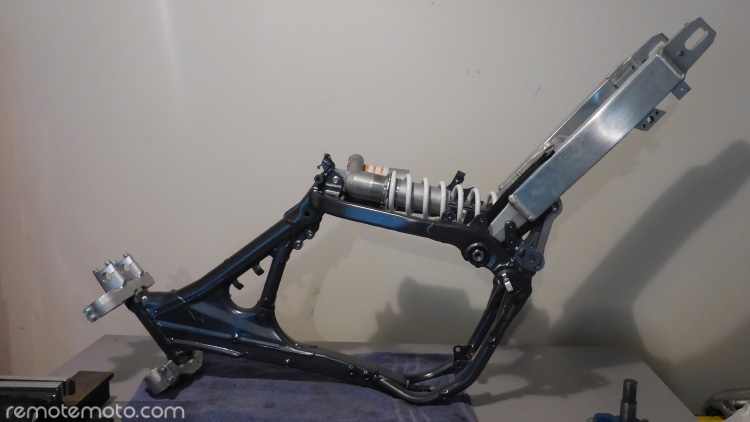
With the bike fully stripped down and boxed up, there was no better place to start than the frame. Here it has been stripped, fully cleaned, prepped and primed. Using a high end brand aerosol primer from a local automotive paint store.
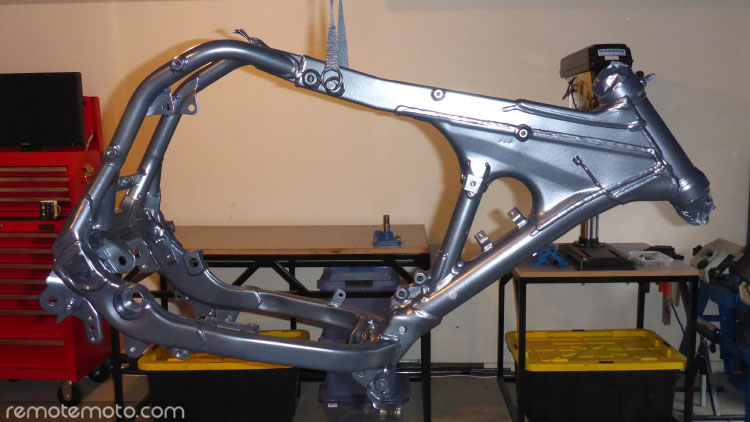
Using a high end brand aerosol paint from a local automotive paint store that was colour-matched to the Suzuki metallic fleck paint, the frame gets three top coats and now looks just as good as it did when it came out of Mr Suzuki's factory. Whilst aerosol paint is not as good as a professionally sprayed two pack automotive paint, it is fair to say the high end aerosol paints have improved over time and can be colour matched exceptionally well plus have respectable durability and longevity.
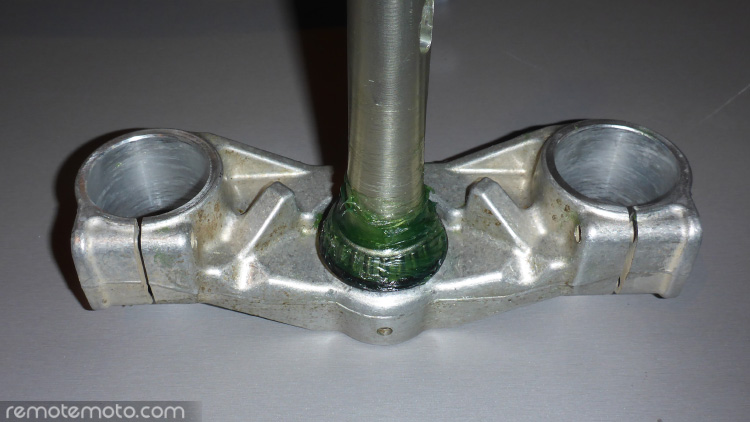
Triples
The triples were the first thing to get back into the frame. New steering head bearings and liberally greasing before reassembly.
Swingarm
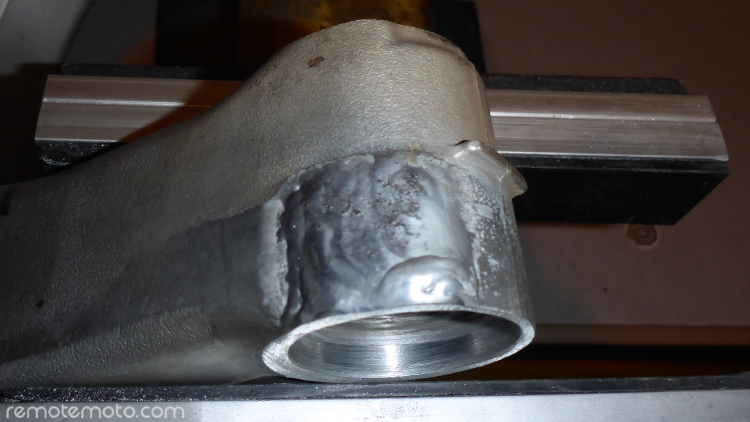
This one was not so straightforward. Unbeknown to me the swingarm chain guide had worn through on the underside out of sight and the chain had been eating through the swingarm. So with a bit of tigtrickery it was built up and then reshaped.
There is an article here with more info on repairing a swingarm with chain wear.
Built up with the tig welder.
Cleaned up and back to new.
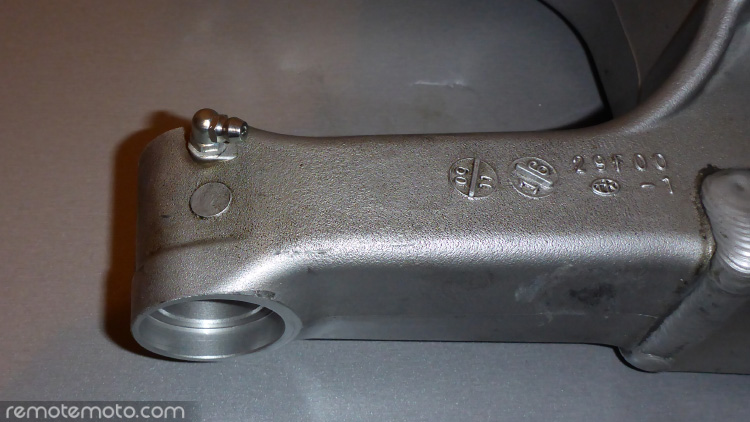
Installing new nipples all round.
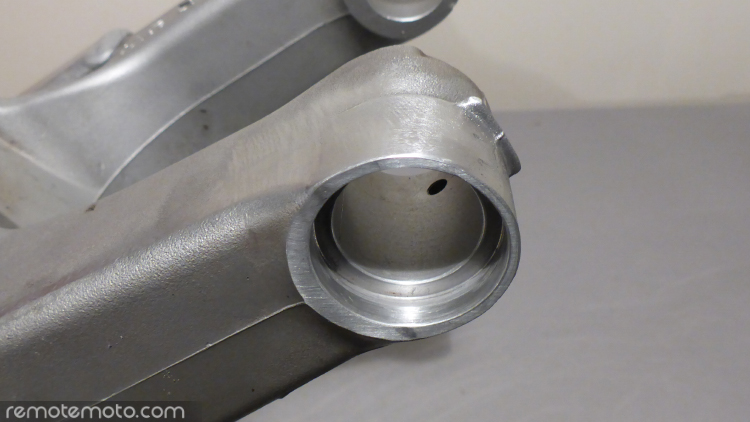
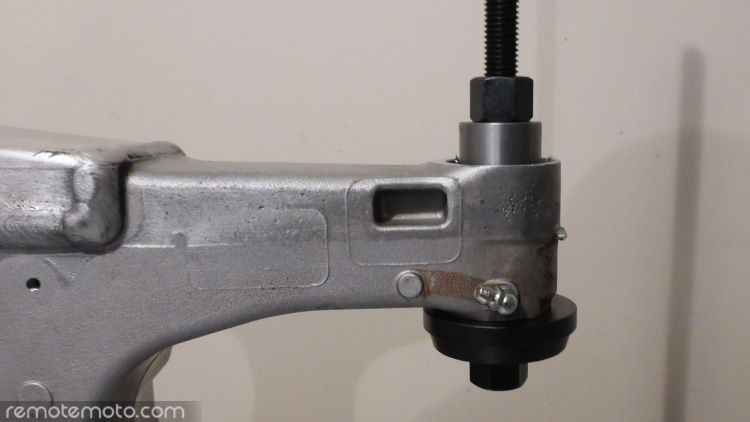
Pressing the new bearings into the swingarm.
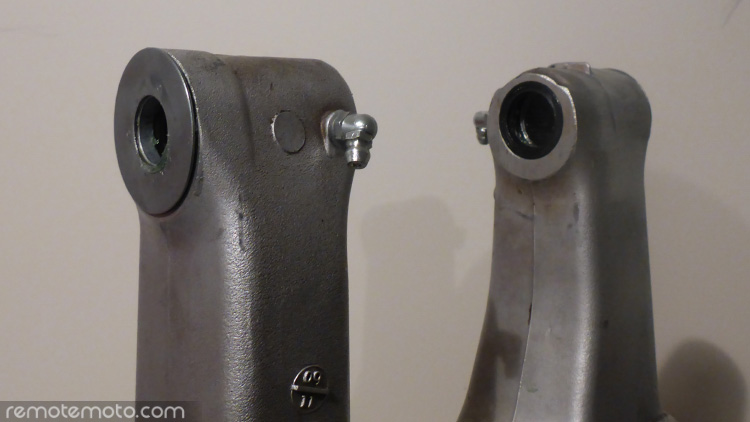
Swingarm bearings and seals installed.
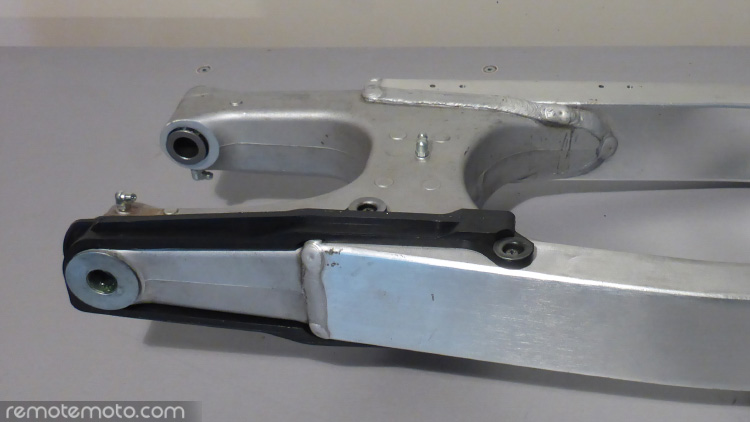
The final addition of a new chain guide brought the swingarm to completion ready for fitting.
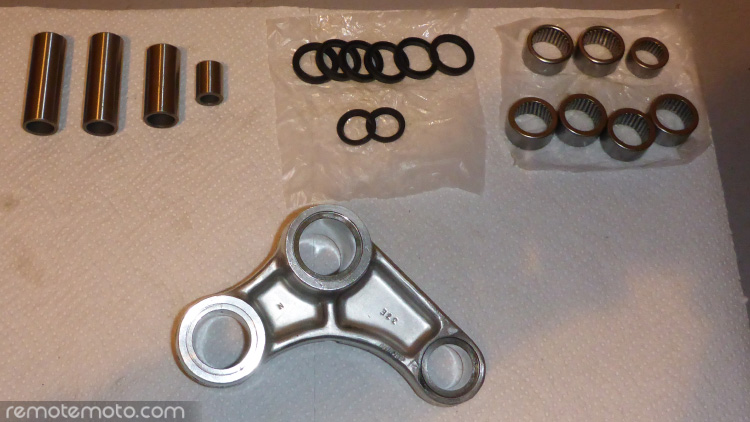
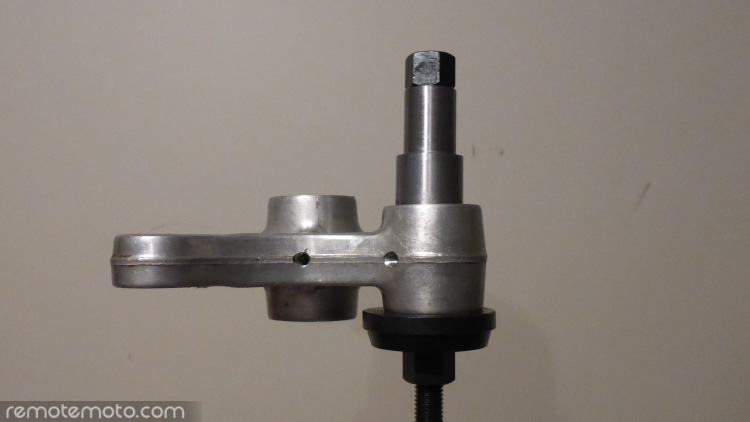
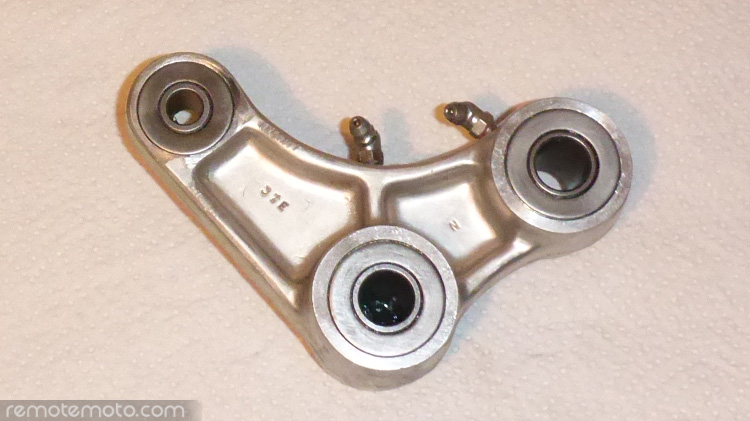
Next up were the bearings and seals for the suspension pivot lever.
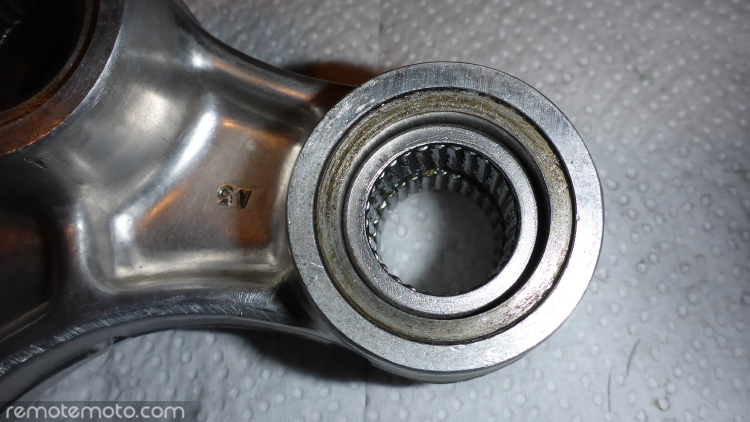
Pressing in the new bearings.
Bearings fitted with a recess for the seals.
Seals and washers fitted, ready to go.
Wheels and Tyres
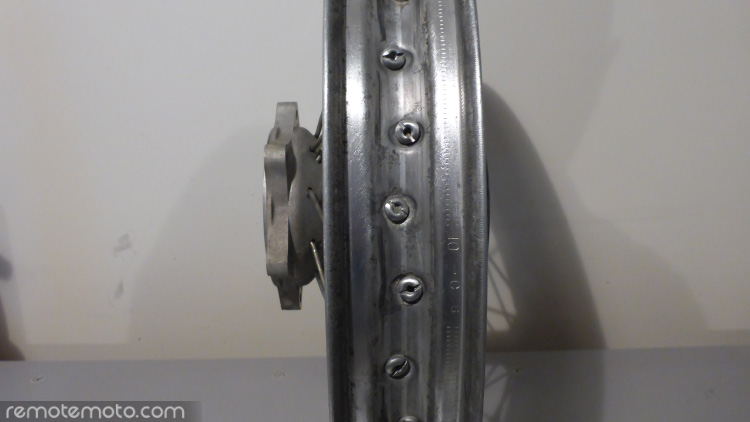
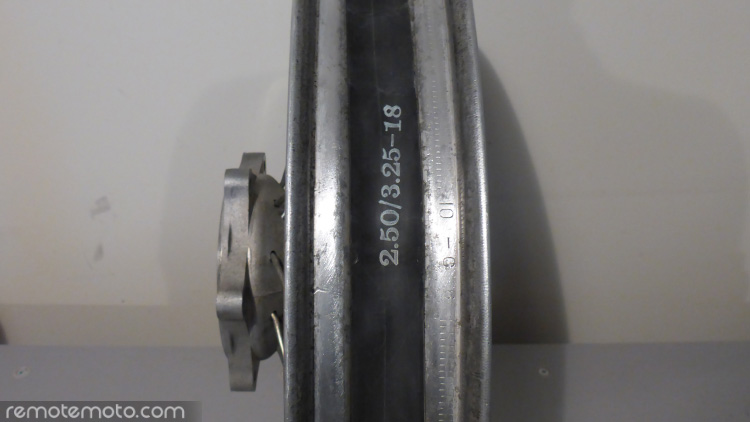
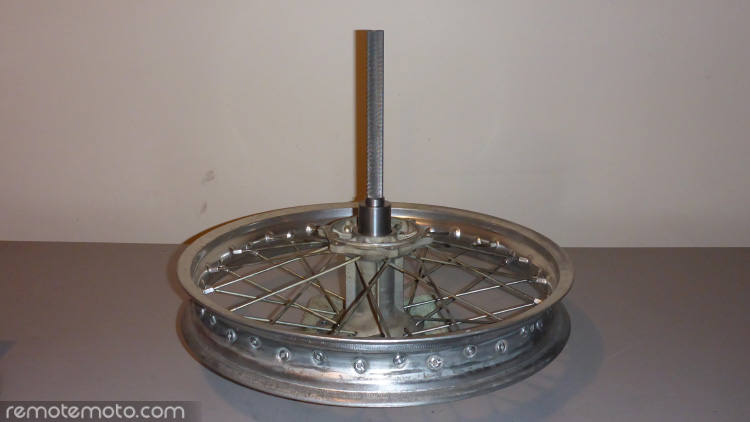
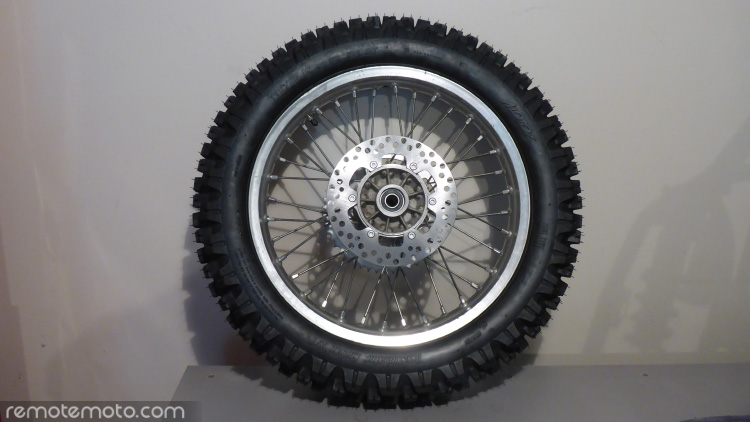
Using the origional wheel set, the objective was a complete clean up, rim tune, new rim strips, tubes, tyres, bearings, seals, disks and rear drive sprocket.
Clean up, lube spoke nipples and tune.
Fitting new bearings. I have the bearing press tools but I find it so much quicker and easier to use the punch method.
Fitting new tube, tyre, brake disks and drive sprocket.
Suspension
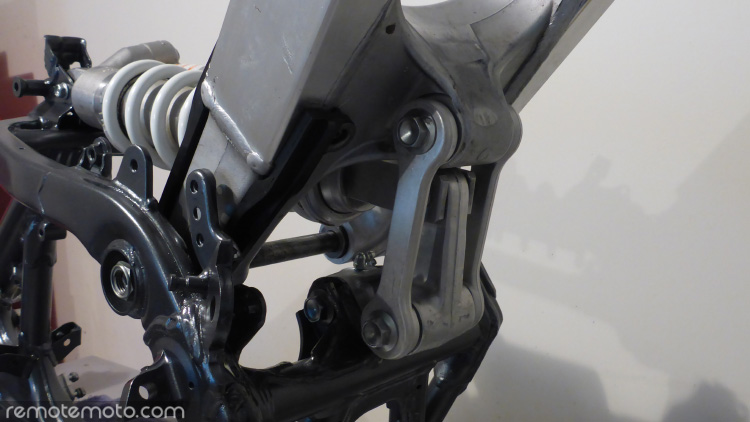
Fitting the lower links (aka dog bones).
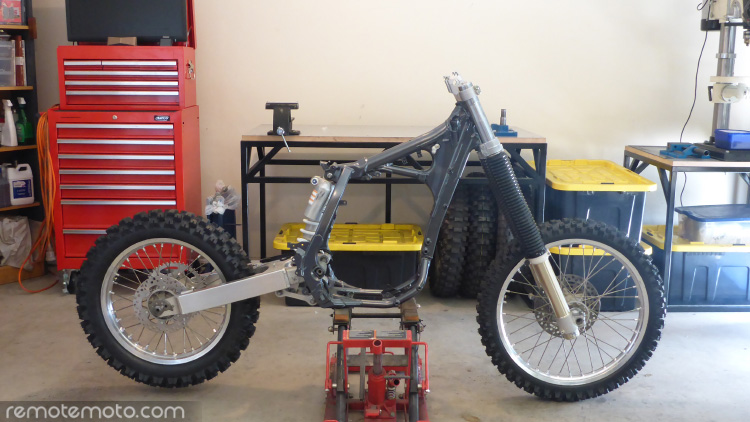
After fitting the swingarm, front forks and wheels it is starting to look more like a bike again.
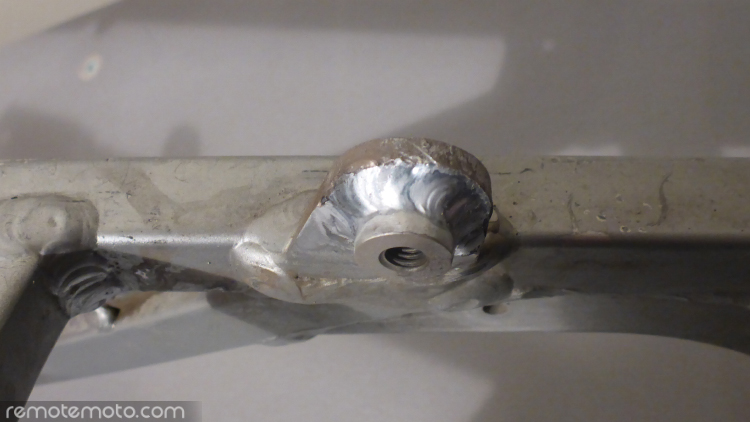
I encountered the common issue of the subframe seat mount welds breaking when hanging luggage racks so they both got a tickle up with the tig welder.
On with the subframe, wiring loom and BRP SUB mount.
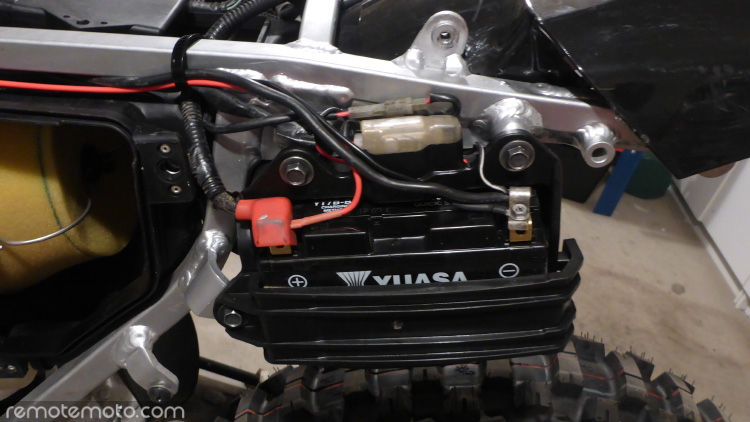
In with a new Yuasa YT7B-BS.
Rewiring the rear indicators, brake light and all the dash gadgets.
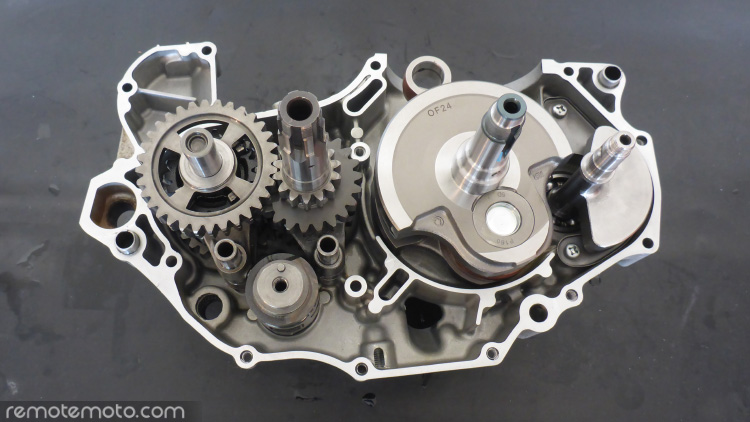
With the box of engine parts arriving next up was completing the full engine rebuild.
Panniers on, ready to roll...
