Keihin FCR39 Needle and Main Jet Upgrade
The photos below go through the process of changing the needle and main jet on a Keihin FCR39.

Start by removing the two bolts on the top of the carb.
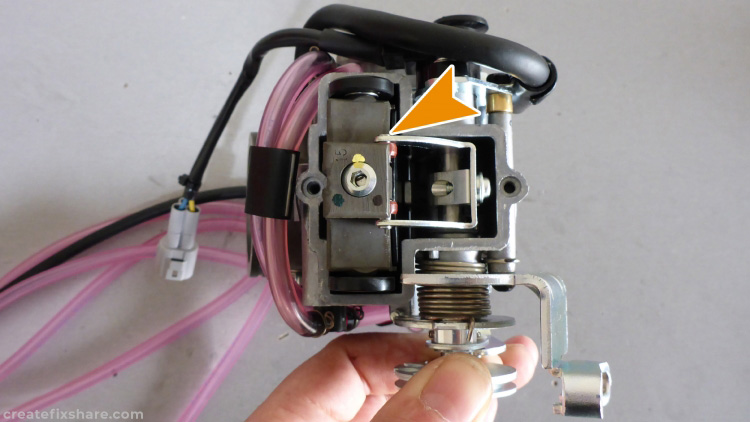
With your hand rotate the throttle shaft actuator clockwise. This will lift the valve throttle body and allow it to clear the throttle link arm rollers and be slipped out.
Remove the valve from the throttle valve body.
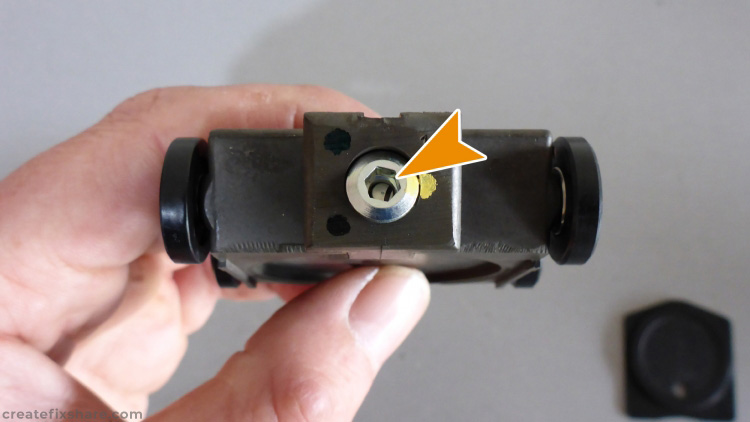
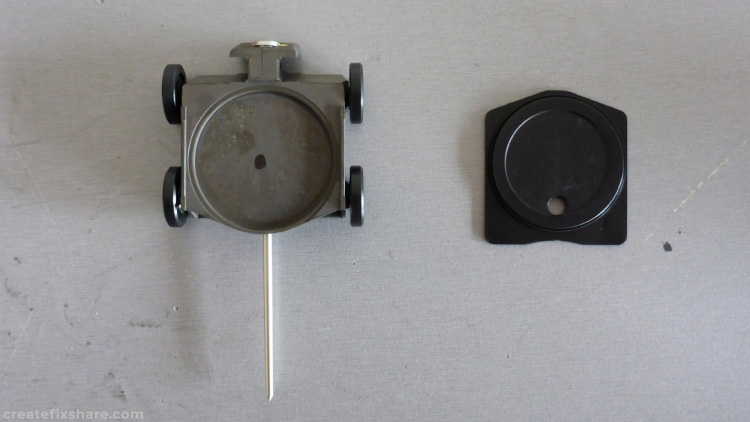
Remove the needle set screw.
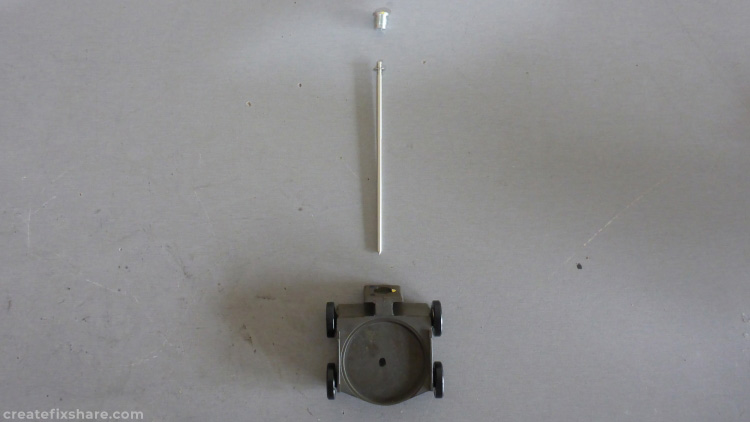
With the needle set screw removed the needle will fall out when you turn the throttle valve body upside down.
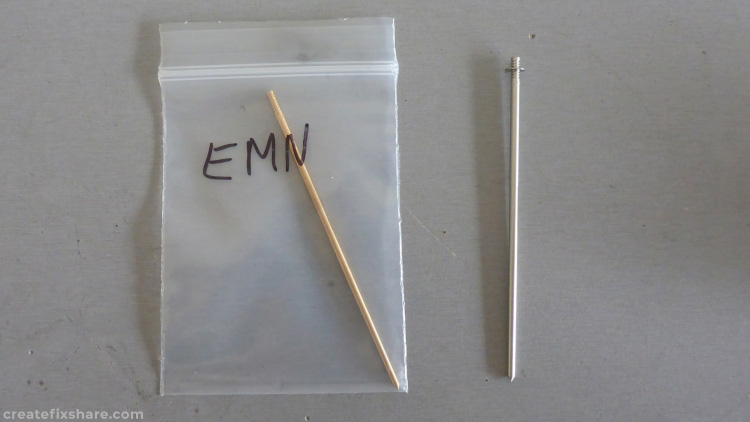
In this example the OE needle is being exchanged with a genuine Keihin FCR39 EMN needle. Another good performance option for the DRZ400 is the JD Jetting Kit.
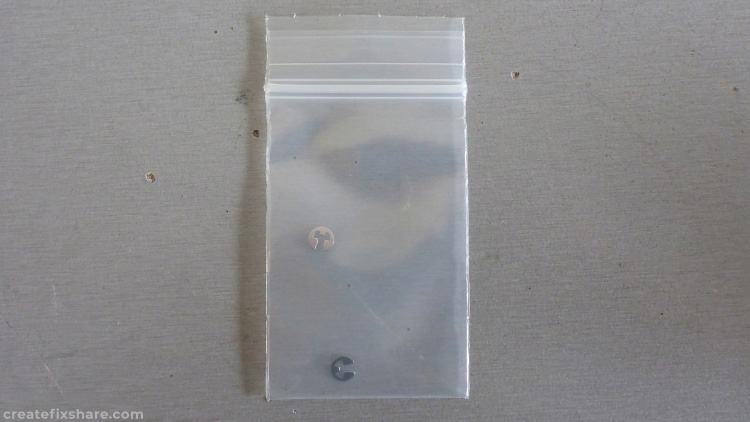
Keihin recommend using a new needle clip. Needle clip position will vary, for my use of an EMN needle and #160 main jet I install the needle clip in the second position (second groove from the top of the needle). Reverse the removal process to install the new needle.
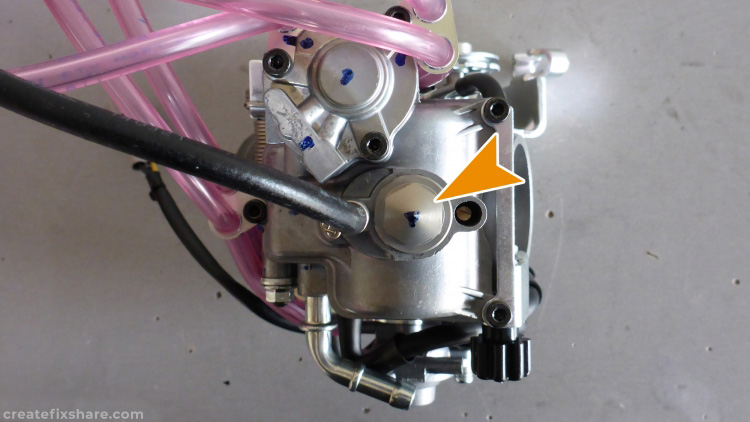
For the main jet, turn the carb upside down and remove the cap bolt to expose the main jet.
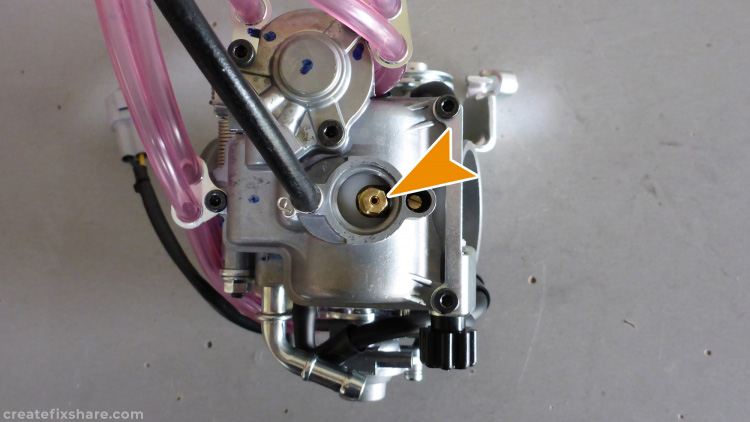
Remove the main jet.
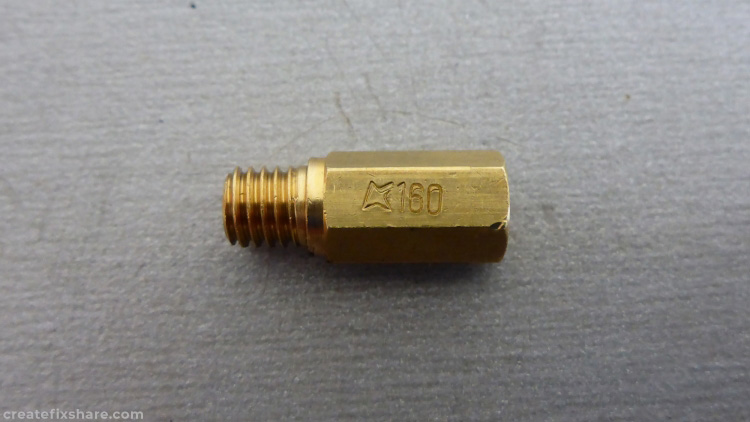
This is the main jet. In this example it is a genuine Keihin #160 main jet about to be installed.