Changing Clutch Fibers and Clutch Plates on a DRZ250
This article shows you how to replace the clutch fibers and clutch plates (clutch pack) on a DRZ250. The process is fairly straight forward, doesn’t require any specialized tools other than a torque wrench, and can be done in under an hour in any home workshop.
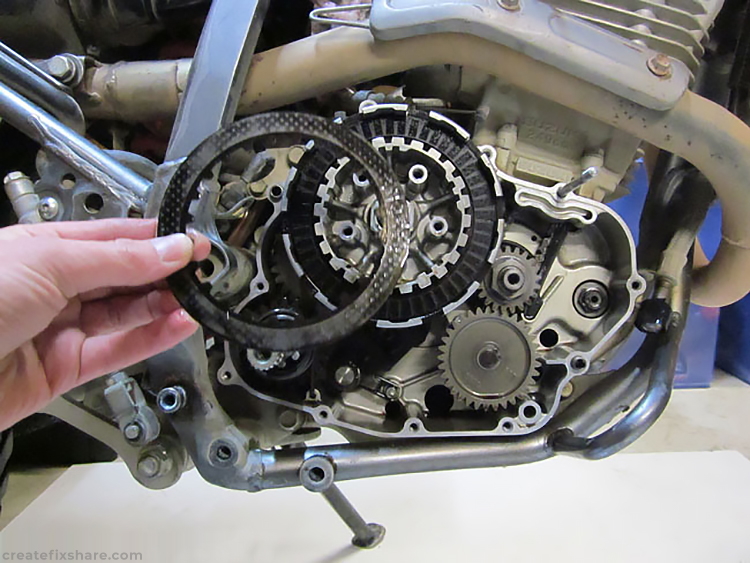
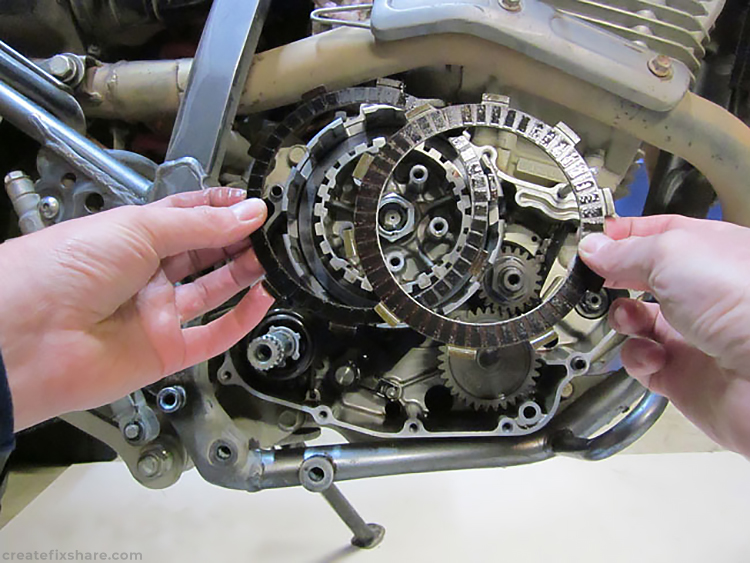
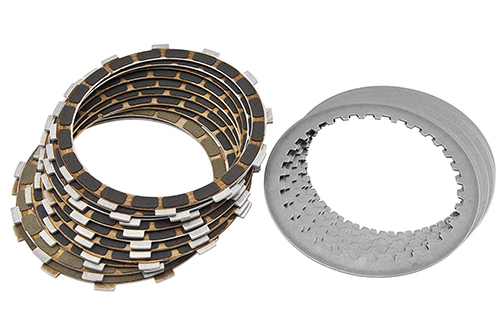
Clutch fibers
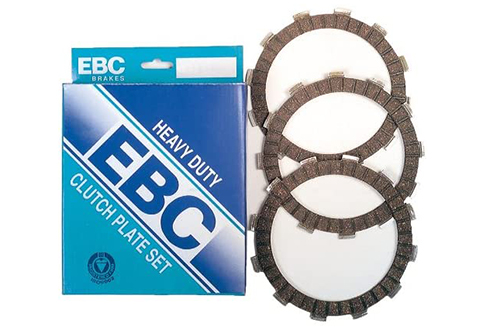
The first thing to do is get yourself some new clutch fibers as you will need these by minimum. For a DRZ250, you have the option of either getting a factory clutch fiber kit, or choose from one of the many aftermarket companies producing clutch fiber kits.
Clutch plates (steels)
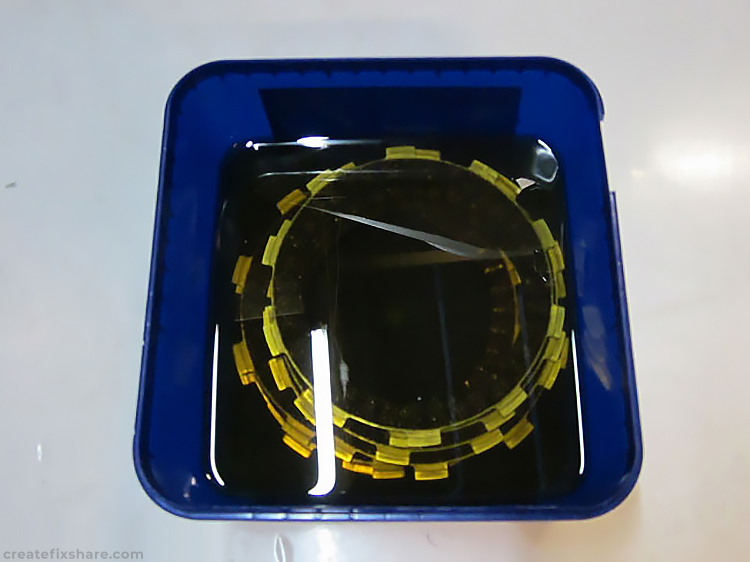
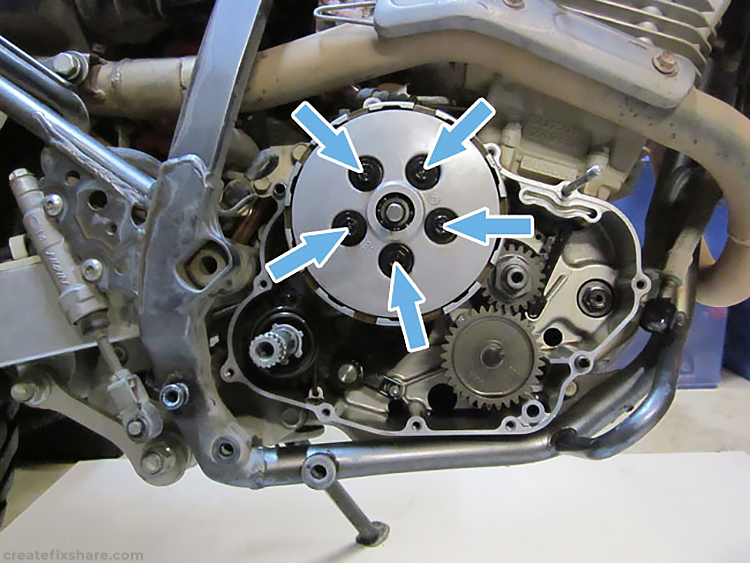
If your clutch plates are in good condition, and not warped, then it is common practice to reuse them. If your clutch has been slipping and generated a lot of heat, you may find your clutch plates will be warped, and will need replacing. The warp test involves placing each clutch plate on a pane of glass. Then, using a feeler gauge, work around each clutch plate and see if you can slide the feeler gauge underneath the clutch plate. If you can slide the feeler gauge under at any point, it will mean the clutch plate is warped, and requires replacing.
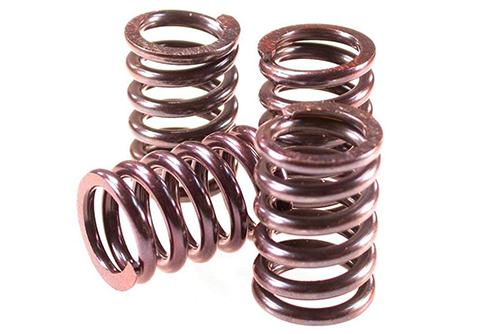
Clutch springs
Generally, clutch springs that are in good condition can be reused without issue. However, if your clutch has been slipping and generated a lot of heat, it is possible your clutch springs have softened and may no longer have the ability to hold the correct clutch pack pressure. If this is the case, the new clutch pack will slip readily, and end up destroying itself in no time flat. Because clutch springs are so cheap, it is worth playing it smart, and replacing the clutch springs while you have the side cover off and you are right there.
Check out the recommendation panel at the end of this article for some great options for clutch fibers, clutch plates and clutch springs.
Clutch Fiber Preparation
Many clutch pack manufacturers will recommend soaking the clutch fibers in oil (the same oil that you will be running in your bike) anywhere from 20 minutes to 12 hours. This will vary from manufacturer to manufacturer, and will normally be detailed on the packaging of your new clutch fibers or clutch pack. The reason for this is to avoid the clutch fibers and plates sticking together or chattering, the first time you ride the bike, after installing the new clutch fibers and plates.
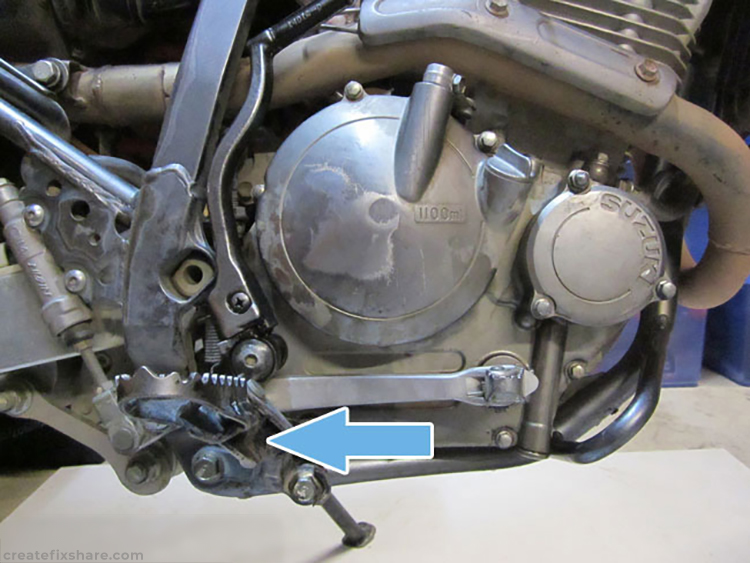
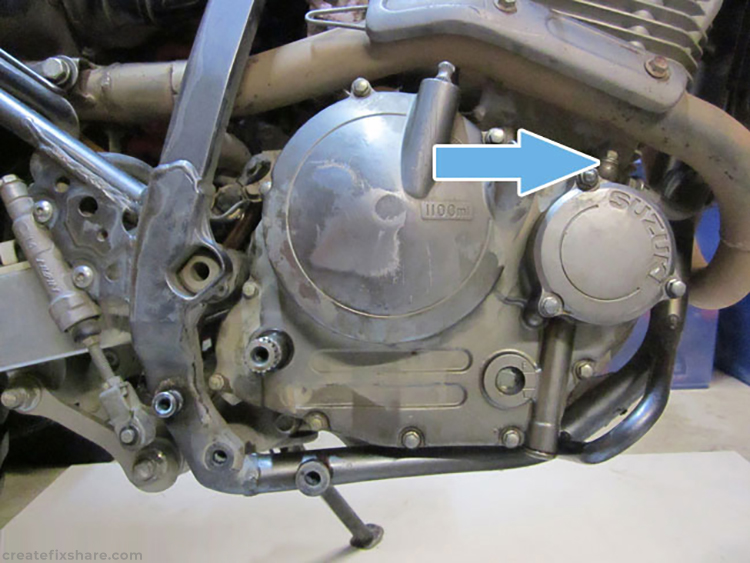
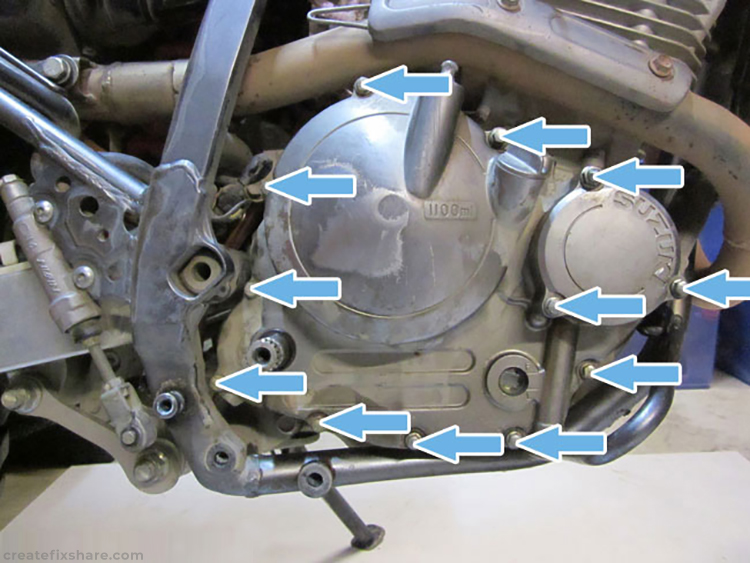
Draining the Motor Oil
When it comes to replacing clutch fibers and plates, there are two options to accommodate for your motor being full of oil.
Option 1 – Drain the oil
If you want to work on your bike with it standing upright (either on the side stand, a center stand, or a motorbike jack/hoist) then you will need to drain the oil. If you don’t, when you open up the side cover, oil will spew everywhere!
To drain the oil, start the bike, let it run for a minimum of 5 minutes to heat the oil, and then drain the oil as if you were doing a standard oil change. By using a clean container to drain the oil into, you can reuse it once the new clutch fibers are installed.
After the oil has been drained, you'll need to let the cool off for a bit before you can start the process.
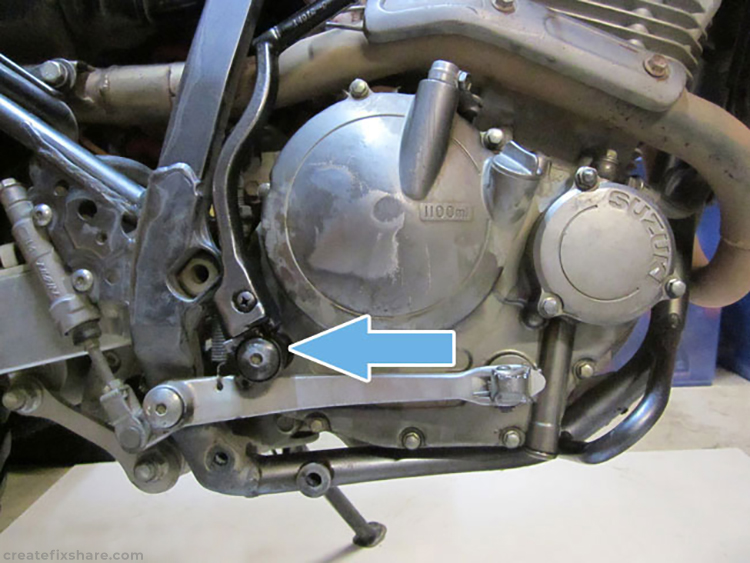
Option 2 – Lay the bike on its side
If you prefer not to drain the oil, or if this is a trailside repair mid-trip and you need to keep the oil in the bike, you can simply lie the bike on its side. The oil will drain to the other side of the motor, and this will allow you to change the clutch fibers without draining the oil.

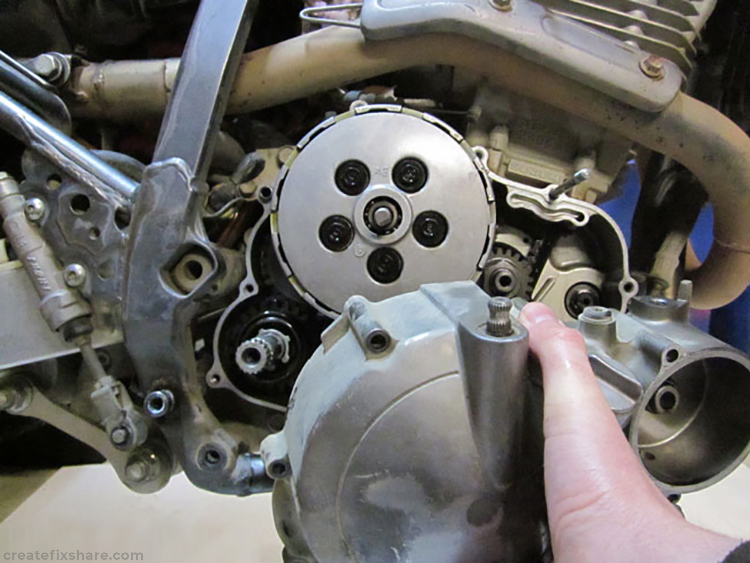
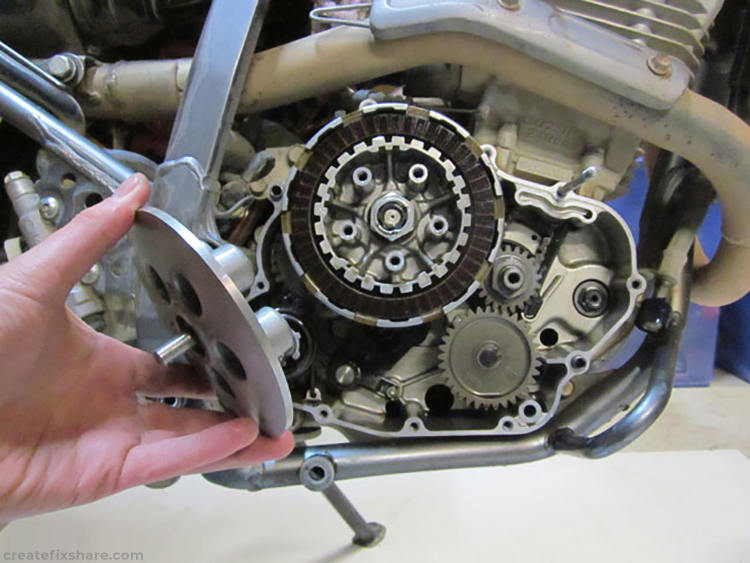
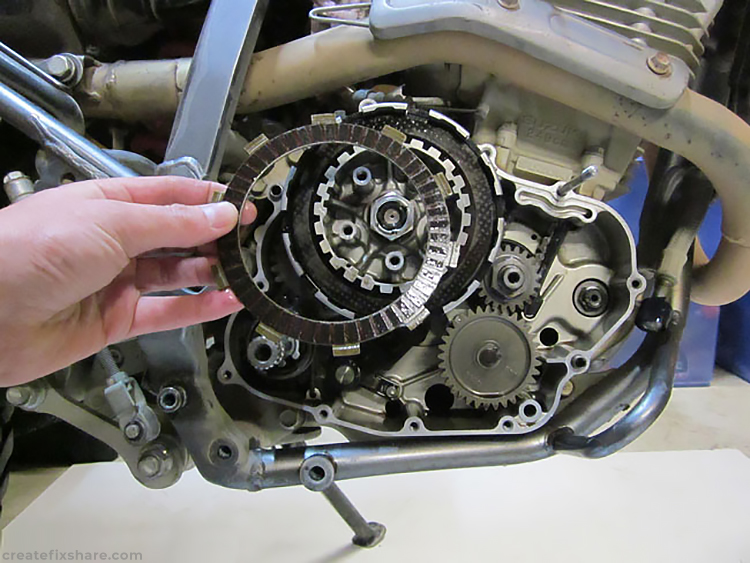

In this case, I am using the old clutch plates (clutch steels) as they were in good condition and passed the warp test.


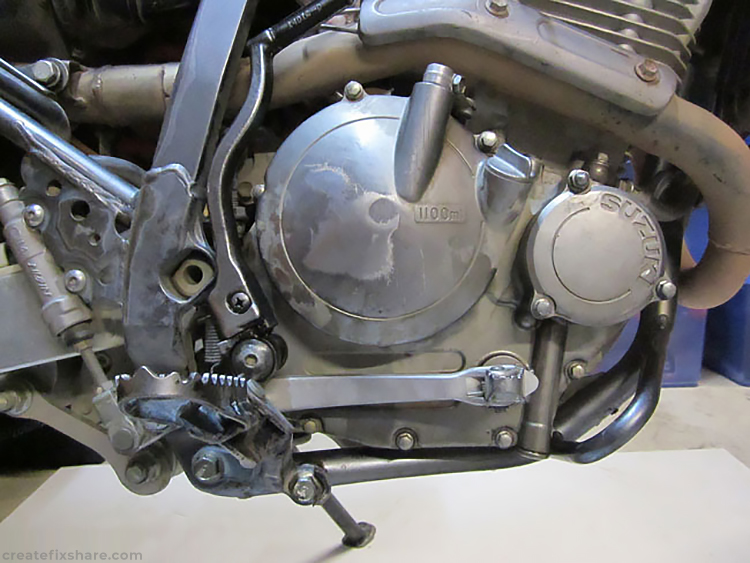
Before You Hit the Start Button
If you installed a new side cover gasket, you can start the bike up right away and you are good to go with a brand spanking new clutch!
If however you used a sealant on the original gasket, you will need to wait for the sealant to cure (according to the manufacturer's recommendations) before starting the engine.
Note from the author, Josh Martin: As an Amazon Associate I earn from qualifying purchases. Because I am a man of integrity, any affiliate links will be to products that I have personally used and extensively tested, or that I genuinely believe in. Thank you for your support.
-
DRZ250 Clutch Fibers
This is an EBC kit that includes just the DRZ250 clutch fibers
-
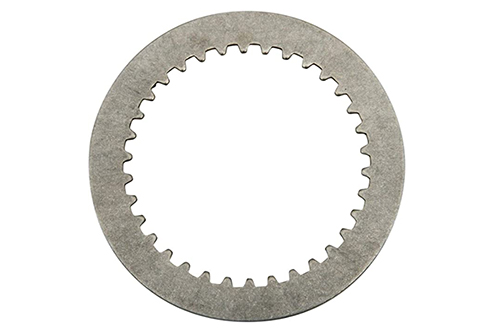
DRZ250 Clutch Plates (Steels)
These are individual Barnett Performance Products clutch plates (steels) for the DRZ250
-
DRZ250 Clutch Pack Kit
This is the Barnett Performance Products clutch kit that includes both the clutch fibers and the clutch plates (steels)
-
DRZ250 Clutch Spring Kit
This is the Barnett Performance Products Clutch Spring Kit for the DRZ250
-
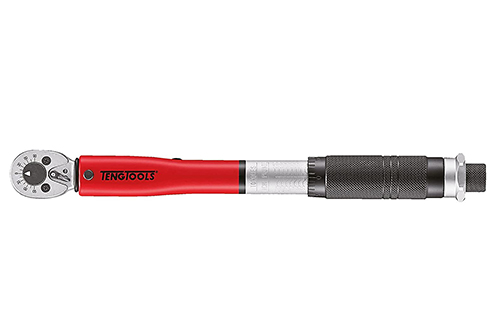
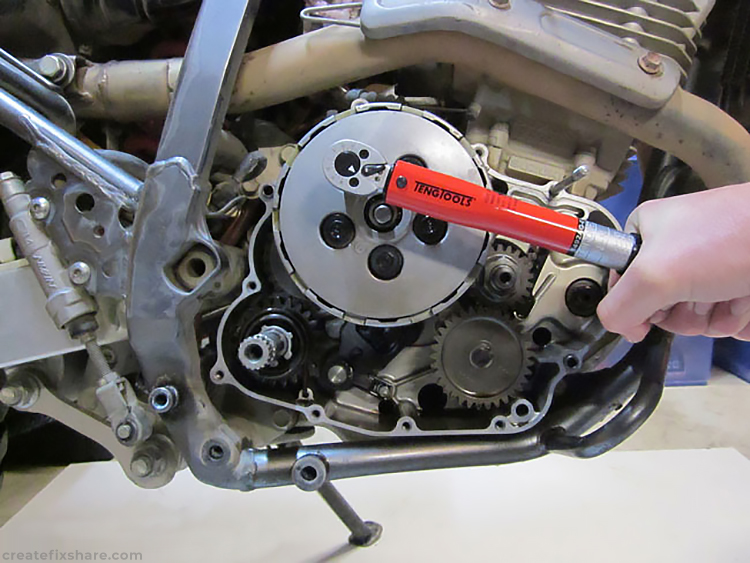
Teng Tools 1/4 Inch Drive Torque Wrench
This is the same torque wrench I used in this article, and the one I use regularly for bolts with low torque specs.
-
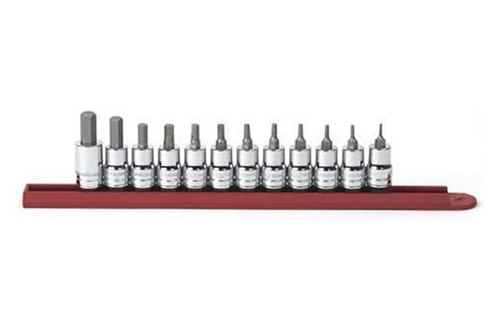
3/8 Drive Hex Bit Set
While you can use allen keys for this job, the kick start and brake lever allen head bolts can get pretty tight, so having the extra leverage of the 3/8 ratchet on a hex bit makes life easy
-
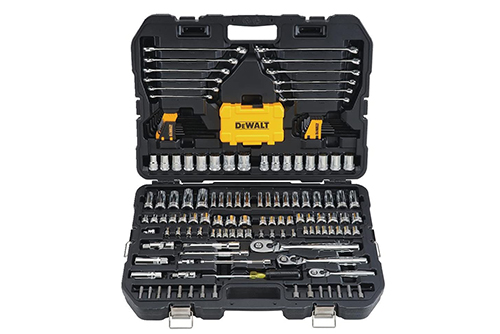
DEWALT Mechanics Socket Set
Having both a 3/8 and 1/4 drive socket set makes this job easy. The 1/4 inch drive is nice to use on the small 6mm casing bolts, and the 3/8 drive is good to use on the bigger bolts. This is a mid-range socket set that is good value for money