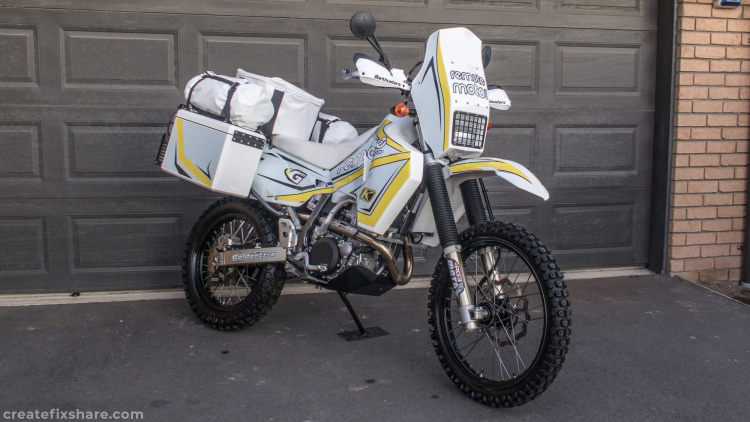
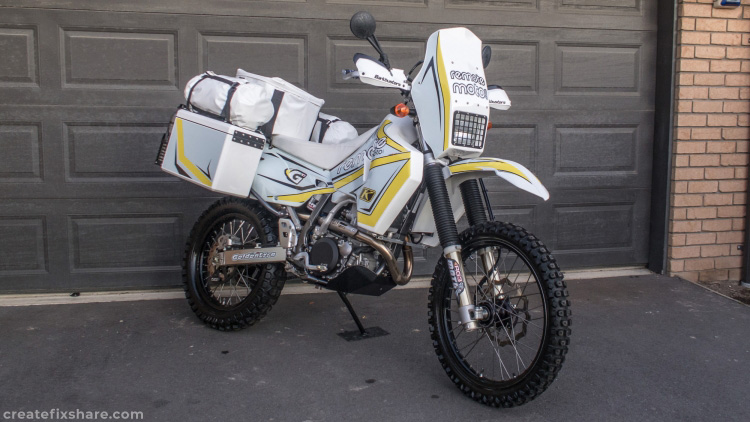
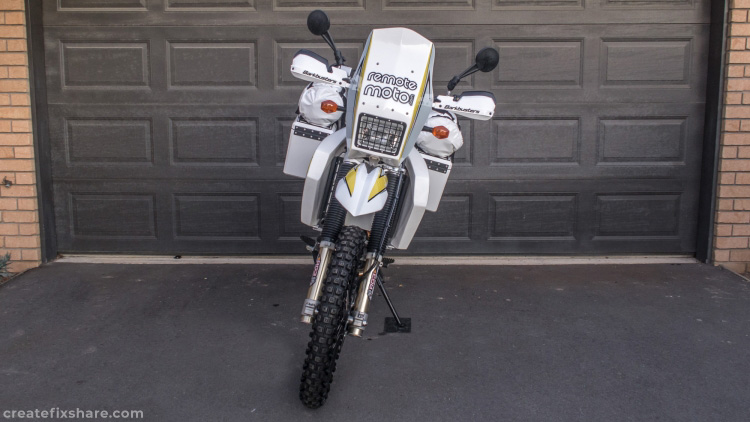
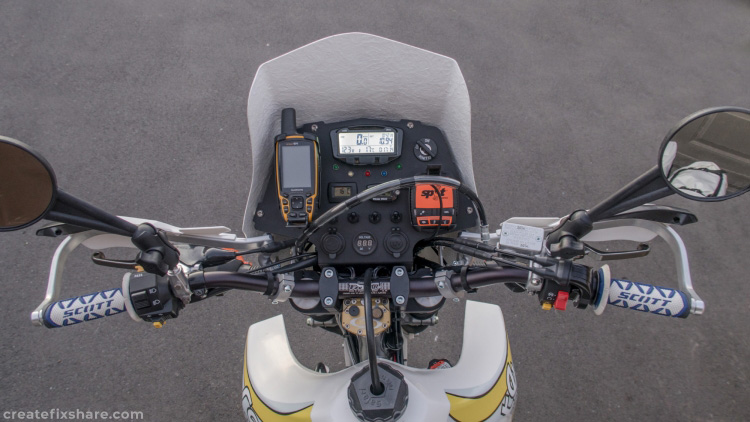
The DRZ400 adventure bike I was building needed an adventure screen that included a dash that I could comfortably house a GPS and additional gauges. I had a particular layout in mind, but searching the internet for adventure bike screens didn't really turn up the ideal solution. So, the decision was made to custom build my own adventure screen out of fiberglass.
This article shows the process I used for building an adventure screen out of fiberglass for a DRZ400 however the same process applies for pretty much any bike being setup for adventure riding.
The process of building this adventure screen evolved and changed considerably over a number of years. This is the final outcome and process that I used.
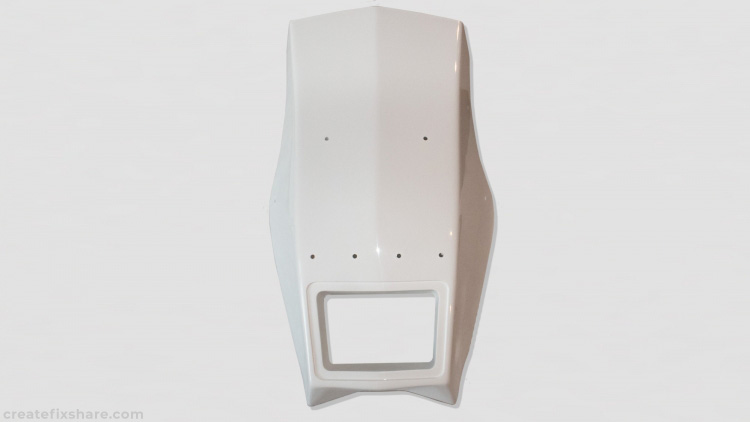
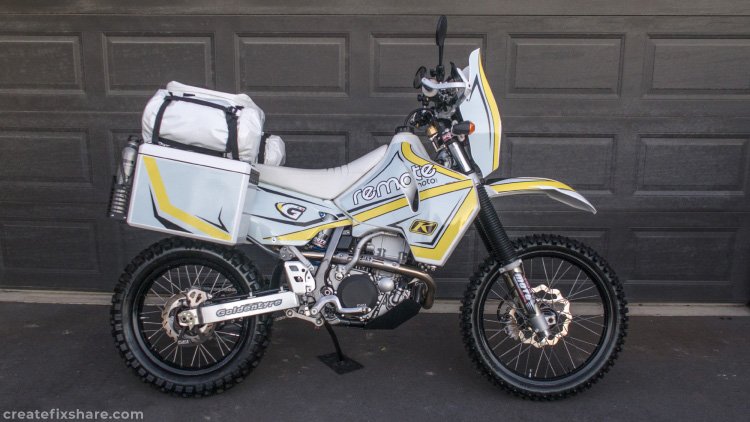
The final adventure bike screen.
Planning and Designing the Adventure Bike Screen
I spent a number of hours looking at pictures of basic screens but nothing really appealed. I then looked at some of the Dakar style screens. While some were not my cup of tea, there were some I immediately warmed to and selected to use as a base for design ideas.
Using the pictures as a guide, I spent hours in the workshop placing cardboard cutouts on the bike to get the right shape and look to suit the DRZ400. Once the design style was complete, this led to the next step of building the fibreglass plugs and moulds.
Steps involved for the fibreglass plugs and moulds
1. Build the male plug (used to create the female mould)
2. Using the male plug, create the female mould (used to create the final adventure screen)
3. Using the female mould, create the final fibreglass screen
Building the Male Plug
This is by far the most time consuming part. My first design saw me use the OEM Suzuki headlight shroud as a base for the male plug however I found the following method easier and it results in better symmetry.
Building a Fiberglass Adventure Screen
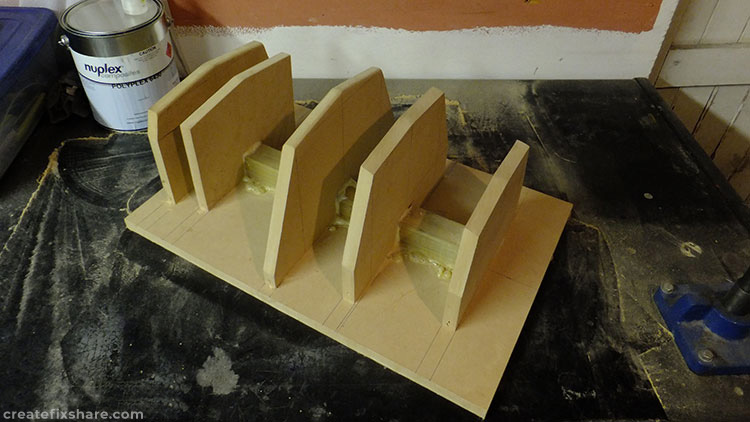
The male plug is built using 18 mm MDF board as a backbone. It consists of ribbing which is also 18 mm MDF board glued to the backbone. The key to success is to plan and measure carefully so that you end up with the shape that you want. There can be a lot of time involved in this stage.
The glue used on the male plug is Gorilla Grip. This glue slightly expands when drying to form a good bond with all surfaces and has excellent strength when dried
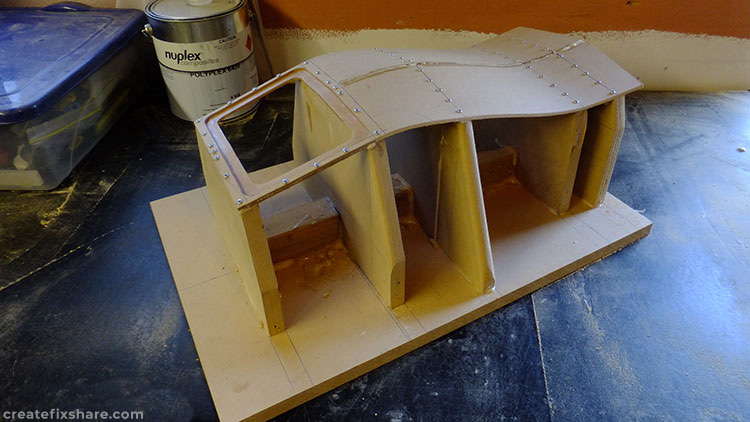
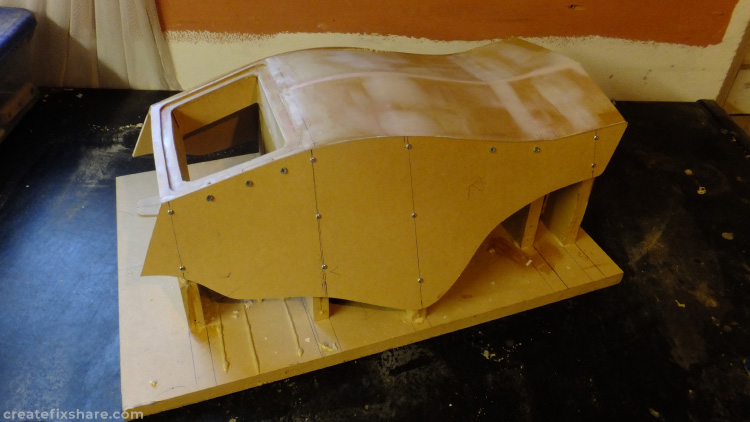
Once the ribbing is complete the next focus is laying up the 3 mm MDF to shape the front. The 3 mm MDF sheet is glued to the ribbing using a high quality glue. Screws are used to hold the MDF in place while the glue dries. Once the glue dries, the screws are removed screws and the holes are filled with an automotive filler. I use standard automotive fillers for this. This is also the stage where you build the light surround area that should match the shape of your headlight. Here you can see the 3 mm MDF has been setup that will give the adventure screen a 3 mm recess and allow a 3 mm thick perspex light protector or a mesh/wire light protector.
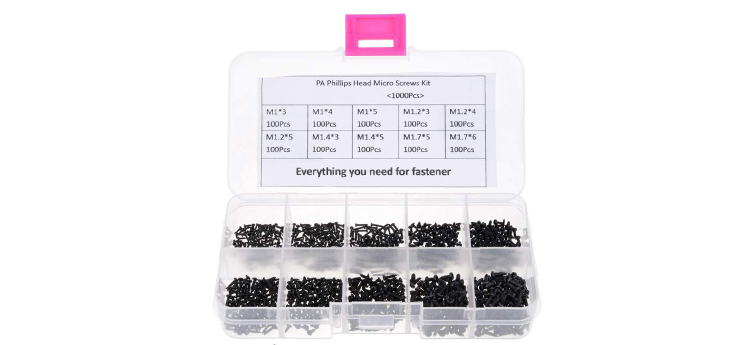
Small wood screws are used to hold the 3mm MDF while the glue dries. This kit here is a good assortment of suitable screws
After the front of the screen is in place it is on with the 3 mm MDF sides. Again, using the same gluing and screwing process as the front
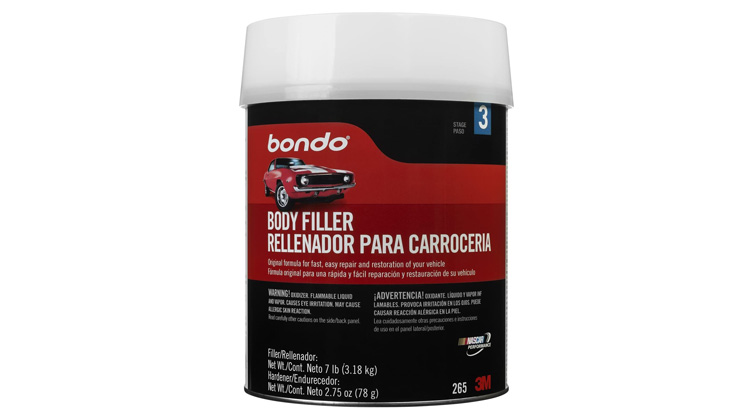
Pretty much any wood or general purpose filler is fine. I use automotive filler which works excellently.
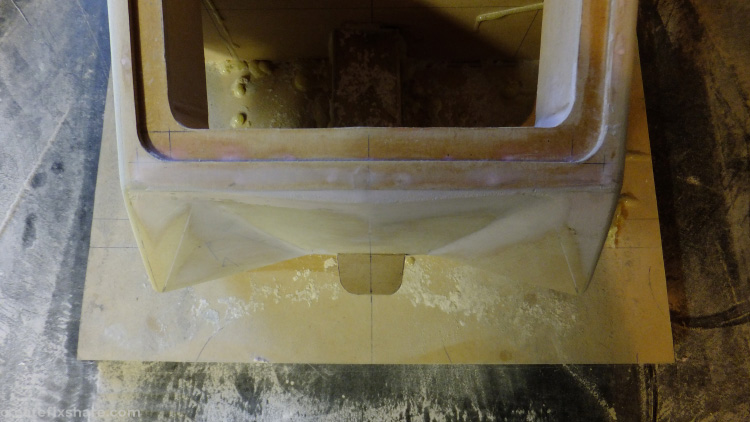
Next up is the lower contours and mounting tab that the DRZ400 uses. This will vary from bike to bike.
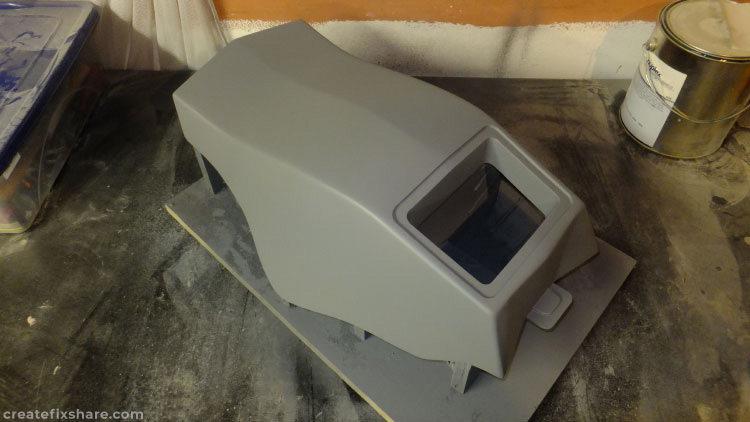
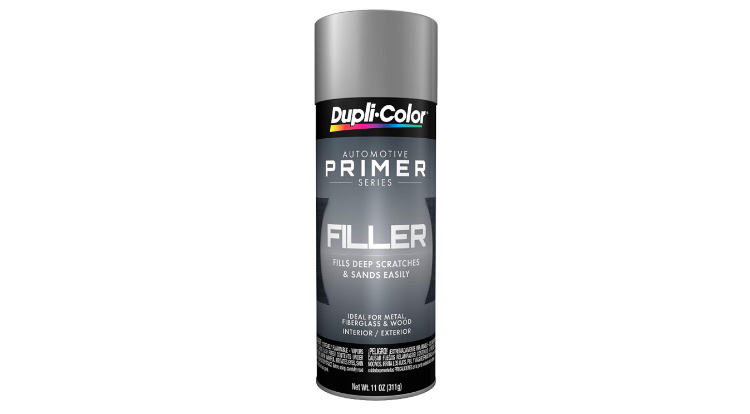
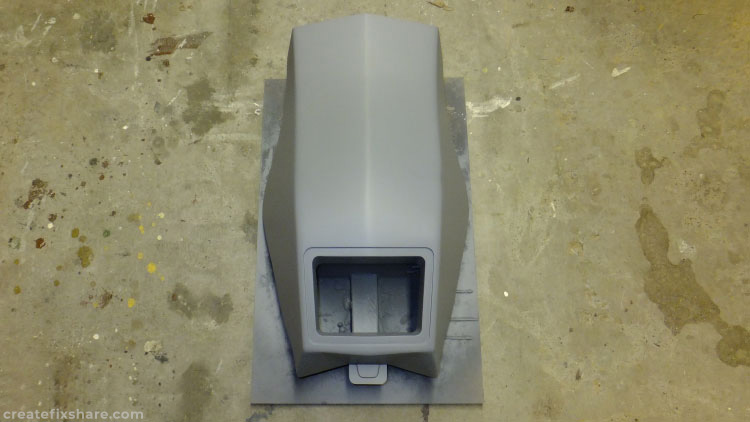
After the time consuming tidy up process it is on with a coat of primer ready for a rub down. There are special primers you can use for this but most are in liquid form and require you to use a compressor and spray gun. For non-commercial projects like this, high quality aerosol can primers from an automotive shop are fine. I use a filler-primer which helps with the covering of imperfections and good shaping
This is an excellent primer filler
The final male plug after having eight coats of mould release wax applied ready to lay on gelcoat and fiberglass to create the female plug.
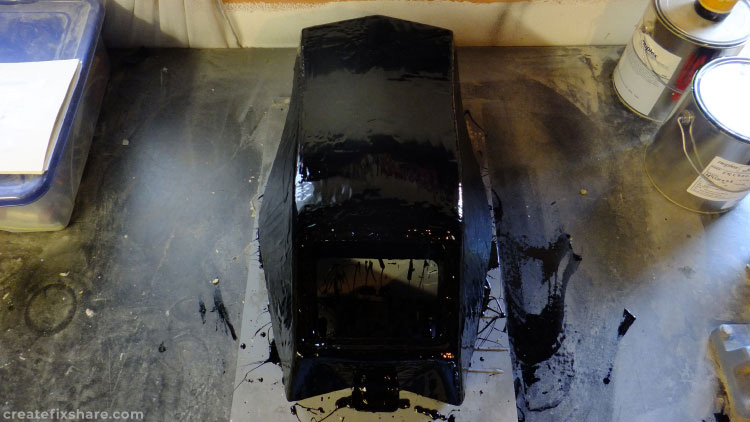
Applying the gelcoat. This is black, however the color is not important, gelcoat is used solely due to the fact it dries very hard and is excellent to use as a mould
This is a reputable gelcoat option
Applying five layers of 300 gram chop strand fiberglass mat to create a strong female plug that will hold its shape.
To apply the fiberglass mat you will need both the fiberglass resin and the chop strand mat. This is a good option for the resin
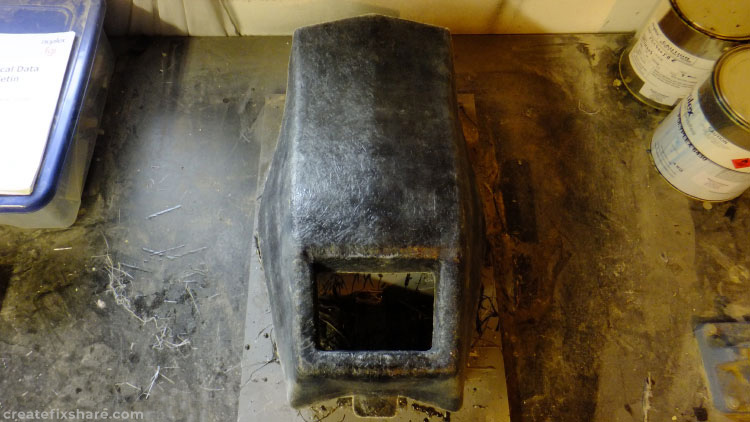
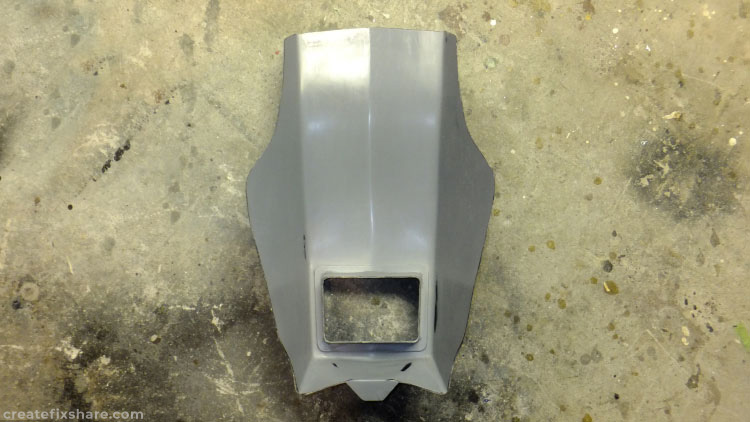
The final female fibreglass mould (pulled off the male plug) and ready to lay up fibreglass screens. Unfortunately there were a couple of imperfections in the gelcoat so this female fiberglass mould had a couple of repairs and was primered. While primer isn’t as hard as the gelcoat, a standard automotive primer that has fully cured will provide an adequate surface that will allow you to lay up a good number of screens without being damaged and require repair and re-priming.
After applying eight coats of mould release wax to the female mould, a fiberglass screen was made using white gelcoat and two layers of 300 gram chop strand mat. Here you can see the gelcoat has a beautiful glossy finish.
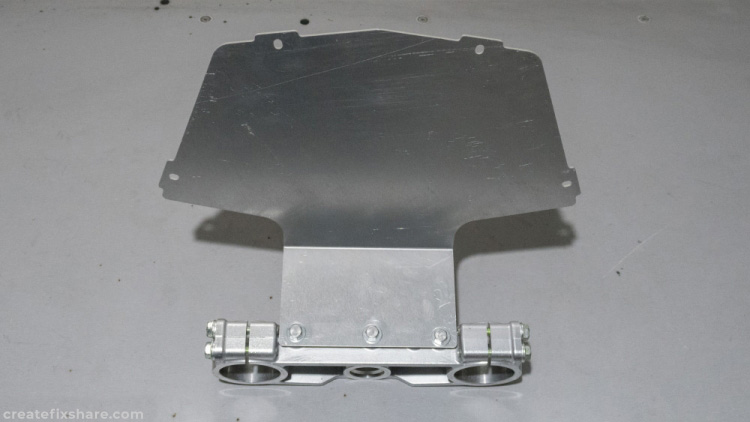
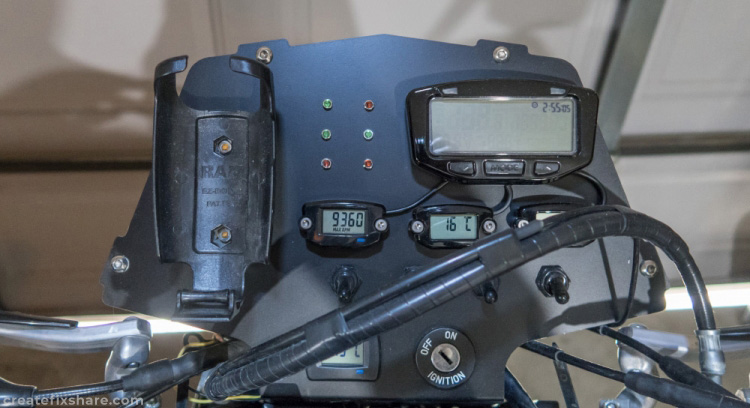
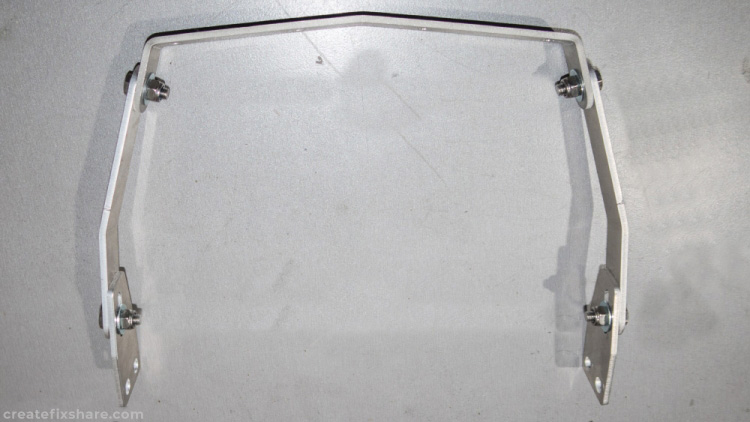
As for the dash, this went through many changes too. It started out as fiberglass but eventually shifted to 3 mm aluminium that I cut from a sheet by hand. The final dash you see here is folded 3 mm aluminium I had CNC laser cut. It bolts to both the triple clamps as well as the fiberglass adventure screen.
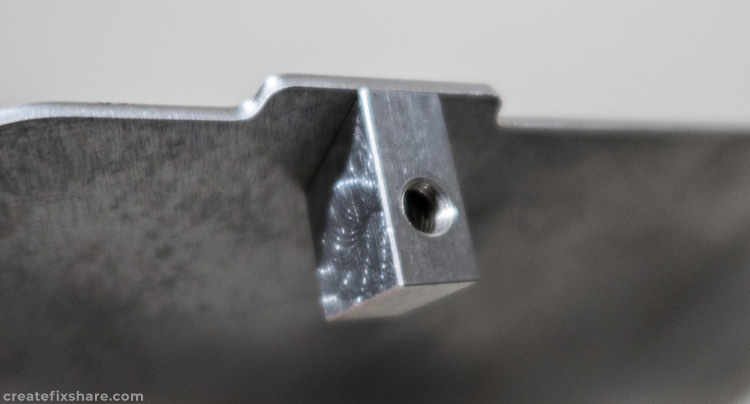
To bolt the fiberglass adventure screen to the dash, I made aluminium blocks with drilled and tapped 6mm threads.
Here is the dash (this one is powder coated black) mounted to the bike ready for the adventure screen to be bolted up.
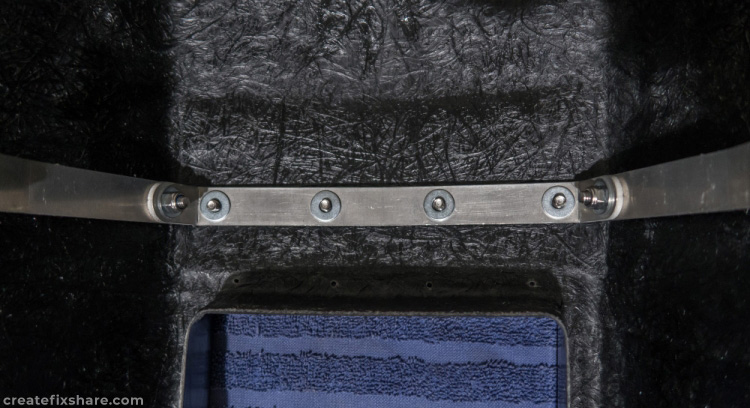
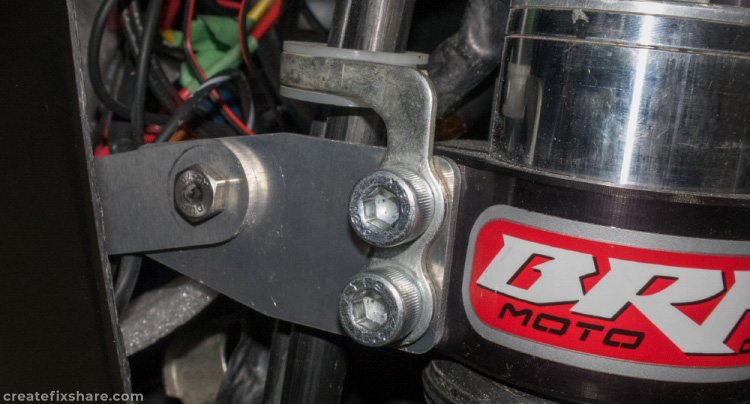
The second mounting point for the adventure screen is an aluminium brace that bolts to the pinch bolts on the triple clamps. It took a long time for me to play around with bend angles to get this right, but the outcome was spot on. This 25 mm X 3 mm aluminum stock can be purchased from most local hardware stores.
Here the aluminium brace is being bolted to the triple clamp pinch bolts.
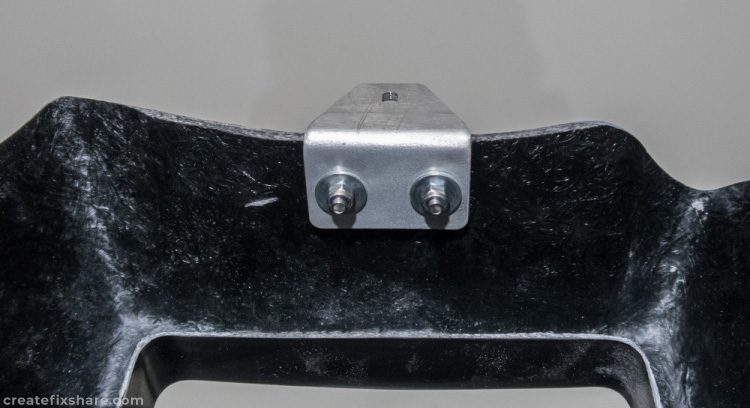
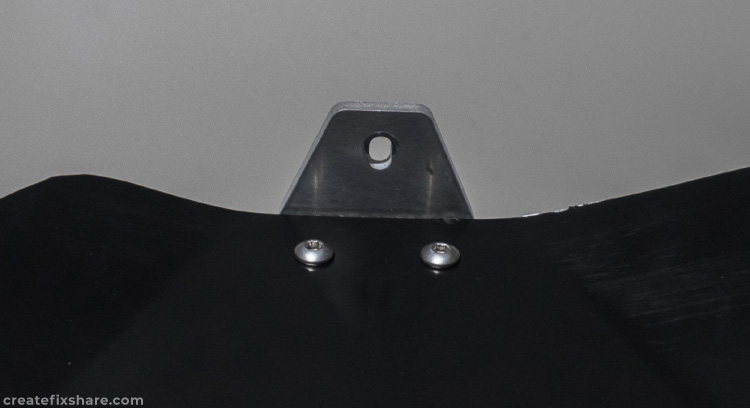
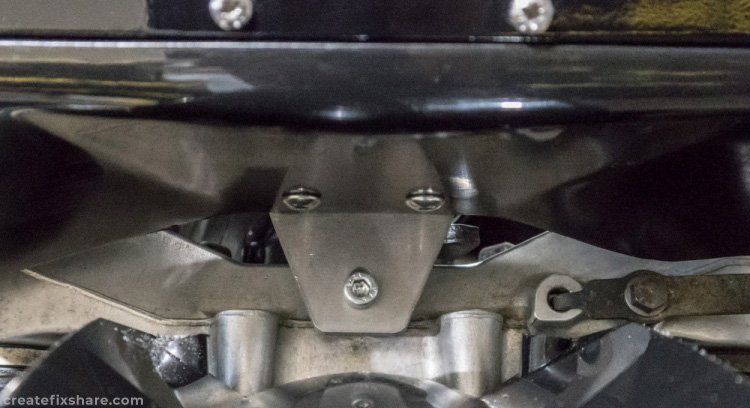
While the fiberglass mould had a lower mounting tab for mounting the adventure screen to the lower triple clamp, it proved to be far better to have a tab made from folded 3mm aluminium.
Lower mounting tab (front side).
Lower mounting tab mounting the screen to the 5 mm bolt hole on the lower triple clamp.
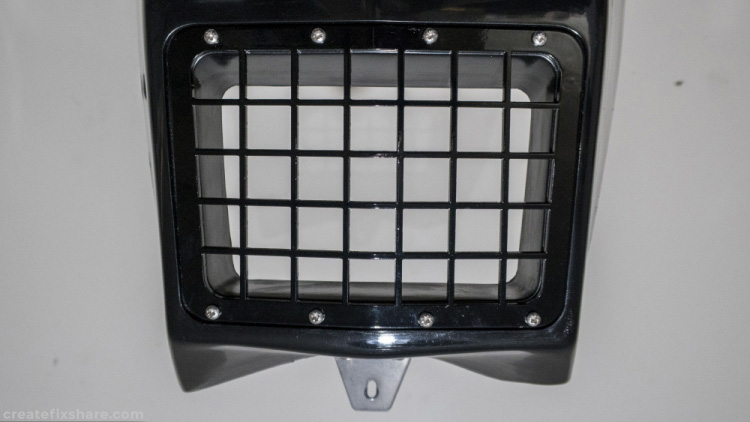
The first adventure screens had 3mm Perspex as a headlight protector, the last models used 3mm alloy sheet laser cut with a mesh pattern to protect the headlight and still allow enough light to pass through. Small self tapping screws do a great job of holding the screen protector in place.
This isn’t a 100% complete guide to building a fiberglass adventure screen, but it shows the main steps involved to give you a good idea of the process. I was planning to produce these screens for sale however the production costs are simply too high so the pin was pulled. I believe this is why we don’t see many fiberglass screens on the market, the materials and labour components are just too high resulting in a very high sale price.
However, if you are the creative type and time is on your side, building a fiberglass adventure screen is a great way to add some individuality to your bike and create a screen exactly how you want.
For more information on the DRZ400 featured in this article there is a detailed article here on the adventure build: DRZ400 adventure bike build
