DRZ400 Adventure Bike Build
This adventure bike build article takes a stock DRZ400 and steps through each of the adventure upgrades to convert it into a very capable DRZ400 adventure bike. This is the third DRZ400 I have built into an adventure bike and the products used in this build are based on over 5 years of riding DRZ400 bikes for extended adventure riding and camping trips and clocking up over 100,000 km of adventure riding Grade 1 to Grade 5 tracks.
This DRZ400 adventure bike was built up especially to be shipped to Australia for a one month trip through the Red Centre including the Simpson Desert crossing. It proved to be a brilliant adventure bike build and capably completed the trip. Aside from that, it was a great fun bike to ride.
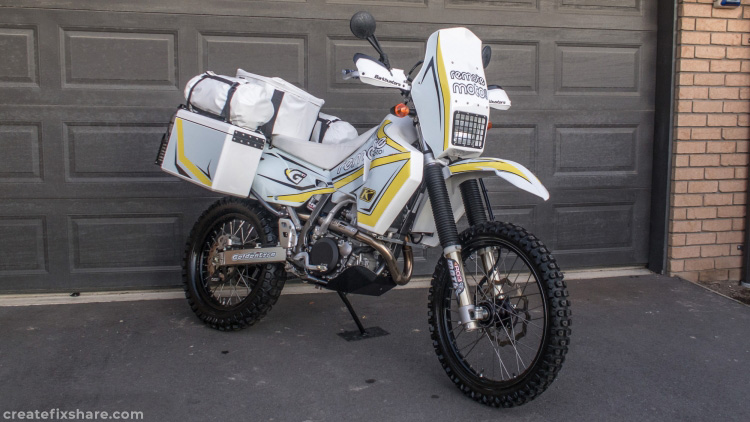
The final result after many hours in the workshop.
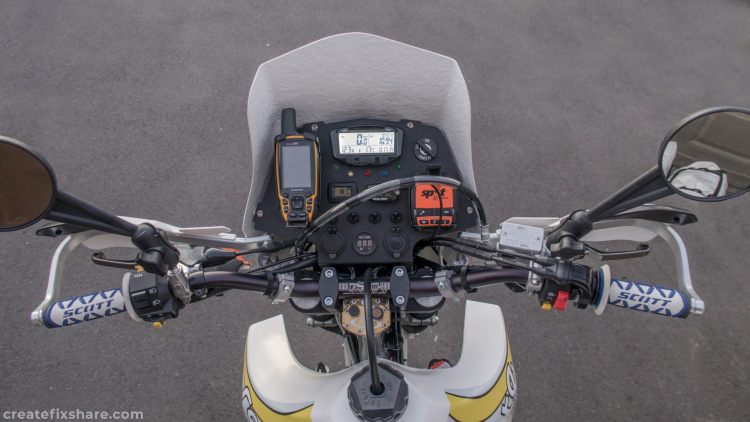
DRZ400 Strip Down
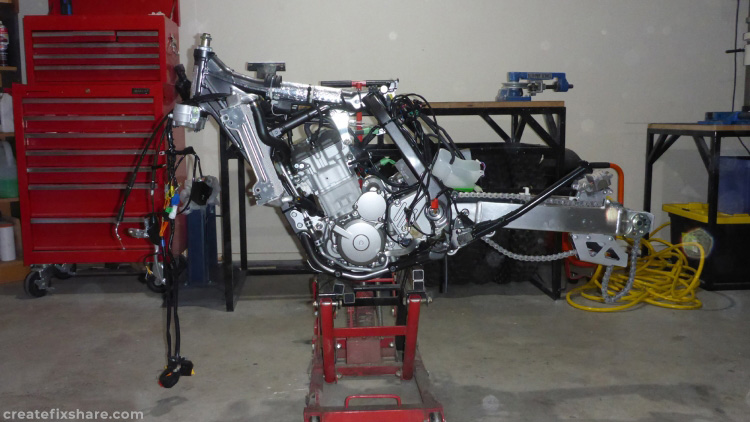
For an older technology bike the suspension on the DRZ400 is fairly respectable. However it is sprung and set up for a midweight rider, not all the additional weight that comes with adventure riding such as extra fuel, water, tools, cooking gear, sleeping gear etc. With this in mind the first thing on the list was to strip the bike down and remove everything that needed to come off for upgrading plus pull out the suspension and send it off to Moto SR for a respring, revalve and 1 inch internal lowering.
Softening the DRZ400 Throttle
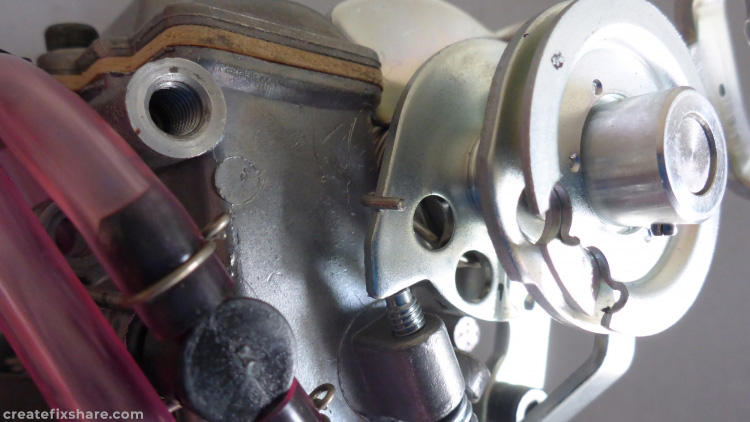
The link below shows the process of how to reduce the tension of the throttle return spring and reduce fatigue on long riding days.
Upgrading the Keihin FCR39 Needle and Main Jet
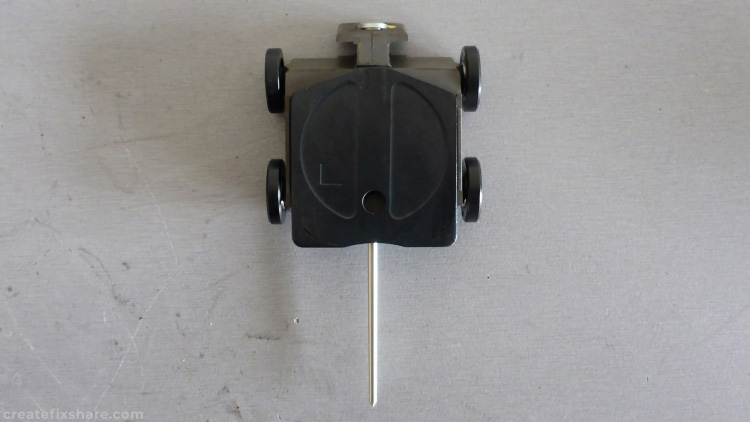
After playing with a few different exhausts, needles and jetting combinations over the years I found a setup on the Keihin FCR39 that performs well for adventure riding. Click on the link below for more information on DRZ400 needle and main jet upgrades.
Adding the Keihin FCR39 Hand Tune Pilot Jet
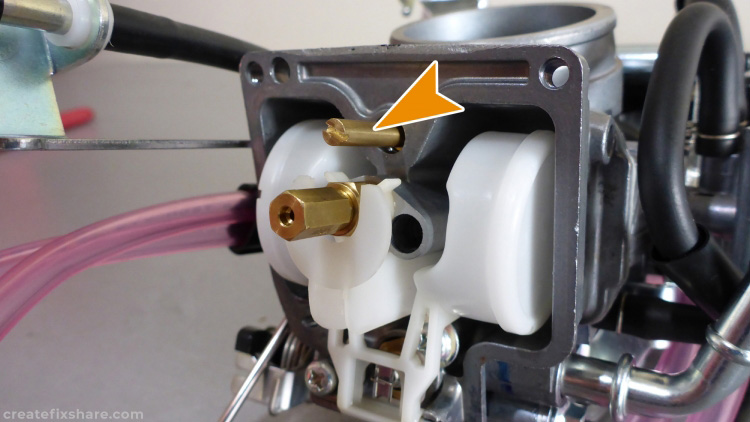
There is nothing wrong with the standard Keihin FCR39 pilot jet (mixture screw) other than the fact it is tucked up into the carburettor body meaning it can't be easily accessed or tuned by hand. The link below shows the process of installing a hand tune pilot jet which will make life easy when making mixture adjustments.
Keihin FCR39 Breather Hose Plumbing for Deep Water Crossing
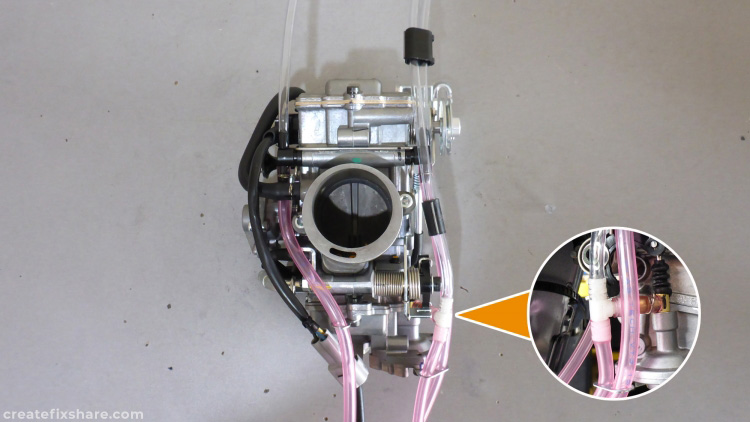
An upgrade to the Keihin FCR39 slant's breather hoses must be made in order to successfully tackle deep water crossings. The link below shows the process of replumbing the breather hoses.
Fitting a S/SM Subframe
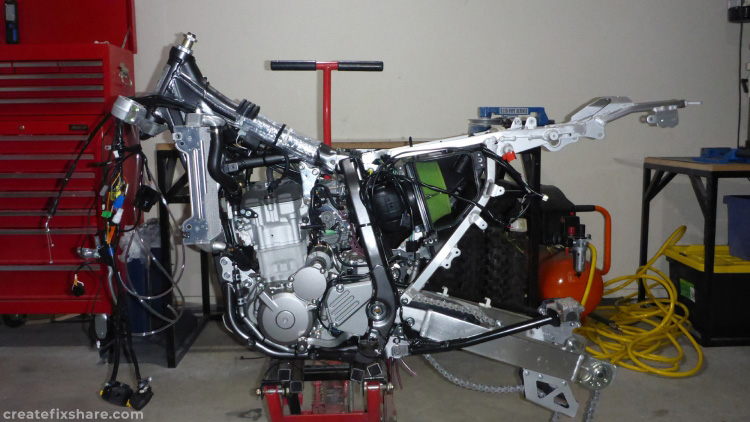
The DRZ400S/DRZ400SM subframe has foot peg mounts that fit the RemoteMoto luggage racks so a new S/SM subframe was fitted.
Helmet Lock Removal
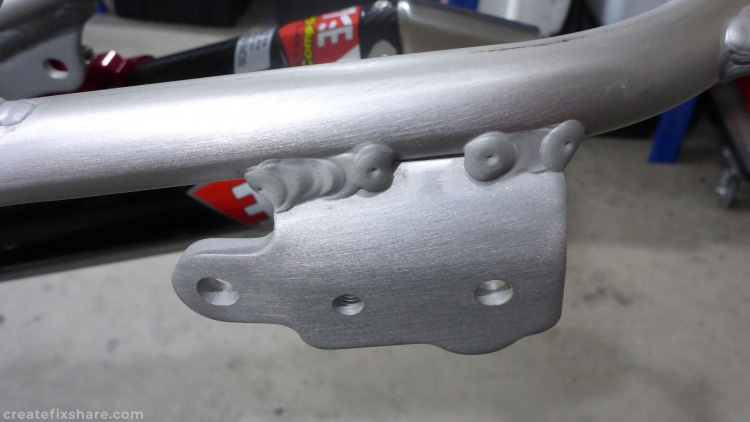
The helmet lock is a heavy lump of steel with a large alloy plate which is rendered useless with the luggage blocking access so it is removed. The link below shows how it is removed cleanly.
DRZ400 3X3 Airbox Mod
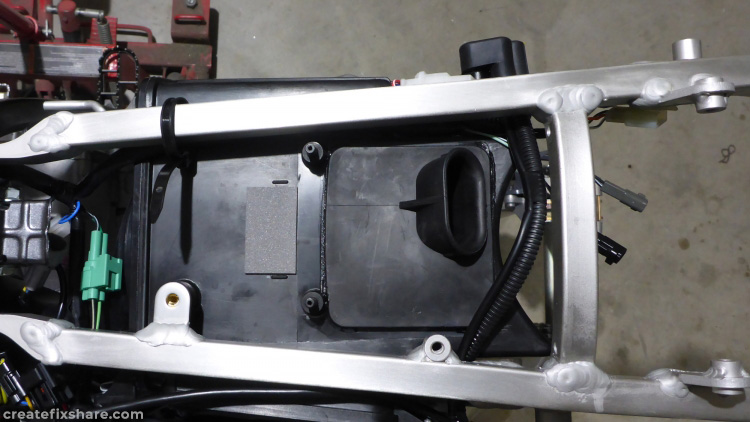
The 3X3 airbox mod is the opening up the airbox inlet to a size of 3 inches x 3 inches to increase airflow. Teamed up with upgraded jetting and a performance exhaust it provides a noticeable performance improvement.
Installing an Oil Temperature Sensor
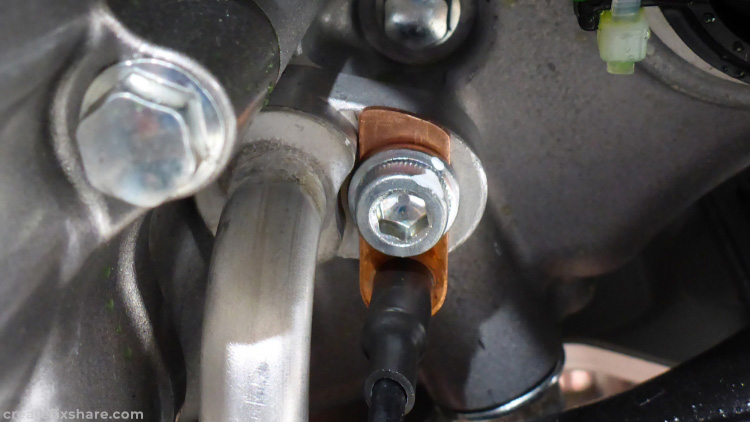
With aftermarket accessories that restrict the airflow across the engine and an increased luggage load, it can mean in the slow/steep/technical terrain, the engine temperature can rise alarmingly. This is amplified on days where ambient temperatures are high. Because of this, I install both water and oil temperature sensors to monitor temperatures and make sure the engine temps stays at a healthy level. The link below shows the article on installing an oil sensor to the DRZ400.
Installing a Water Temperature Sensor
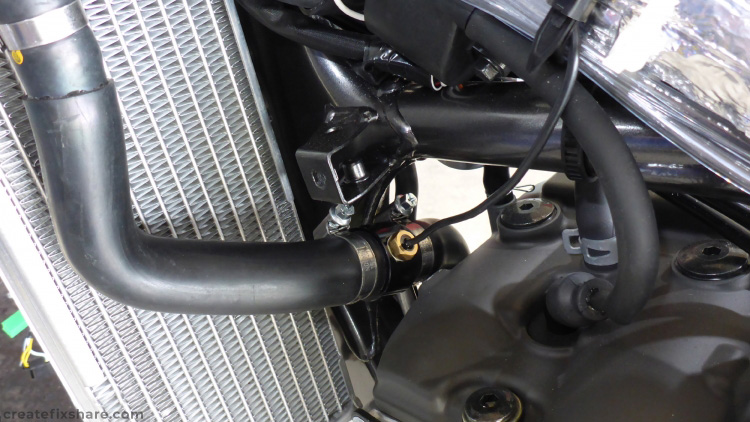
The DRZ400E doesn't have a water temperature sensor installed from factory and while the left radiator does have a threaded bleeder hole that can be used to screw in a temperature sensor, there are two reasons I prefer not to use this location. Firstly the cable on the temperature sensor makes it a hassle when you want to bleed the radiator system of air. Secondly the DRZ400 can get small air pockets in the left-hand radiator resulting in the temperature sender giving incorrect readings. The link below shows fitting a Trail Tech 19mm inline temperature sensor unit which is a far more reliable and accurate way of monitoring water temperatures and allows you to still use the left radiator air bleeder.
Side Stand Switch Removal
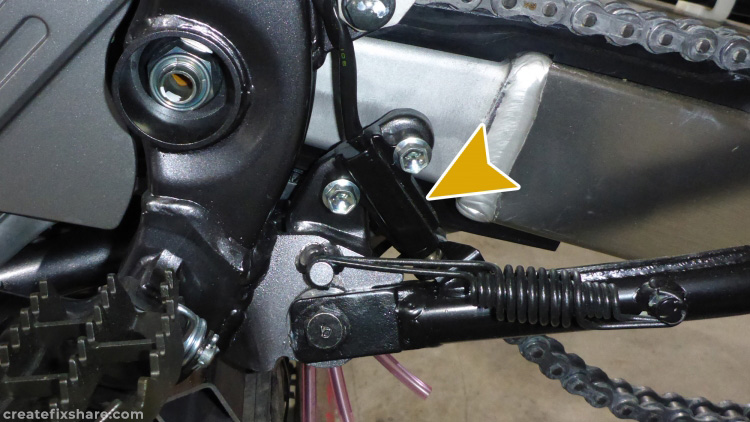
Side stand switches are always on the hit list for removal when aiming to build the most reliable adventure bike possible. The link below shows the process of removing the DRZ400 side stand switch in a clean, tidy, and reliable way.
SH775 Regulator/Rectifier Upgrade
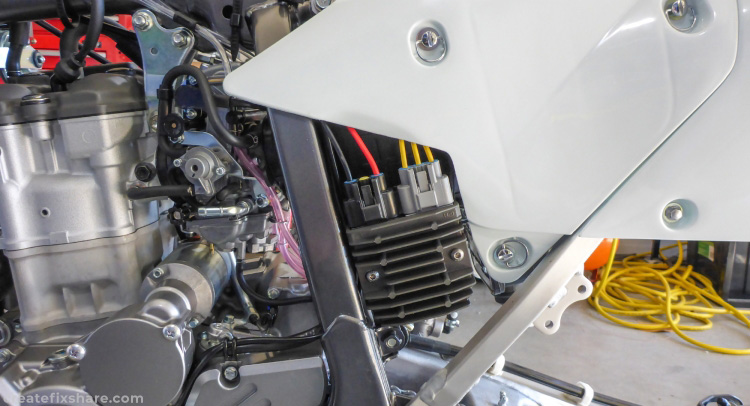
The link below explains how the upgrade to a SH775 regulator/rectifier improves reliability and increases voltage.
12 Volt Power Feed
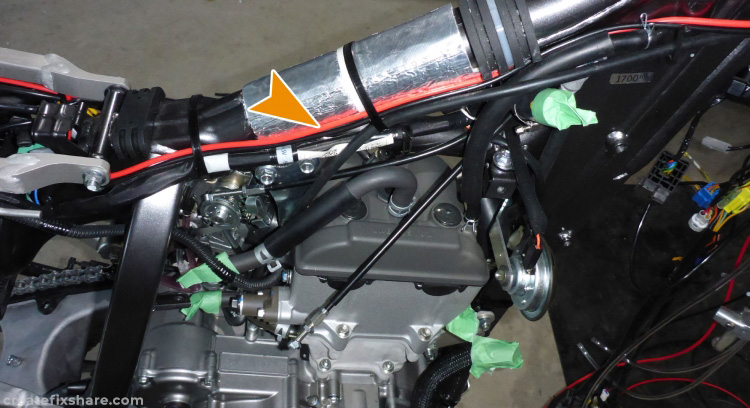
Wiring up an accessories power feed directly from the battery.
DRZ400 Aftermarket Triple Clamps
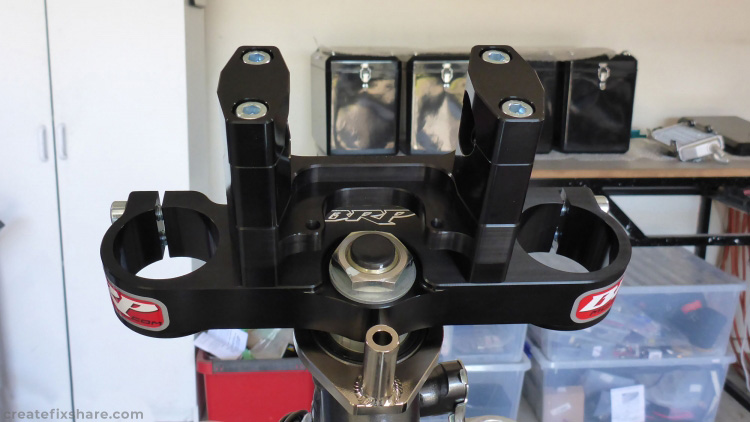
To pave the way for a Scotts stabiliser, the Scotts/BRP SUB mount was fitted. The link below shows the process to install the Scotts/BRP SUB mount triple clamp and Scotts stabiliser.
DRZ400 Suspension and Wheel Set
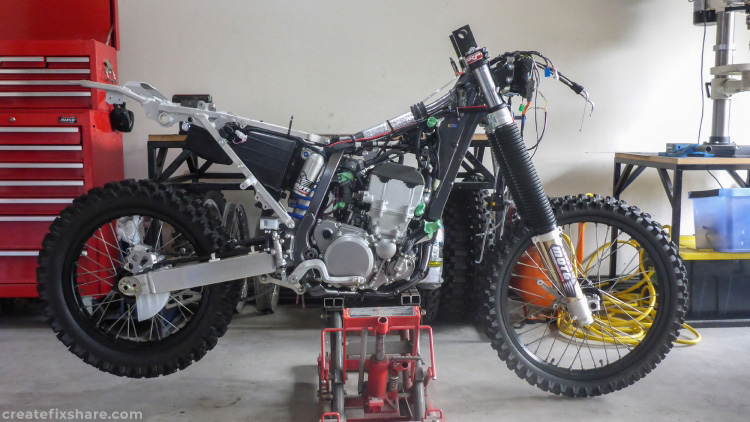
Fitting the fully rebuilt suspension from MOTO SR and fitting the wheel set.
DRZ400 Exhaust System
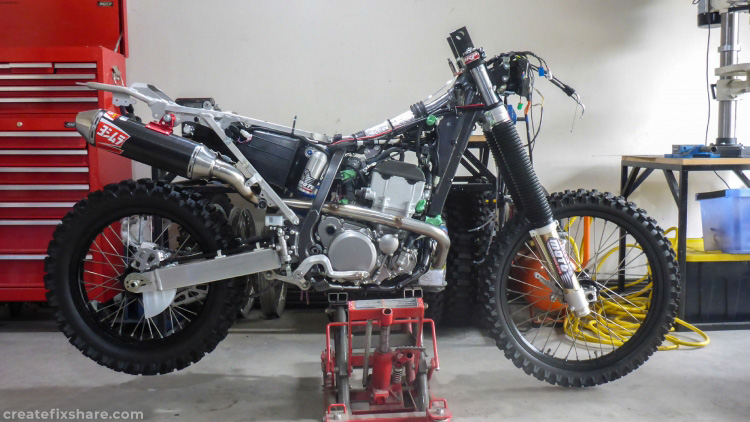
Fitting the Yoshimura RS-2 Comp Series full exhaust system.
Installing a Radiator Fan
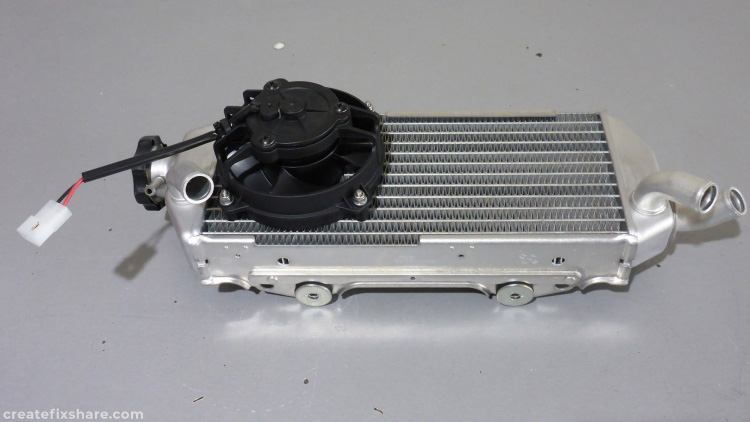
I've never found the DRZ400 to overheat when there is plenty of air movement past the radiators, however when riding tight, steep, slow going tracks when air movement past the radiators is reduced and either/both the engine is working hard or ambient temperatures are high, the DRZ400 can overheat in fairly quick time. Installing a fan solves this problem and ensures the engine stays at the right temperature. The link below shows the install of a Trail Teck fan kit.
Fitting a Kick Start
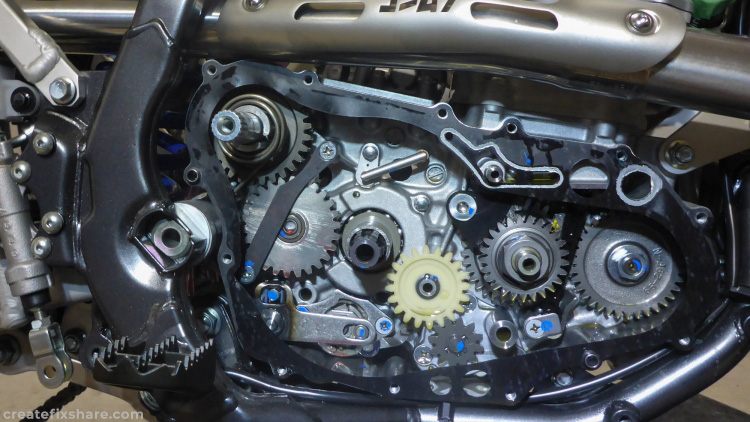
One of the key reasons I ride a DRZ400 is that it has a kick start. The S, SM and road registered E don't have one from factory but the DRZ400 engine does support both an OE and aftermarket kick start kit. It is a relatively straightforward install and can be knocked out in a comfortable 2 hour workshop session. For solo riding in remote places a kick start is invaluable and while I have only had to use mine a handful of times, I have been so glad to have had it in each of those cases.