DRZ400 Adventure Bike Build (page 3)
DRZ400 Long Range Tank
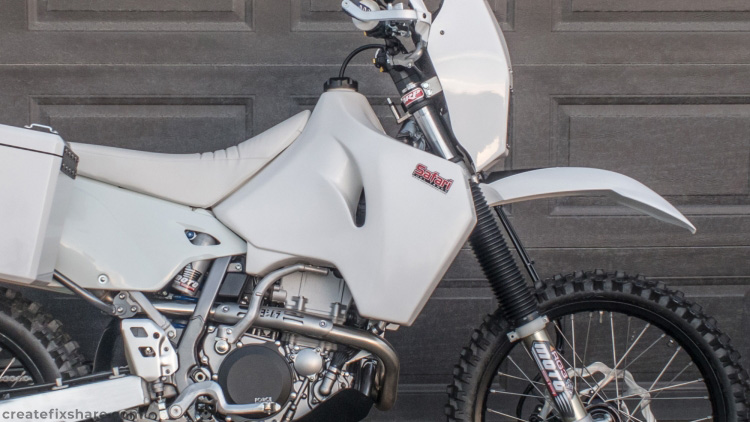
There are a couple of large tanks available for the DRZ400, but on all my builds, I go with the Safari 28 litre. They are good solid tanks and great capacity for those long legs.
DRZ400 Aftermarket Seat

The factory DRZ400 seat is narrow, firm and uncomfortable for long distance riding. There are a number of aftermarket wider and comfier seats the market with Seat Concepts being one of the good ones. The seat fitted here is a DRZ400 Seat Concepts standard height seat and I had it recovered in white to match this build.
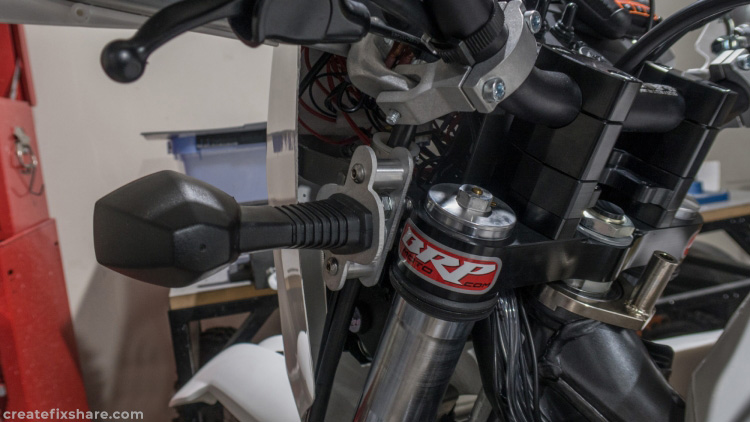
DRZ400 Aftermarket Front Fender
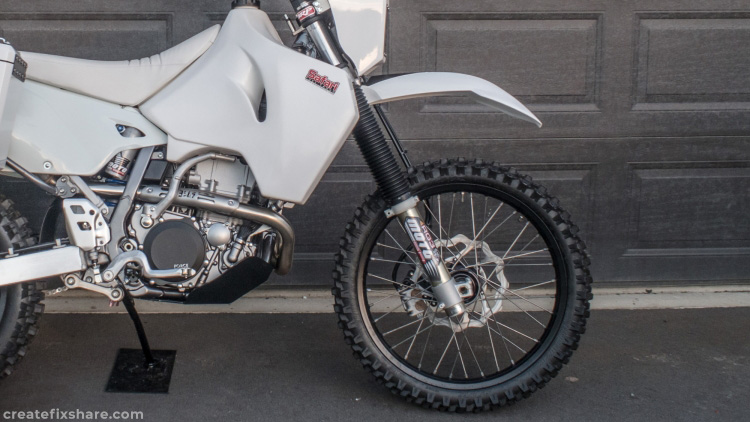
The DRZ400E has a front fender that looks like it has come directly from the mid-1980s. It may be functional but it is not that pretty. I've spent years trying to find a nice looking fender that is a direct fit however the DRZ400 doesn't share a common bolt pattern so there is no off-the-shelf option for a modern front fender that looks good. I like the look of the KTM fender and while some call it blasphemy, I'm happy to fit one to the DRZ400. The KTM fender is not a direct fit to the DRZ400, in fact there is quite a bit of mucking around, however the outcome looks good and is well worth the effort. The front fender fitted here is an aftermarket KTM690 guard.
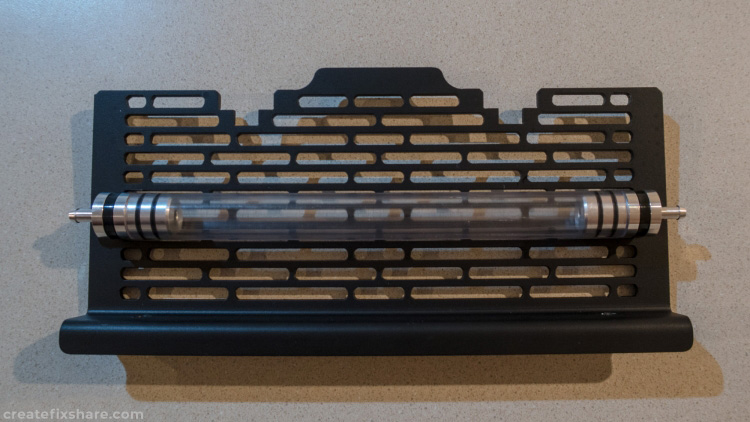
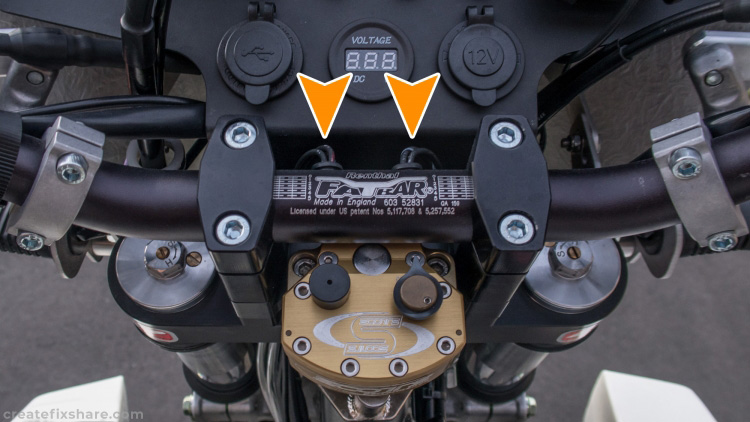
DRZ400 Adventure Screen

The RemoteMoto V3 Spec Adventure Screen fitted to this build was designed to firstly provide a large and robust dash to mount equipment for navigation, rider tracking, engine monitoring, charging, etc and secondly, to provide wind protection and reduce rider fatigue on long riding days. The V3 Spec design has evolved and been refined from over 90,000 km of riding on the RemoteMoto DRZ400 route logging bike while logging hundreds of GPS adventure routes for the remotemoto.com website. Having just about everything thrown at it from New Zealand's challenging riding terrain and demanding weather conditions, it has proven itself to be a robust and effective adventure bike upgrade. It was a no-brainer to fit this adventure screen as I really enjoy riding with them.
DRZ400 Radiator Guards
These are custom made DRZ400 radiator guards I designed myself, however there are a number of great radiator guards out there.
DRZ400 Coolant Recovery
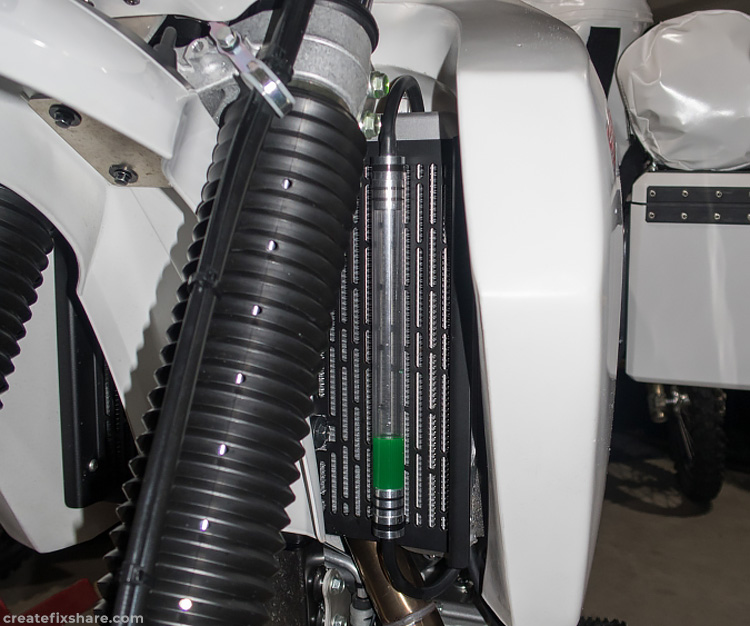
Because this bike has been upgraded to the SH775 regulator/rectifier, the factory coolant overflow and recovery tank had to be removed. This is an aftermarket coolant recovery I made myself, however there are many good options out there on the market.
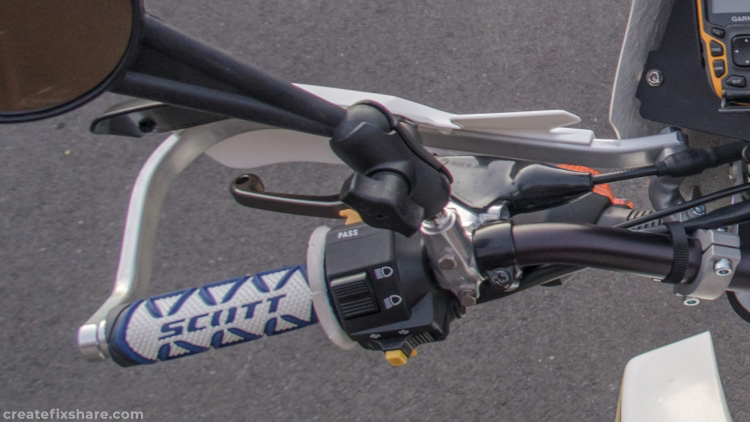
Steering Stabilizer
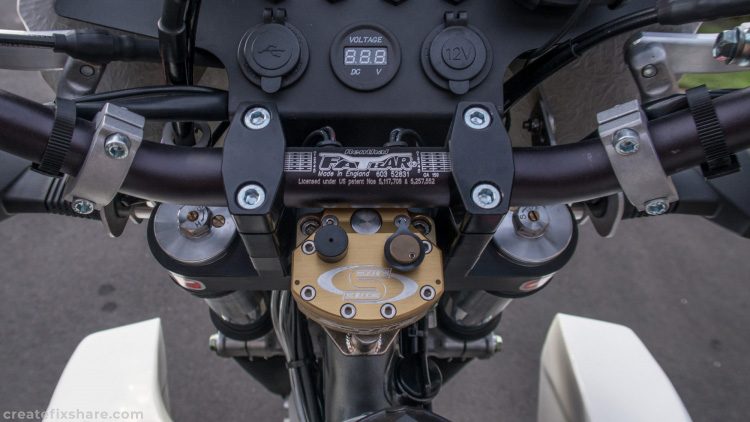
I am a fan of steering stabilisers and the Scotts stabiliser and Scotts/BRP SUB mount provides both steering damping plus acts as a bar riser avoiding the need for stacker risers which don't look anywhere as nice as the billet machined Scotts/BRP SUB unit. The link below shows the process to install the Scotts stabiliser and Scotts/BRP SUB mount triple clamp.
DRZ400 Indicator Relocation Brackets
The 28 litre Safari tank does not allow for the stock indicators to be mounted without hitting the tank at full lock. An option to avoid this interference is to use small aftermarket mini indicators, however I opted to keep the stock indicators, and fabricate these relocation brackets using 3mm aluminium plate and aluminium standoffs.
Fiberglass Panniers
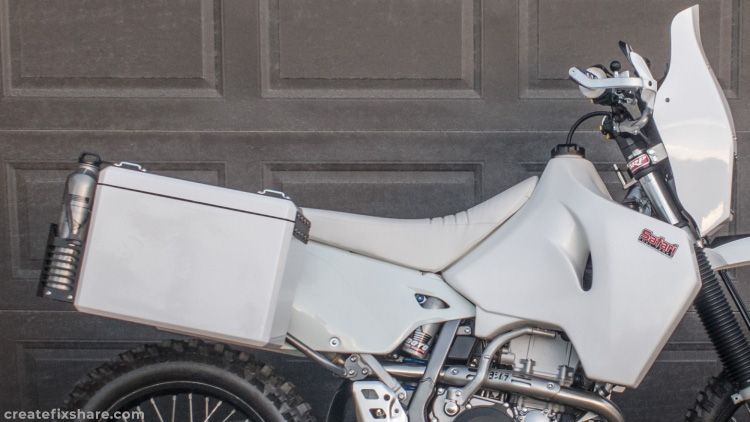
For the 30 day trip across the Outback of Australia, I needed to carry 43 litres of fuel to make it through some of the deserts. The panniers fitted here allowed me to carrly all the gear I needed, plus bolt Rotopax fuel containers underneath each pannier, to significantly increase fuel capacity. There is a detailed article on how to create these panniers.
Pannier Bottle Cages
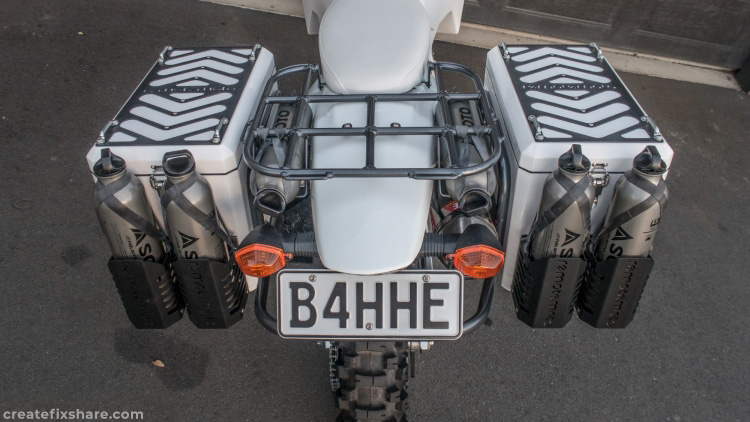
To hold four 1 litre bottles, bottle cages were fitted to the rear of both panniers.
Internal Bar Heaters
I am a fan of internal bar heaters so I can run my favourite grips while still keeping my paws warm on icy cold days. The link below shows the process of modifying a set of Polly Heaters to fit 1 1/8 bars
Wiring
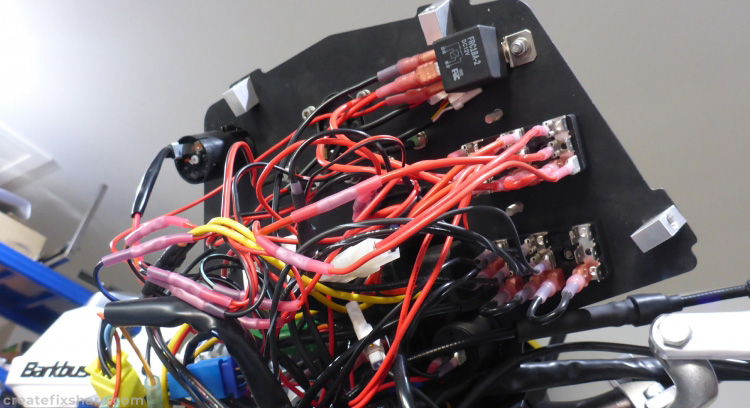
The wiring of the bike is centred around negative spade connector common rails and fused positive spade connector common rails fed from a relay. All the wire to wire connections use shrink crimp connectors
DRZ400 Hand Guards
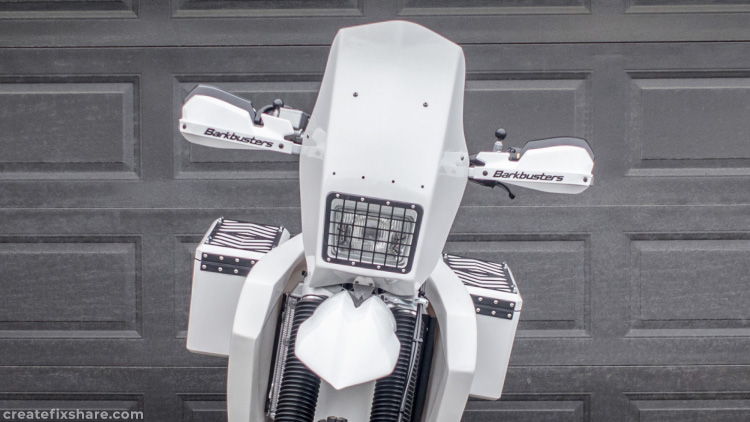
Years of using Barkbusters has sold me on their products. For fitment and durability there was no question when it came to fitting hand guards. For this build, I used the VPS Barkbusters Guards.
DRZ400 Pivot Levers
The stock DRZ400 levers are not adjustable so impossible to setup correctly and comfortably. While there are a number of adjustable lever options for the DRZ400, I really like the adjustable Zeta pivot levers and have been using them for years.
Starter Idle Gear Cover Bolt Upgrade
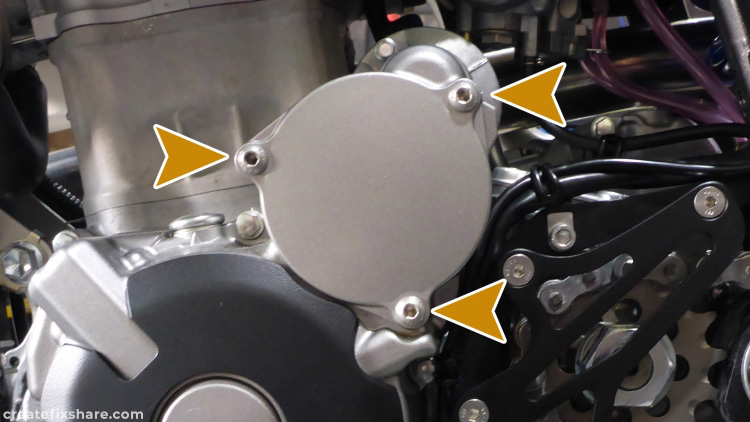
The stock bolts holding the starter idle gear cover in place have very broad heads. These bolt heads can bind themselves to the alloy gear cover surface and normally require an impact driver to remove them. If you are forced to do a stator replacement mid-trip without access to an impact driver (is more common than some think), you can find yourself in a jam. By replacing the stock bolts with Allen heads bolts this allows you to use an Allen key and remove the bolts with relative ease.
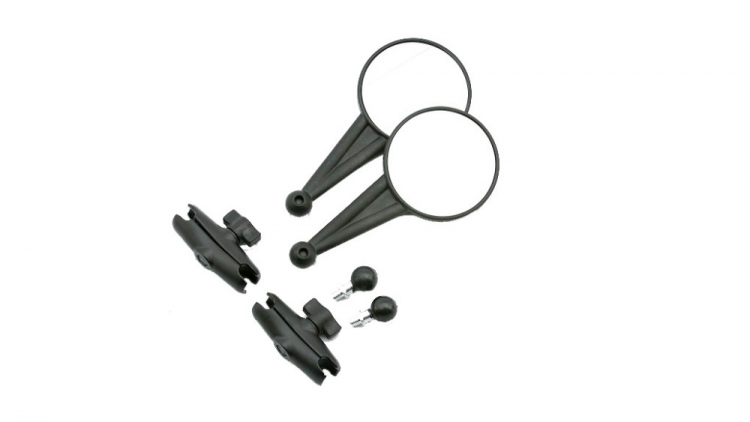
Doubletake Mirrors. The stock DRZ400 mirrors are heavy, break easily and can prove costly to repeatedly replace. The Doubletake mirrors are a great lightweight, durable option that conveniently fold away when you are riding bush tracks that can have branches catch the mirrors.
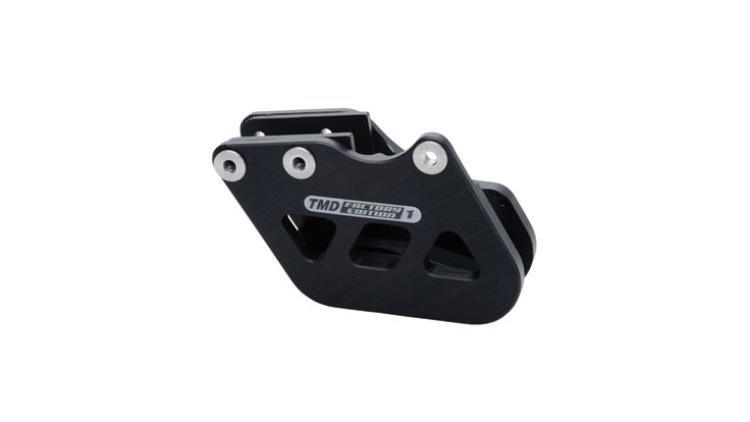
DRZ400 Chain Guide. The stock DRZ400 chain guide is alloy and can bend easily when given a decent smack. The TM Designworks Factory chain guide is a simply brilliant product that not only looks good, but it is also bulletproof.
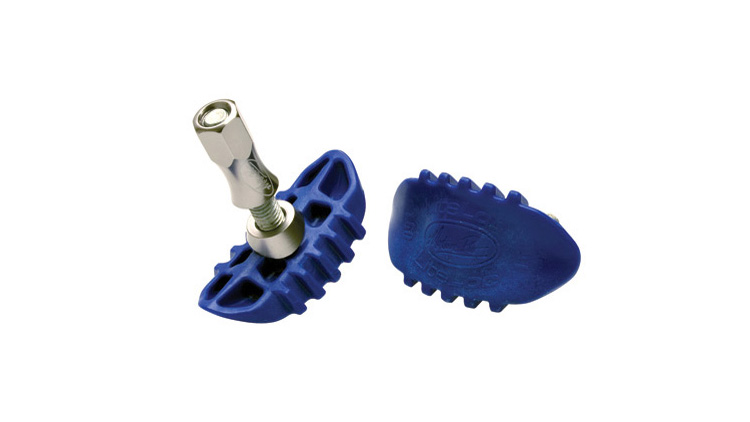
Motion Pro LiteLoc Rim Locks. To help reduce the number of wheel weights used, the Motion Pro LiteLoc Rim Locks are used front and back.
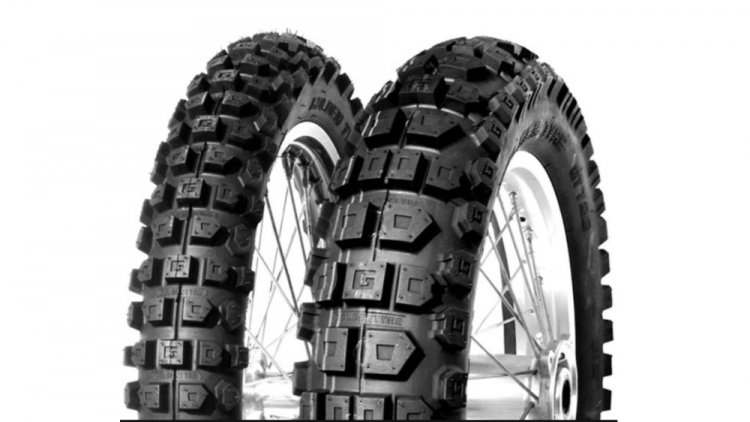
GoldenTyre 723. There are a number of good tyres out there and everyone has their favourite, but on this build, a set of GoldenTyre 723 were fitted due to them being an excellent adventure tyre.