DRZ400 Adventure Bike Build (page 2)
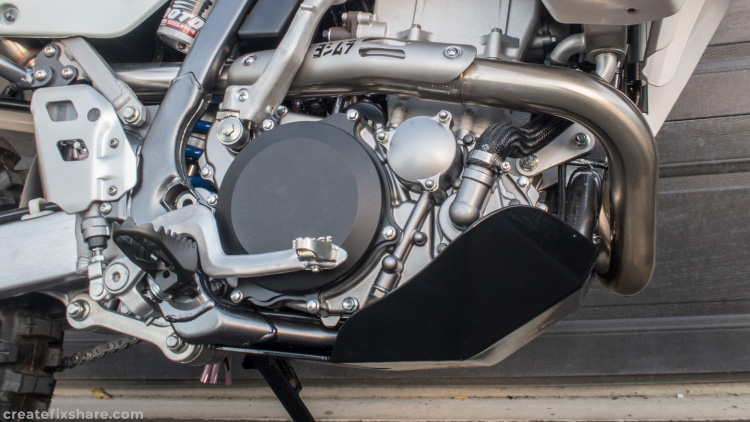
DRZ400 Clutch Cover Protection
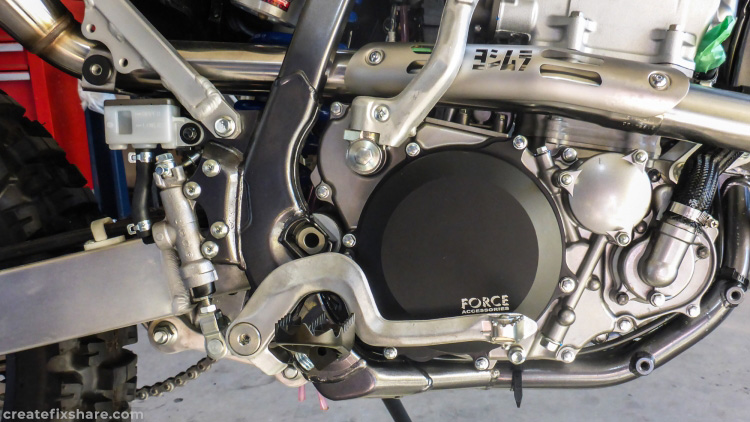
The factory DRZ400 outer clutch cover is thin magnesium and very susceptible to cracking in a drop or crash. Whilst case savers adhered to the outer clutch cover will improve protection, the billet machined alloy case cover offers a significantly improved level of protection. It also goes without saying that a billet machined case looks pretty sharp. There are a number of companies producing billet machined alloy case covers for the DRZ400, check out the link below.
DRZ400 Decompressor
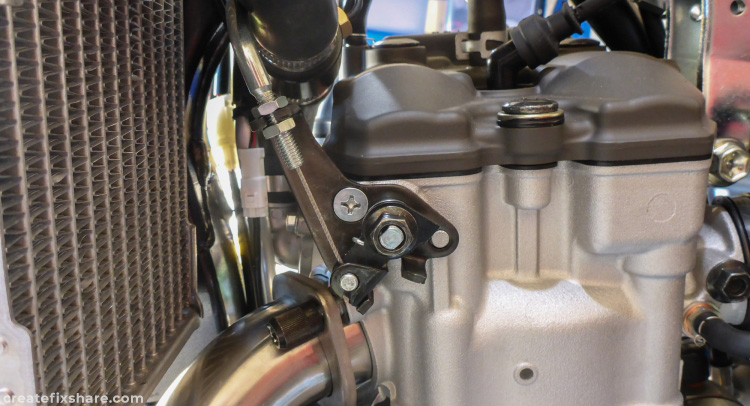
In combination with the kick start the decompressor is installed. The link below shows the install process.
DRZ400 Starter Clutch Bolts Fix
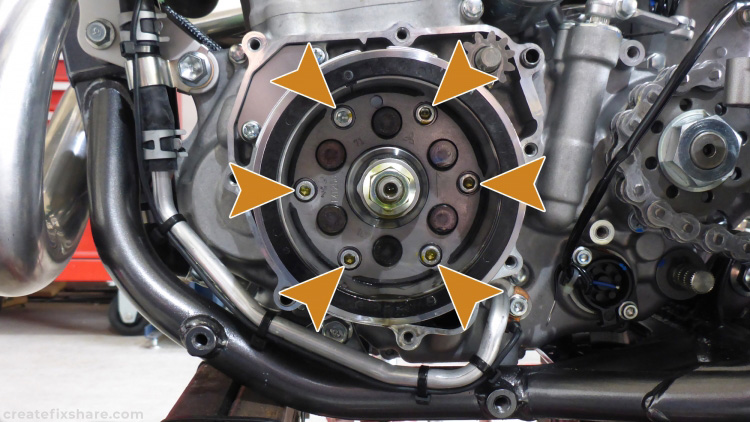
The current DRZ400 models do not have the early issue of the starter clutch bolts loosening, backing out and then contacting the stator. With regard to the catastrophic results if this were to happen, I always check anyway as it is a simple 15 minute job and gives peace of mind.
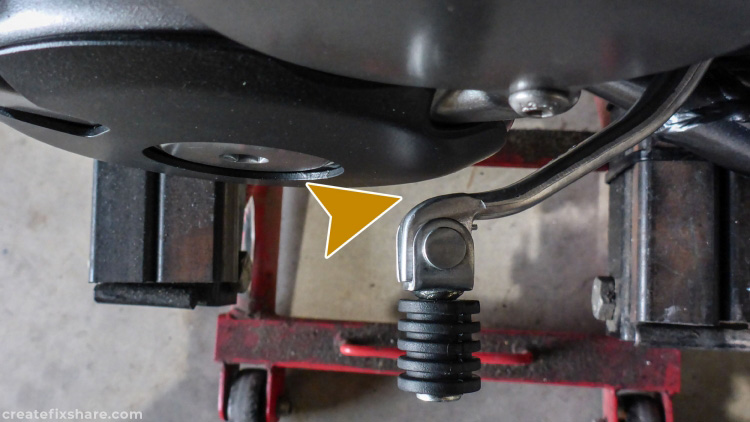
DRZ400 Gear Lever Fix
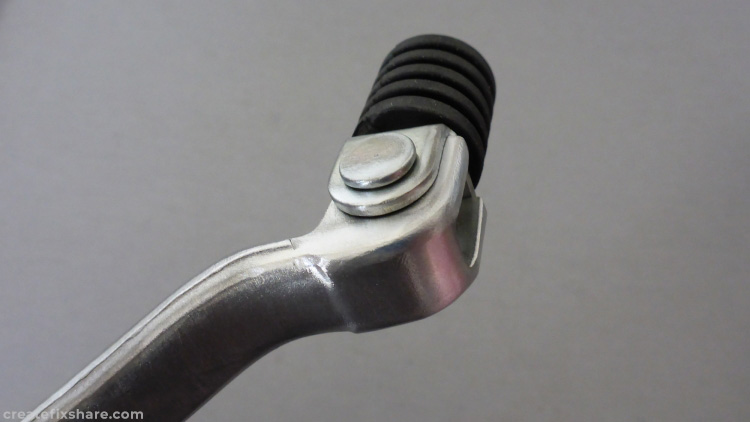
From factory the DRZ400 gear shift lever has a sharp protruding section of metal. When the bike is dropped or crashed it can concentrate the impact on a small area of the magneto case and can crack it. The fix is simply removing the protruding section of metal.
1 1/8 Renthal Fat Bars
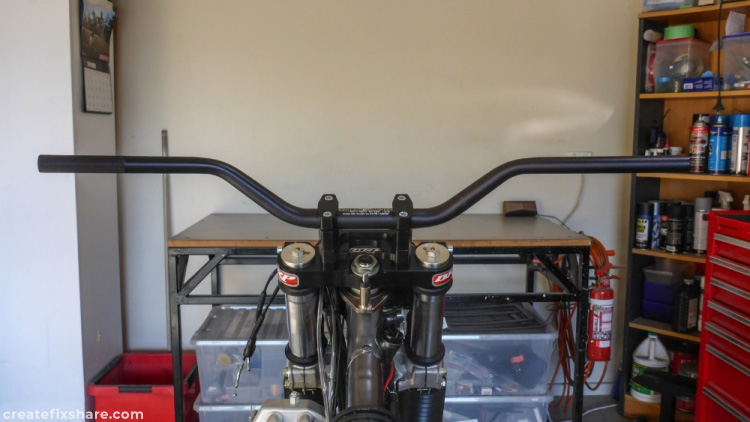
A set of good quality 1 1/8 bars are a superior option over the soft as butter stock 7/8 bars. There are a number of good options on the market, however I am quite fond of the Renthal 603 bend in combination with the BRP SUB mount triple clamps for adventure riding.
DRZ400 Tail Tidy
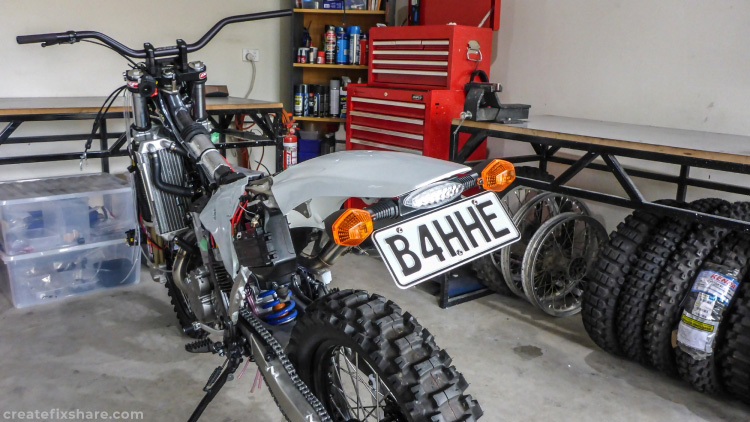
The link below has more info on taking the horrendously large and ugly factory tail assembly and exchanging it for a much smaller and tidier looking option.
DRZ400 Clutch Switch Bypass
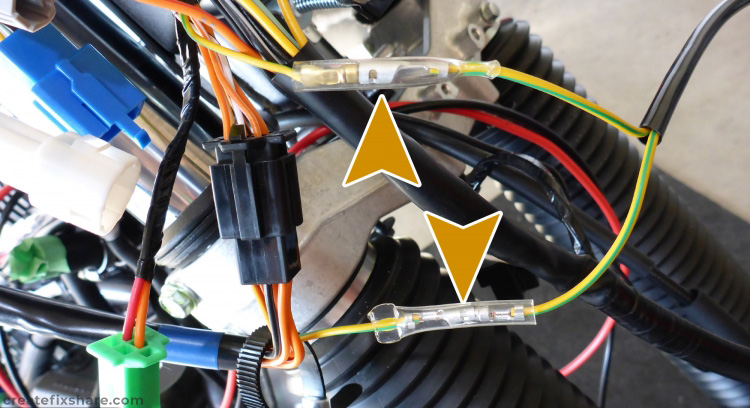
The DRZ400 clutch has a safety switch from factory. Removing the clutch switch improves reliability as it is one less electronic component susceptible to failing and giving you grief out on the trail. The link below shows the simple process to bypass the DRZ400 clutch switch.
Grips
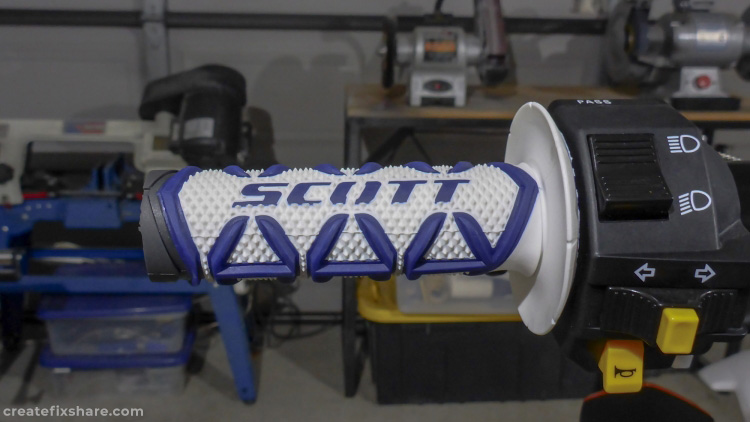
While the stock DRZ400 grips aren't all that bad, I'm a fan of nice grips and to go with this bike's white, black and blue colour scheme, I installed some white and blue Scott Diamond Grips.
Iridium CR9EIX Spark Plug
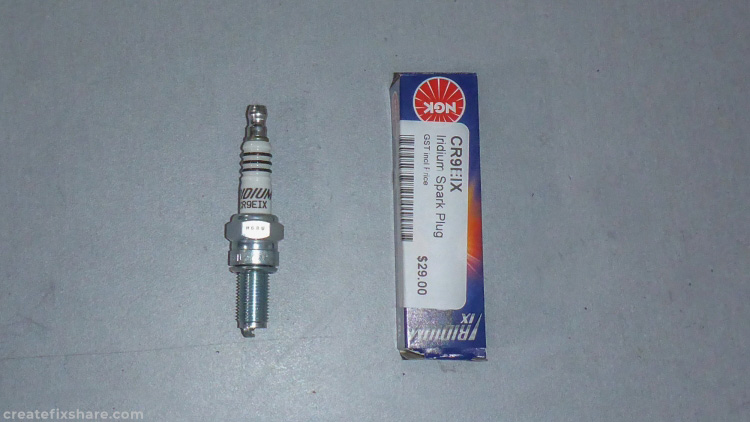
For the advantages over stock plugs, an iridium plug was installed. A temp range one cooler than stock (CR8E) is used to help on the hot days where the bike is loaded up and working hard in the slow going terrain.
Breather Hose Clamp Upgrade
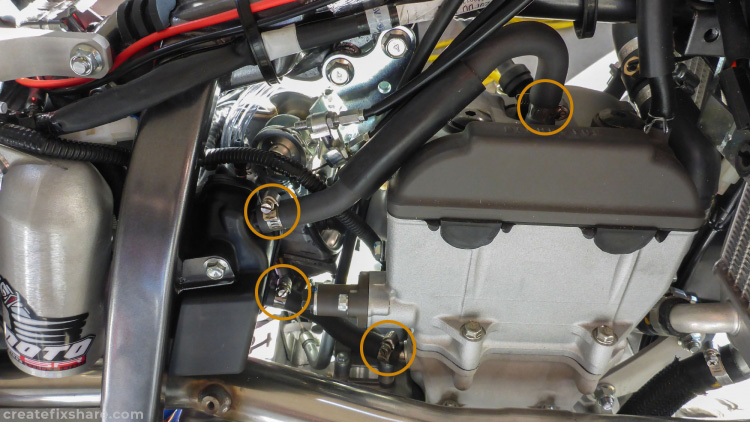
Replacing the stock pressure clamps on the breather hoses with stainless steel hose clamps to ensure a 100% watertight seal when crossing deep water.
DRZ400 Front Rotor Upgrade
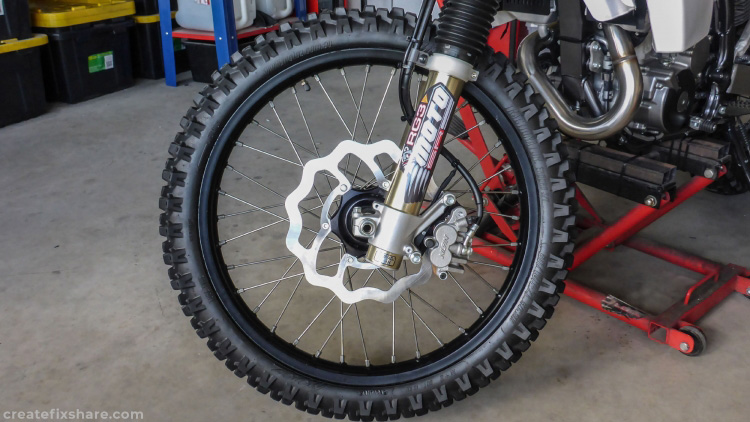
The factory DRZ400E front brake is respectable. It is by no means outstanding, but it serves the purpose of stopping the bike well. However, when the DRZ400 is used as an adventure bike and carries all that extra weight, the limits of the small 250mm front brake rotor are exposed. Upgrading the front brake rotor from a 250mm to a 270mm adds that extra bit of stopping power that makes riding more enjoyable, and braking more effective. On this build I have installed the Galfer 270mm SKW oversize rotor kit which comes with the 270mm rotor and brake calliper adaptor.
DRZ400 Rear Rotor Upgrade
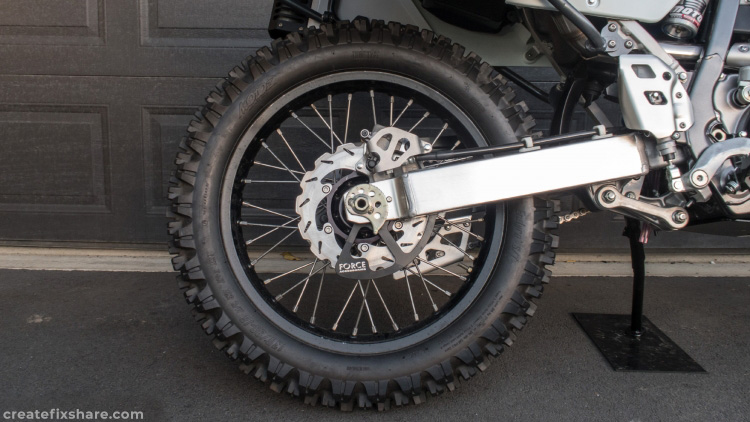
Like the front brake, the rear brake on the DRZ400E is respectable, but it has one major issue when carrying all the extra weight out on an adventure. The rear brake can suffer from brake fade when descending steep sections and the brake is applied heavily for long periods. Changing pads to other compounds can improve the situation slightly but what I have found to be the best solution is replacing the factory rear rotor with a wave style rotor that offers extra thermal dissipation and allows the rotor to handle prolonged/heavy use far better.
DRZ400 Gearing for Adventure Riding
The wide ratio gear set cures what is the DRZ400's biggest Achilles heel, that being, a shallow gearbox cluster. I have one installed on my main bike and it is brilliant. It completely changes the character of DRZ400 engine. This bike however was built on a timeframe that didn't allow the wide ratio gear set to be installed so it is using what I find to be the best compromise for adventure riding with the factory DRZ400 gear set. A 15/44 or 14/41 (exactly the same ratio) provides tolerable open road cruising while still being geared low enough for technical terrain, albeit with a bit of clutch feathering in the really steep gnarly stuff. I always fit steel sprockets over aluminium favouring longevity over weight. I normally use JT or RK sprockets.
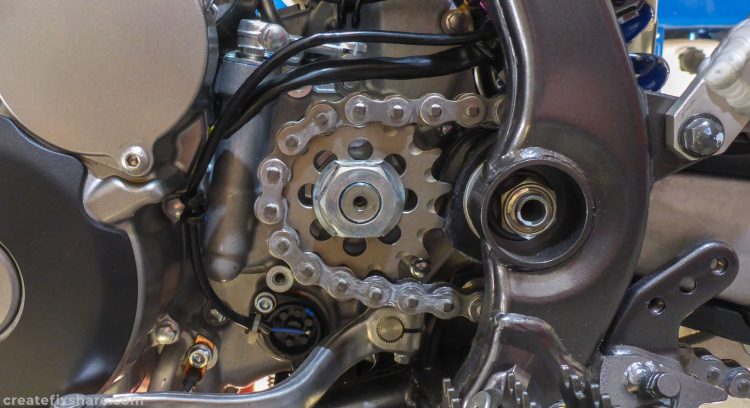
DRZ400 Case Saver / Sprocket Cover
The factory case saver/sprocket cover doesn't shed mud and clay very well and regularly becomes clogged. There are a number of aftermarket options that shed mud and clay far better with the B&B Engineering one fitted here being one of the good options.
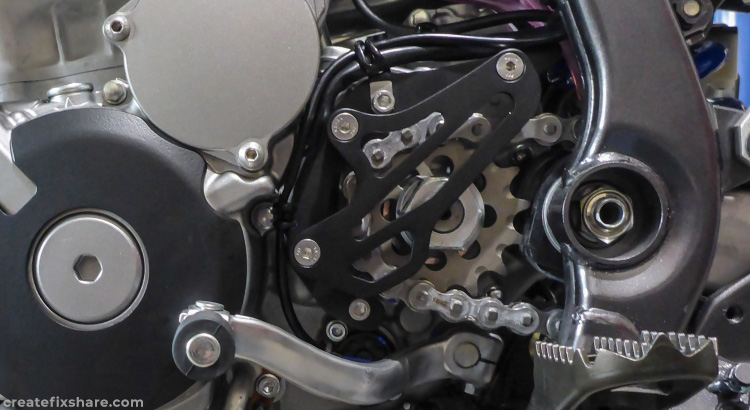
DRZ400 Magneto Cover Protection
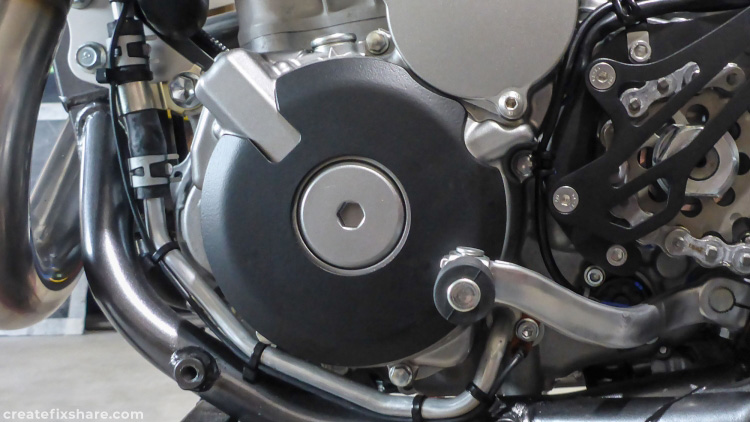
The magnesium engine side cover is very susceptible to cracking if the gear shift lever is shunted into the engine in a drop or crash. A case saver adds an extra layer of aluminium protection to avoid this and does a very good job. There are a number of case savers on the market with the ThumperTalk ones probably being the most common. The one I have fitted here is a B&B Engineering case saver however there are plenty of similar options on the market.
DRZ400 Gearshift Lever Vertical Adjustment
Large adventure riding boots makes it awkward to shift gear when the lever is in the factory position. Rotating the gearshift lever clockwise one spline makes it far more comfortable to ride and shift.
DRZ400 Gearshift Lever Horizontal Adjustment
The gearshift lever can rub against the case saver and end up looking ratty. Using a hydraulic press, you can gently coerce the lever to sit out further which creates space between the lever and case saver avoiding the contact that causes the damage.
DRZ400 Kickstand Shortening
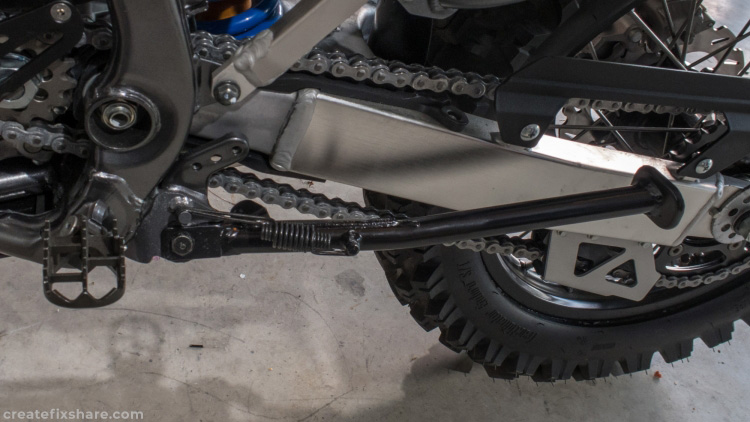
Because this bike has had the suspension lowered internally by 35mm, the kickstand needs to be shortened so the bike doesn't risk falling over.
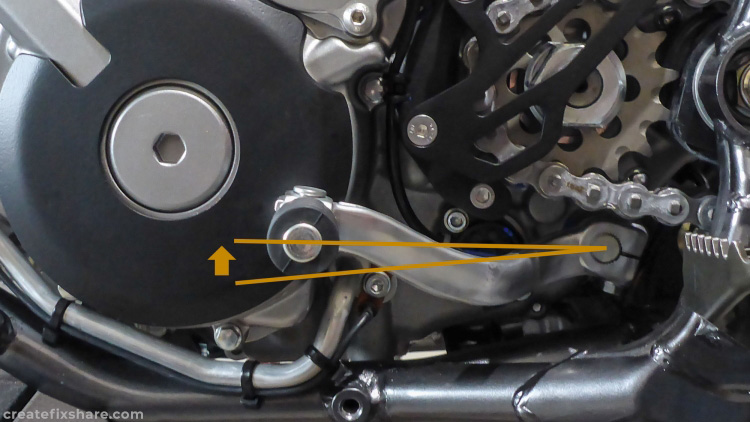
DRZ400 Master Cylinder Guard Bolt Upgrade
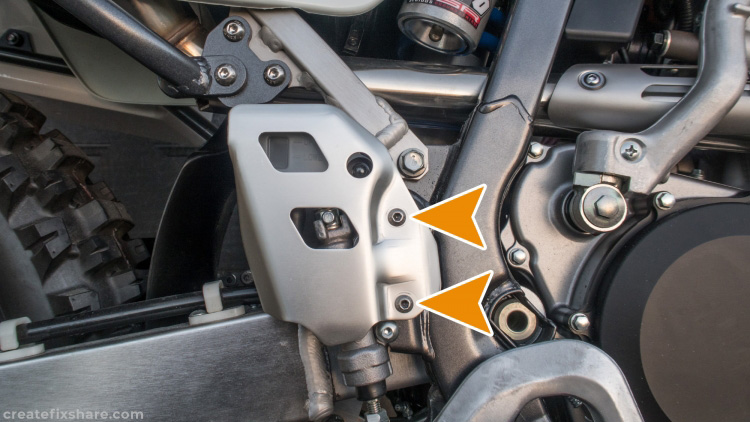
The two factory button head hex socket bolts that secure the alloy protector for the rear brake master cylinder and reservoir have very broad heads. These bolts can bind themselves to the alloy protector when you try and remove them and can strip the head hex. To avoid this, the factory bolts can be replaced with bolts with smaller heads which reduces the surface area that causes the binding and they undo relatively easily.
DRZ400 Bashplate
The all-important bash plate was added. While there are a number of good options on the market, I've used B&B Engineering bash plates since 2007 and they have been excellent. The one fitted here has their new black polymer option.
Rear Rotor Protection
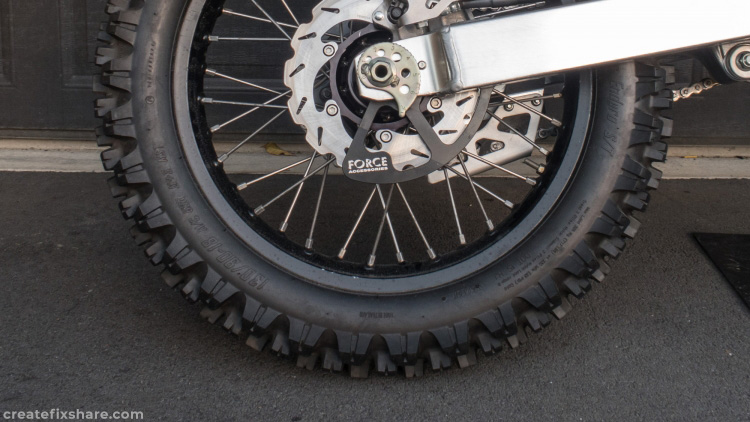
For added protection in rocky terrain, a rear rotor protector was installed. I installed a Force brand, but there are many good options available.