DRZ400 Engine Rebuild (page 2)
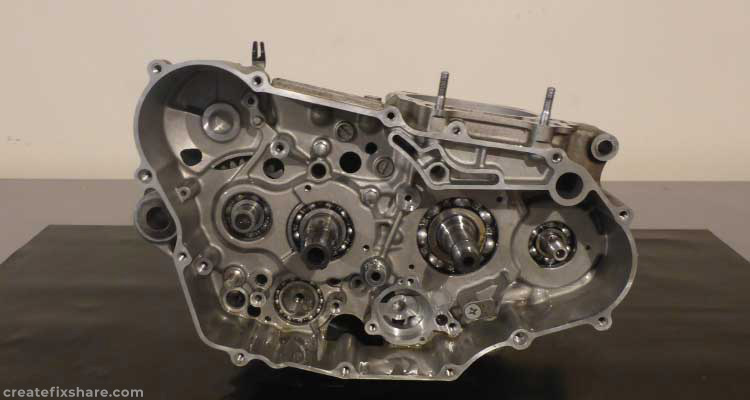
Once all the main bottom end components were in place it was time to slip on the right crankcase half. Ah, now it looks like we're making progress =)

Before starting on assembling the right-hand side the flywheel was installed to use as a leverage point to torque up the right-hand side gears.
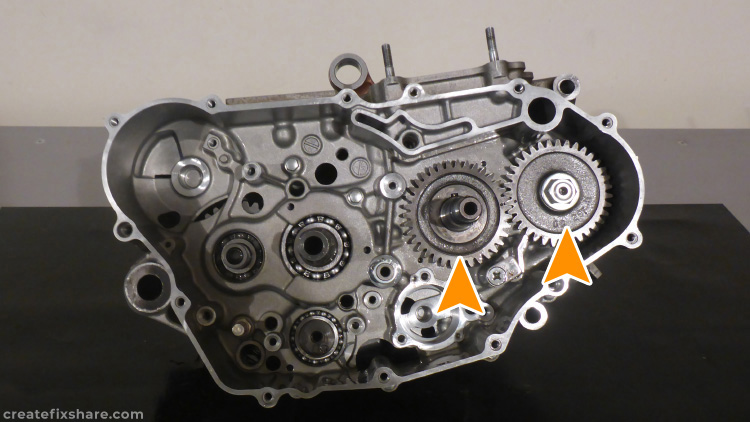
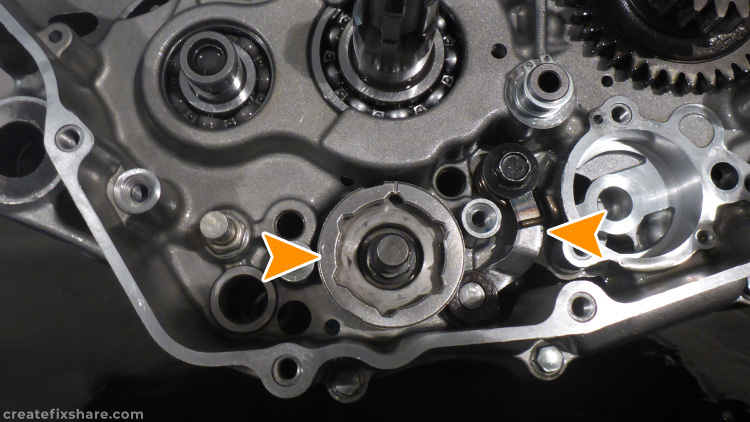
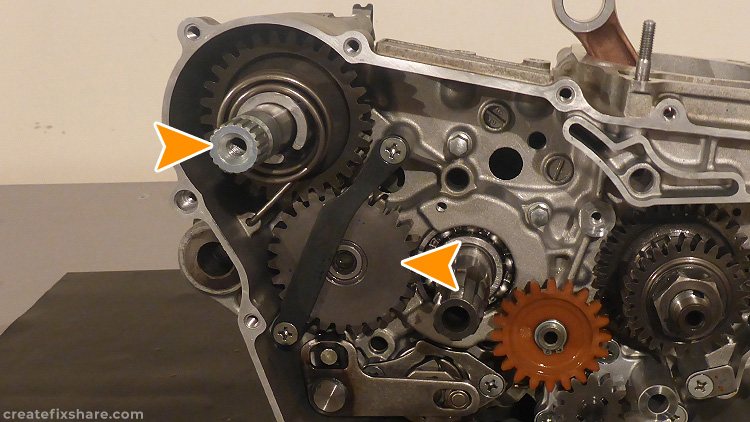
The first gears up for assembly were the crank balancer drive and driven.
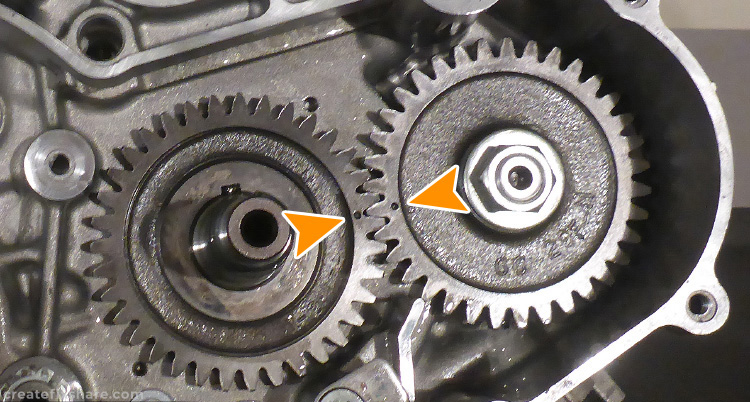
Matching the timing marks.
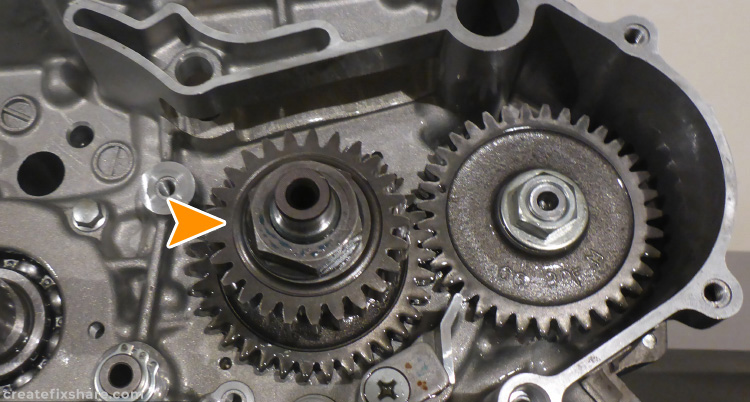
Next up was the cam chain gear and primary drive gear.
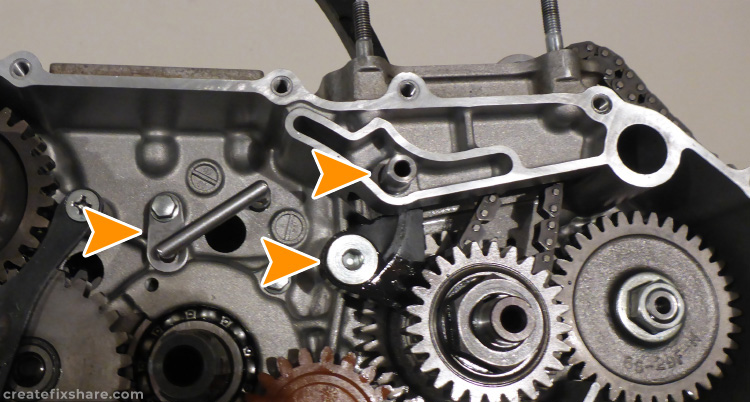
The first parts of the gear shifting to install were the shift cam and shift cam stopper.
Followed by the pawl assembly.
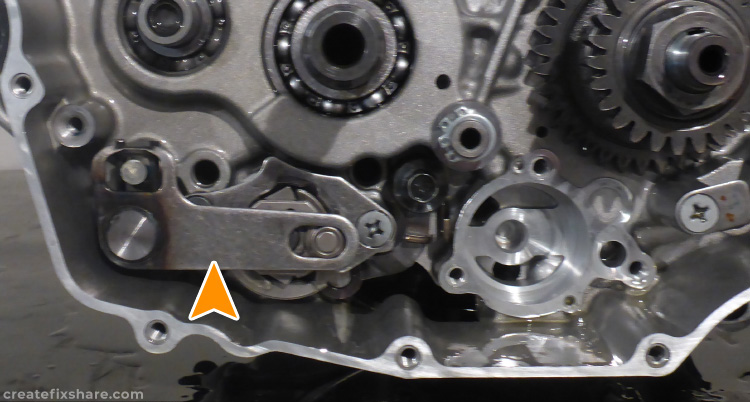
To finish off the gear shifting was the shift shaft assembly.

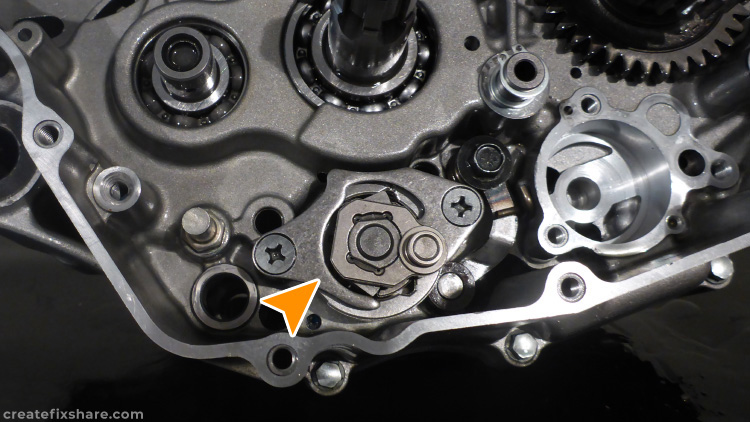
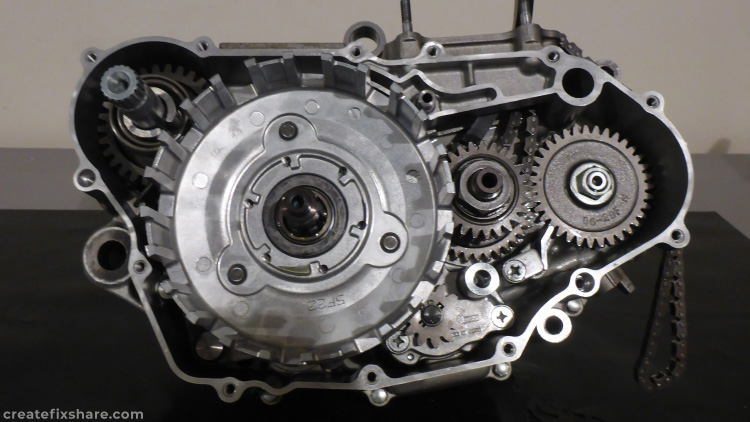
Next up was the oil pump.
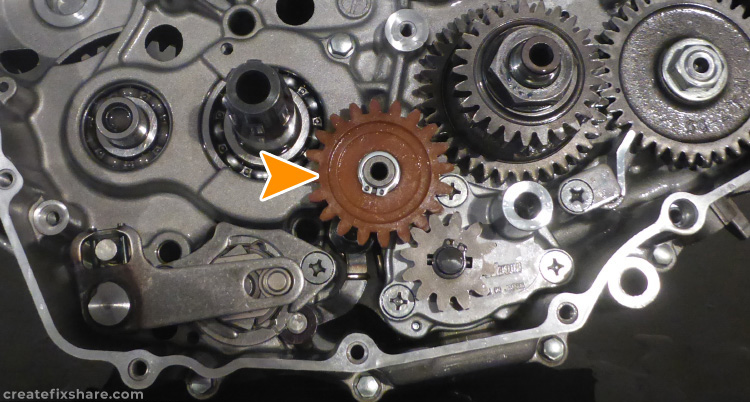
Followed by the oil pump idle gear.
The kickstart shaft, gears and assembly were next.
There were four more items to install before fitting the clutch basket. Leftmost is the inner oil pipe #2, followed by the cam chain plus tensioner guide and finally inner oil pipe #1
On with the clutch basket.
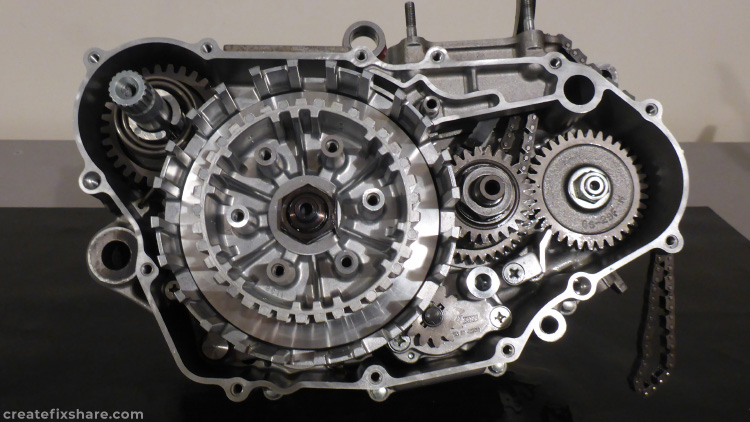
Then the clutch hub.
And to complete the clutch, the set of fibers/steels, clutch springs and pressure plate.
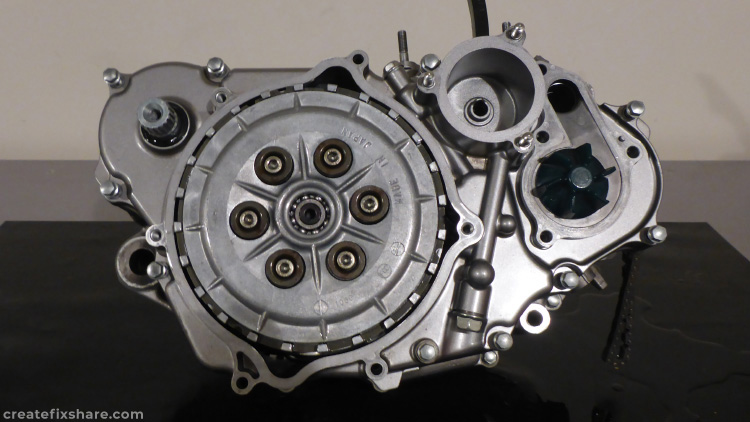
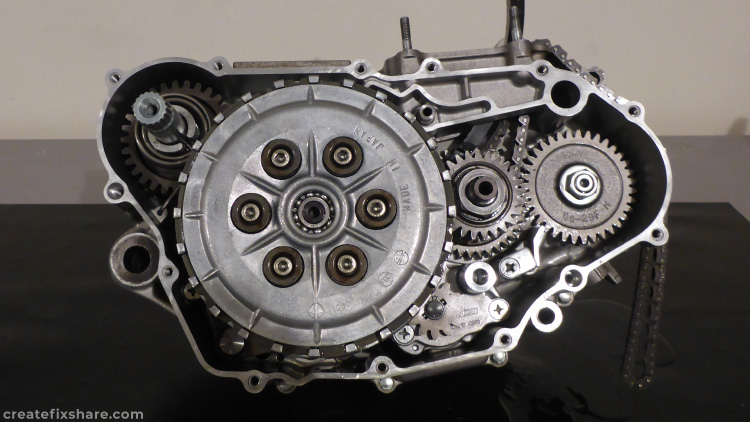
On with the crankcase inner clutch cover.
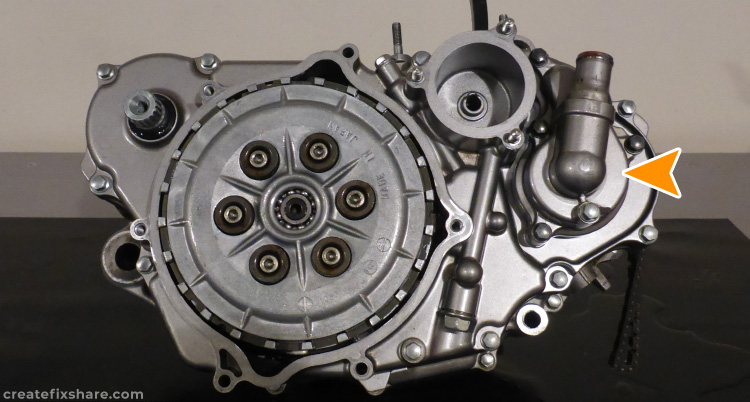
Then the water pump.
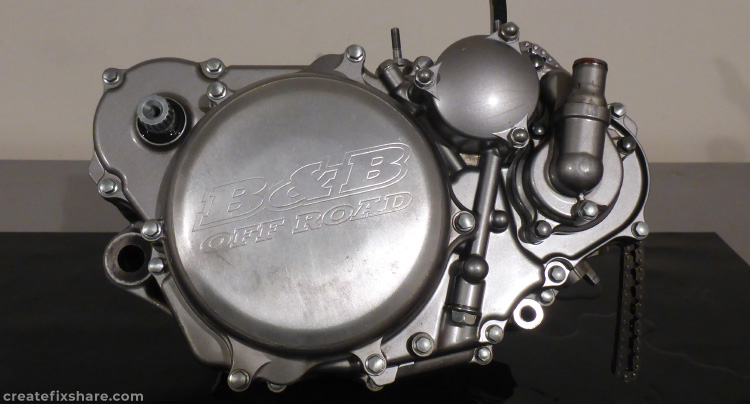
And finally the outer clutch cover plus oil filter and oil filter cover.
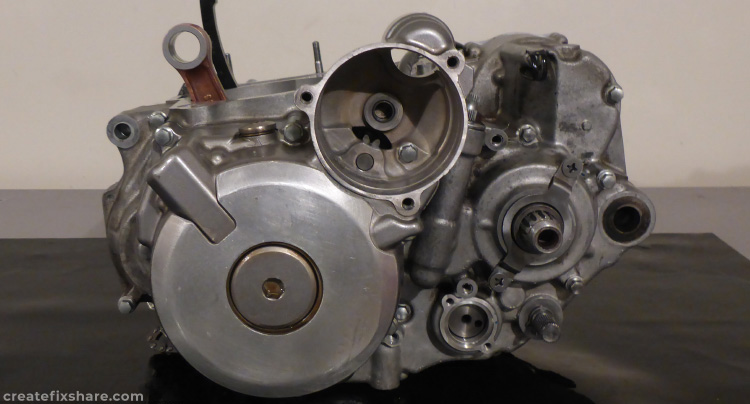
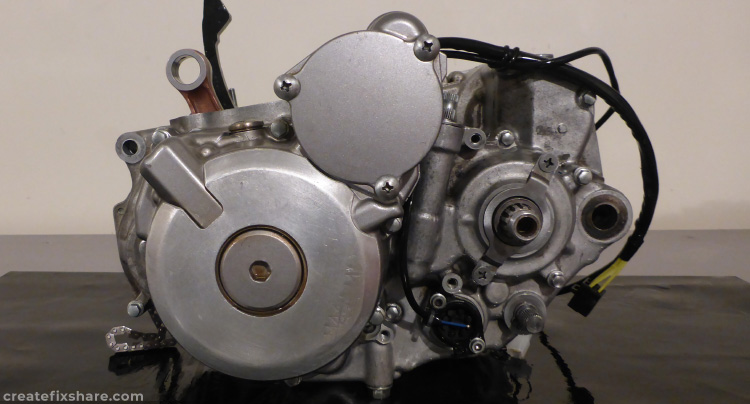
The right-hand side is done.
The right-hand side is done.
Left Side of the DRZ400 Engine

Starting on the left side, the first two items were the clutch shaft retainer and the output shaft spacer and O-ring.
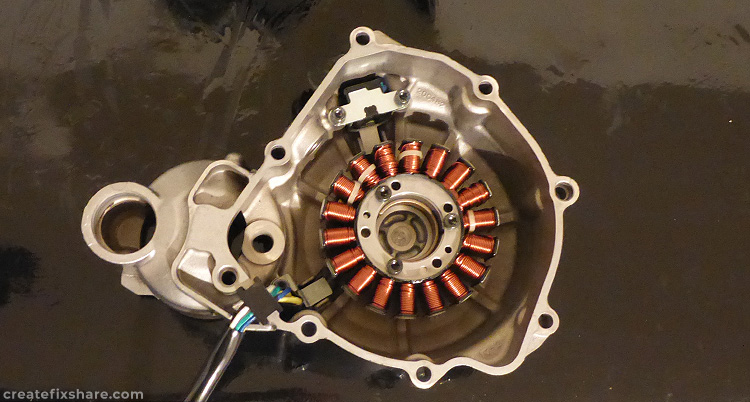
The stator was then installed into the magneto cover.
The magneto cover was then installed along with the starter idle shaft and idle gear.
Next was the starter idle gear assembly and starter idle gear cover.
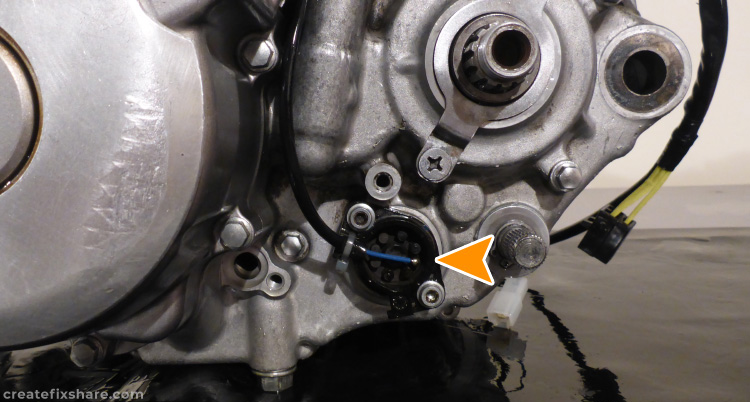
Lastly was the neutral switch.
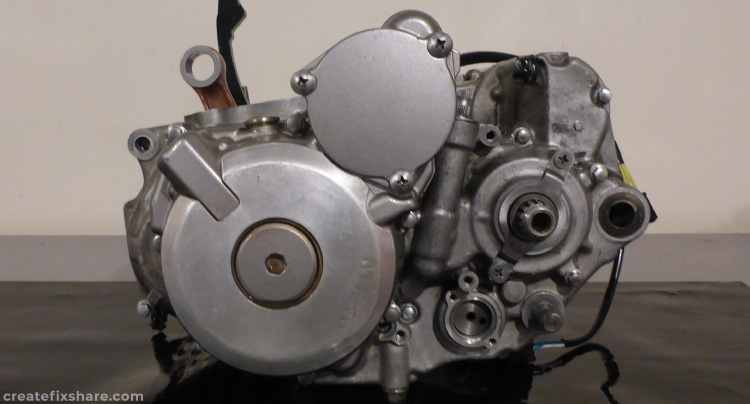
Bottom end done...