DRZ400 Engine Rebuild (page 3)
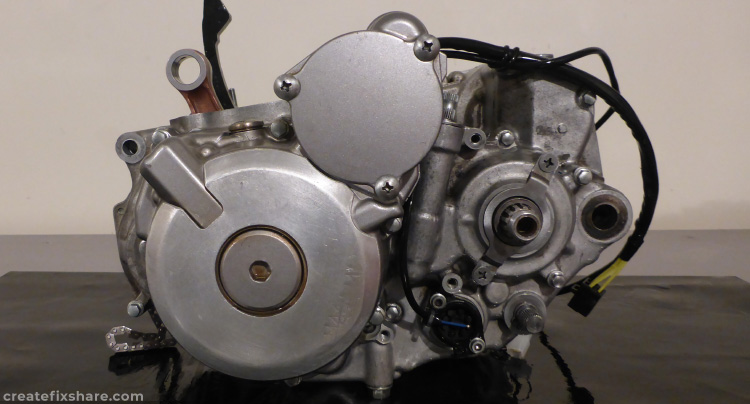
Bottom end done...
Top End - Cylinder
Before assembly of the top end, the cylinder had a thorough wash up in the wash bath, the mating surfaces cleaned and the cylinder honed.
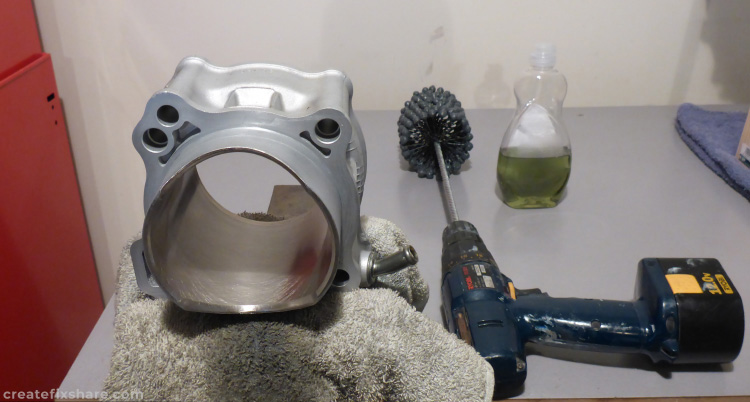
Setup in soft jaws for honing
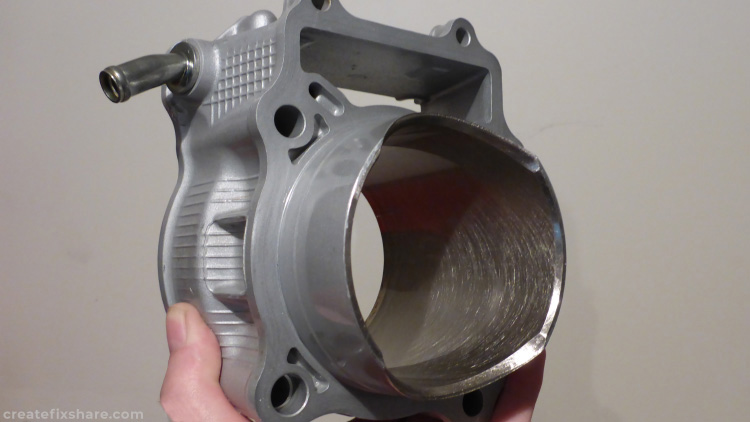
All washed up with a nice 45 degree crosshatch hone pattern.
Top End - Cylinder Head
Next up for some tlc was the cylinder head.
Checking valve stem wear.
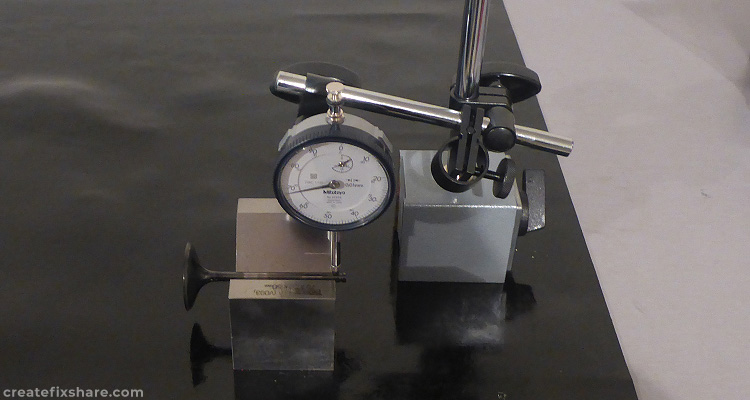
Checking valve stem run-out.
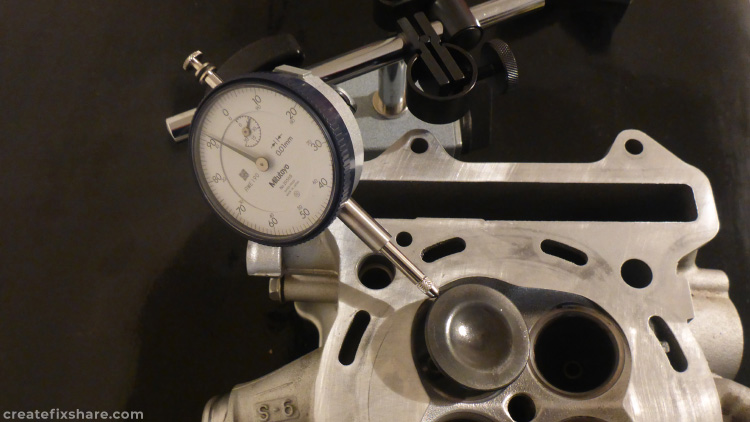
Checking value guide wear.
Checking value spring height.
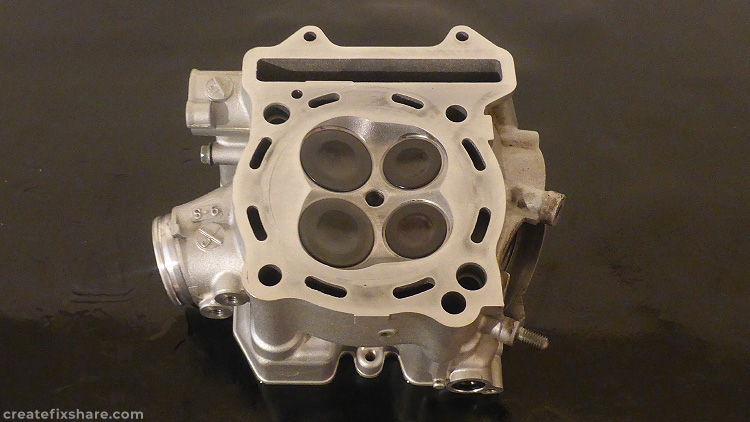
All valves, guides and springs were in spec and the valves blued up to the seats correctly, the head washed up and was reassembled with new valve seals.
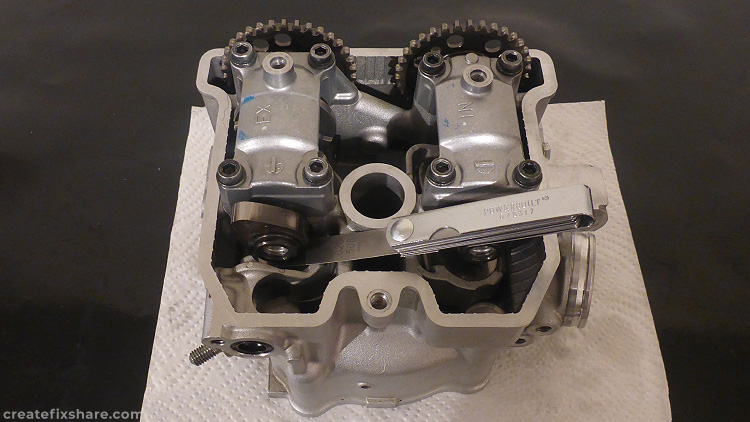
The buckets and correct size shims were installed. Photo here of the cams at TDC and checking the final valve clearances.

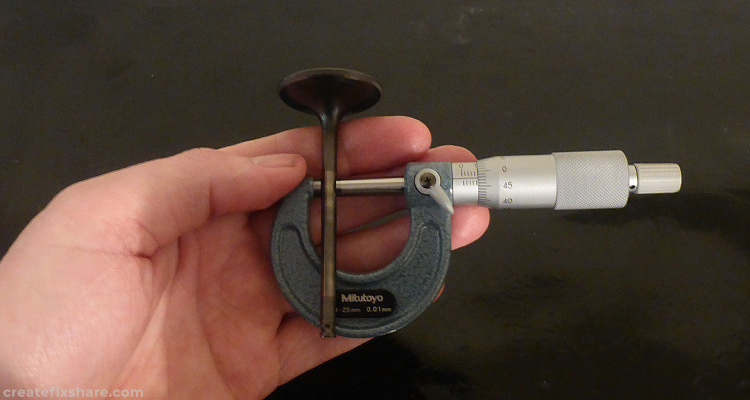
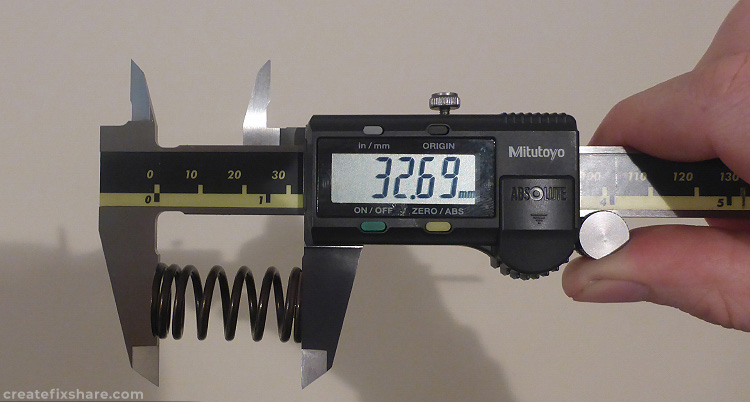
The gaps of the piston rings were the last measurements before top end assembly. Photo of the piston ring inside the cylinder and a feeler gauge checking the gap.
With the piston ring gaps all in check they where then installed followed by fitting the piston and pin to the crank.
After installing the lower dowels, oil jet and base gasket the cylinder was fitted.
This was followed by installing the upper dowels, head gasket and the cylinder head.
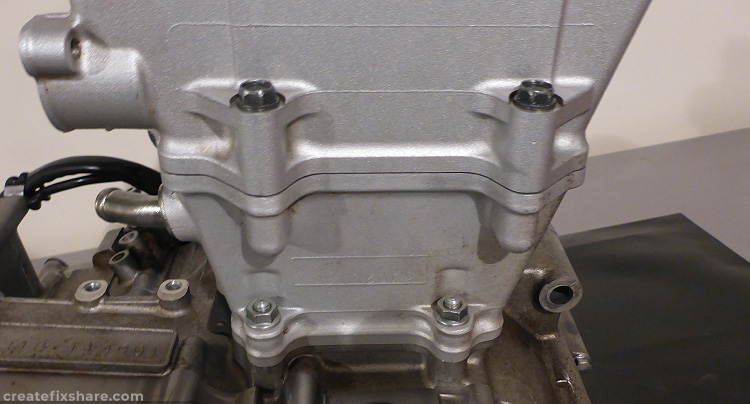
Once the head bolts were torqued to spec the cylinder side bolts were torqued to spec.
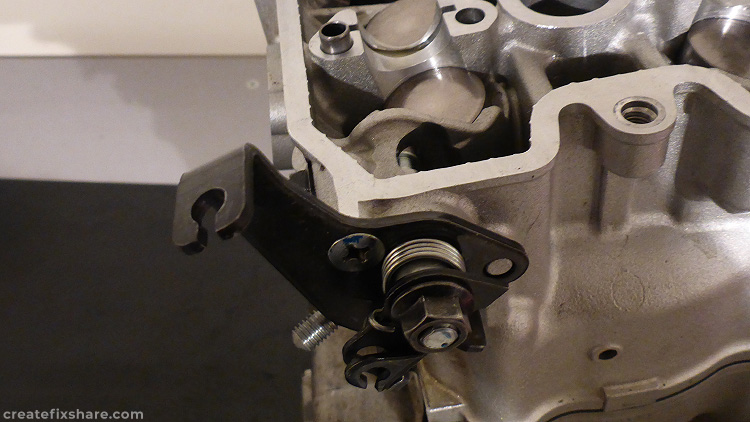
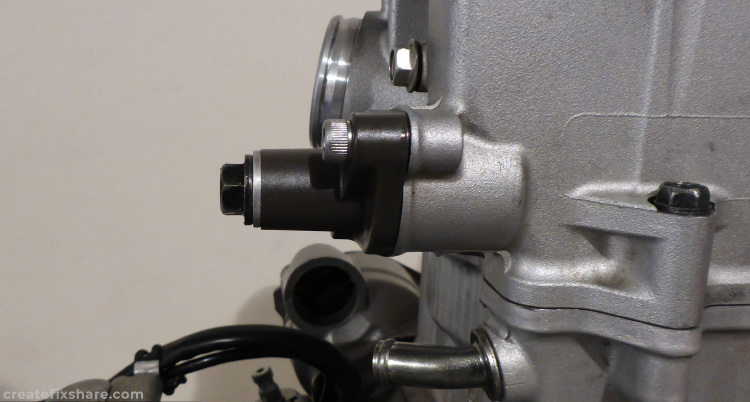
Next up was fitting the manual decompression shaft and assembly.

Followed by the cams set to the correct timing marks.
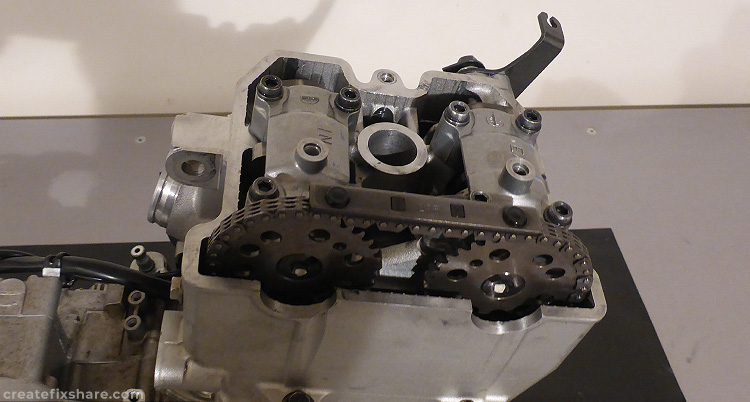
The cams were secured in place by torquing the cam cap bolts.
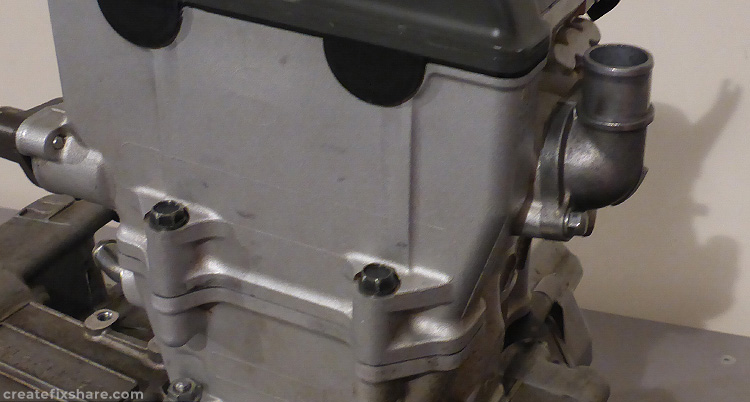
Then is was on with the rocker cover.
Followed by the timing chain tensioner.
Then the carb intake plug, union and adapter.
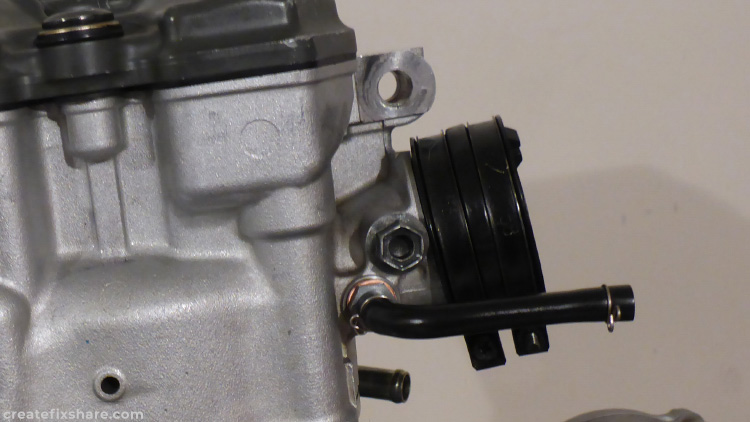
The last piece of the puzzle before the engine is ready for install was the thermostat and thermostat inlet.
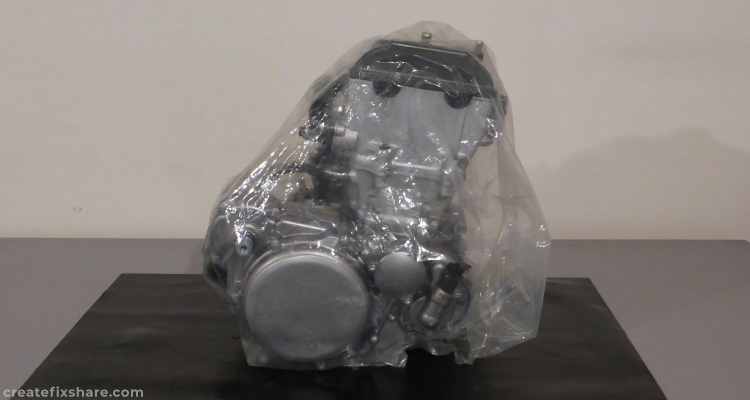
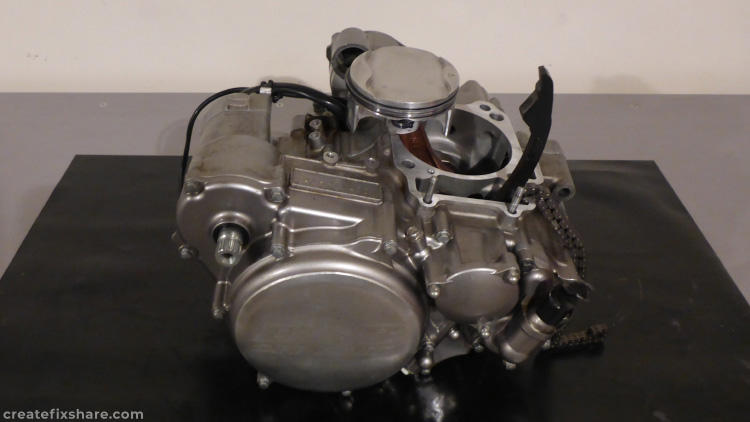
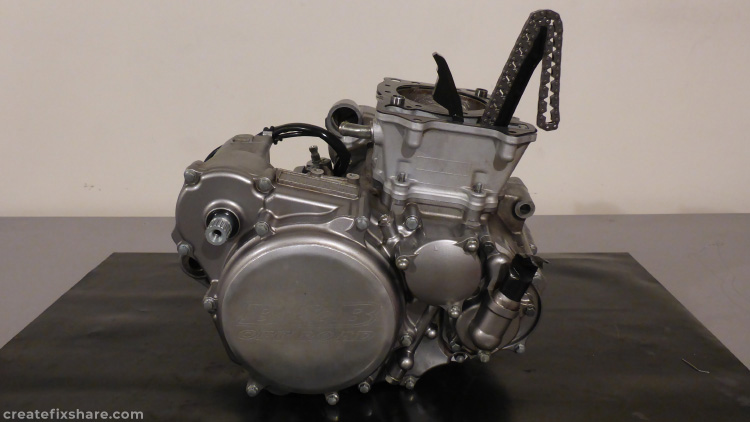
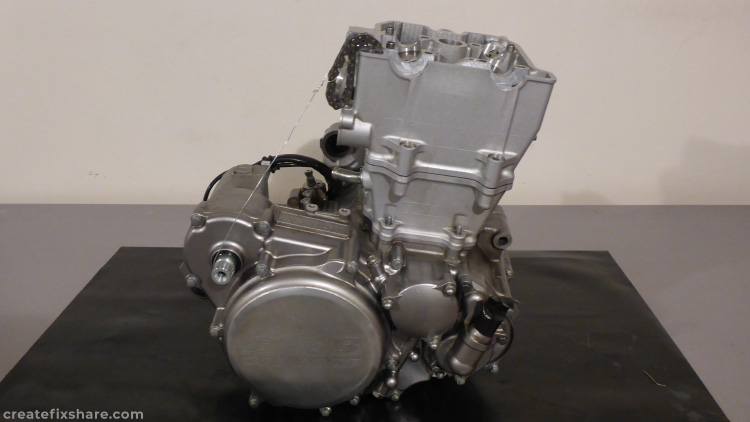
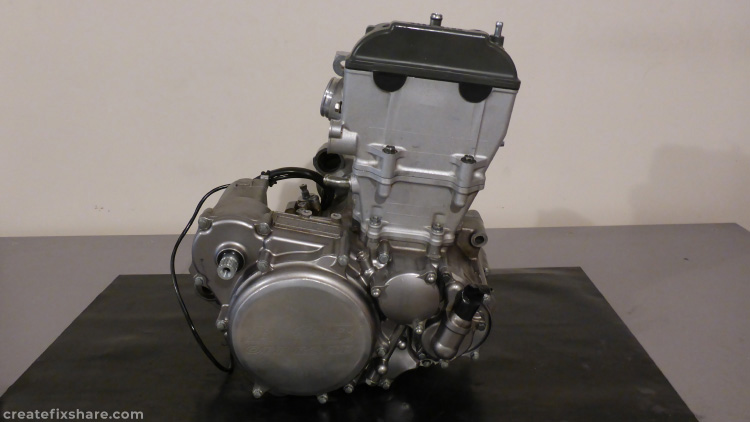
Done, wrapped and ready!
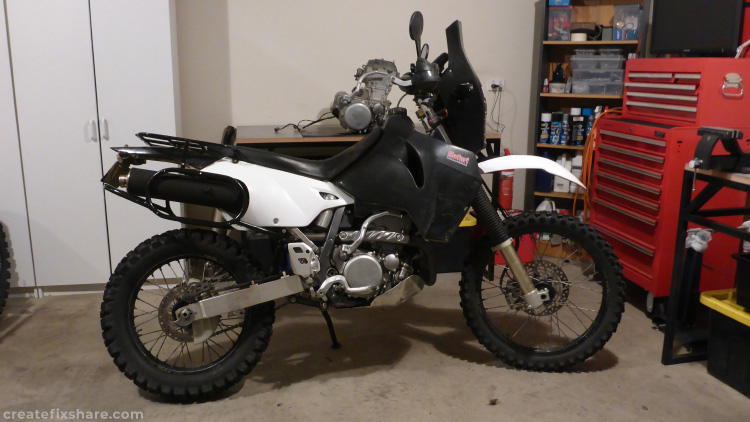
Out with the old engine and in with the new.